Ever wondered why aluminum pans are a staple in so many kitchens? Imagine reaching for a pan that's light as a feather, heats up in seconds, and cooks your meals evenly every time. That's the magic of aluminum cookware—its exceptional heat conductivity and lightweight design make it a favorite among both home cooks and professional chefs. But here's the catch: aluminum pans need a little extra TLC to keep them looking and performing their best.
Sounds complex? Not really—once you know why. Aluminum is a reactive metal, which means it's sensitive to what you cook and how you clean it. When exposed to acidic foods like tomatoes or vinegar, or even to salty ingredients, the surface can react and discolor. Tossing your pan into the dishwasher? The harsh detergents and high heat can trigger a chemical reaction, leaving the pan looking dull, blackened, or even chalky. Over time, this reactivity can lead to oxidation, resulting in a pan that loses its shine and might even affect the flavor of your food. That's why learning how to clean aluminum pans the right way is essential for keeping them in top shape.
Ready to restore your aluminum cookware to its original luster? You're in the right place. In this comprehensive guide, you'll learn:
By the end of this guide, you'll have all the tools and know-how to keep your aluminum pans sparkling—no matter what life (or dinner) throws at them.
When you’re staring at a stained or blackened pan, it’s easy to wonder: "Do I need a special cleaner, or can I use what’s already in my kitchen?" The good news is, learning how to clean aluminum pans doesn’t require fancy products—just a few everyday items and the right approach. Let’s break down exactly what you’ll need to tackle anything from everyday messes to stubborn stains.
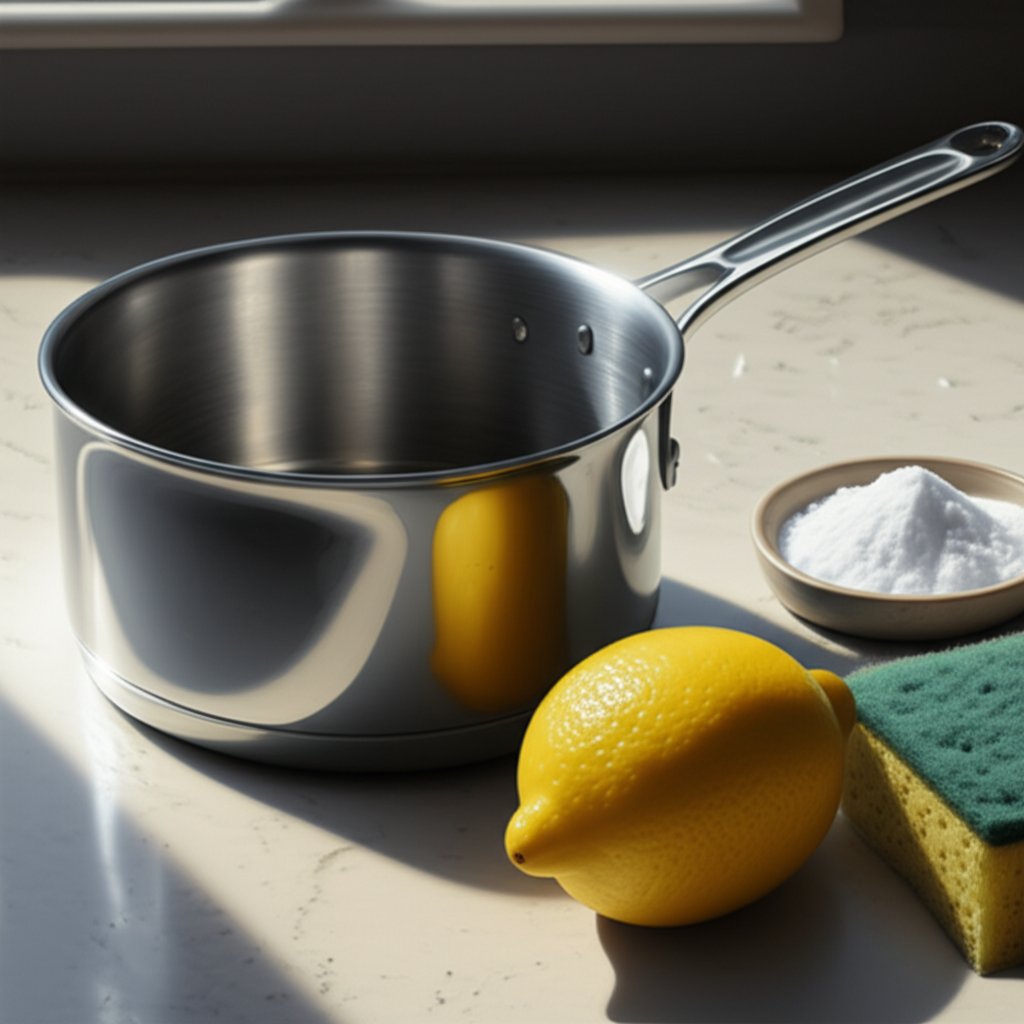
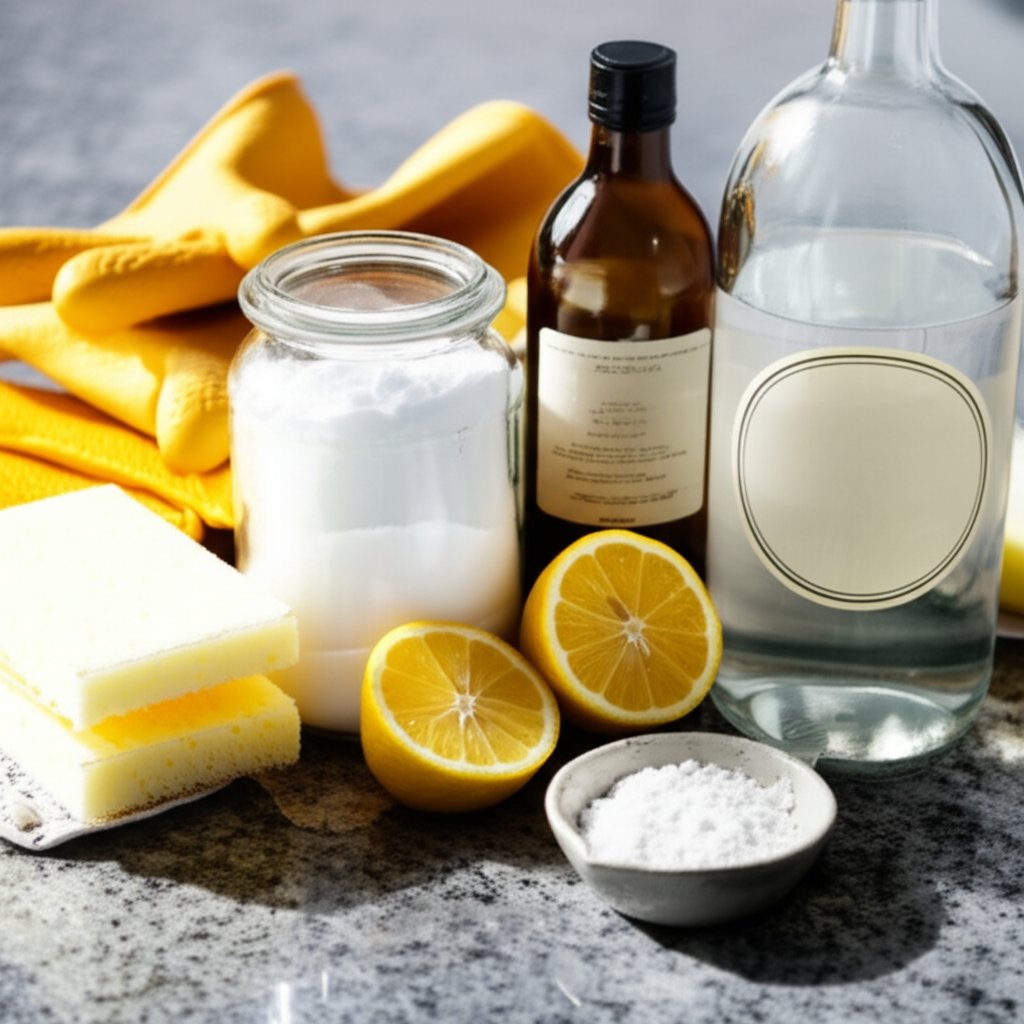
Before you start scrubbing, gather these proven, gentle cleaners. Most are probably already in your pantry or under your sink, and each is safe for restoring shine without damaging your cookware.
To make your cleaning routine both effective and safe for your cookware, use the right tools. Imagine trying to clean a delicate pan with a steel wool pad—it’s a recipe for scratches! Here’s what you should have on hand:
Having these supplies ready means you’re prepared for anything—whether you’re figuring out how to clean aluminum baking pans after a big batch of cookies, or need to know how to clean aluminum pans with baking soda for stubborn, baked-on messes. With your cleaning arsenal assembled, you’re set for the next step: developing a daily routine that keeps your pans in pristine condition and prevents problems before they start.
Ever finish a delicious meal and wonder, “How do I keep my favorite aluminum frying pan looking like new?” The secret lies in a simple daily routine. By following a few easy steps, you’ll prevent buildup, stains, and warping—ensuring your pans last for years and always perform at their best. Let’s break down the safest, most effective way to care for your aluminum cookware every day.
Never use steel wool or abrasive scouring pads on aluminum, as they will scratch the surface and can make future cleaning more difficult.
Following this daily ritual isn’t just about appearance—it’s about protecting your investment. Aluminum is softer than stainless steel, so scratches and rough handling can shorten its lifespan. By cleaning gently and drying promptly, you’re also keeping your pans safe for food and ready for your next culinary adventure. This routine works for all types of aluminum cooking pans, from sauté pans to frying pans, and is the foundation for safe, effective care.
Now that you’ve mastered the basics, let’s explore how to handle light stains and discoloration when everyday cleaning isn’t enough.
Ever notice your once-shiny aluminum pan looking a little dull, or spot faint stains that just won’t budge? It’s a common frustration. But before you worry that your pan is ruined, know this: most dullness and minor stains are just surface-level issues caused by oxidation or mineral deposits. The good news? You don’t need harsh chemicals—just a simple acidic solution is your best first line of defense.
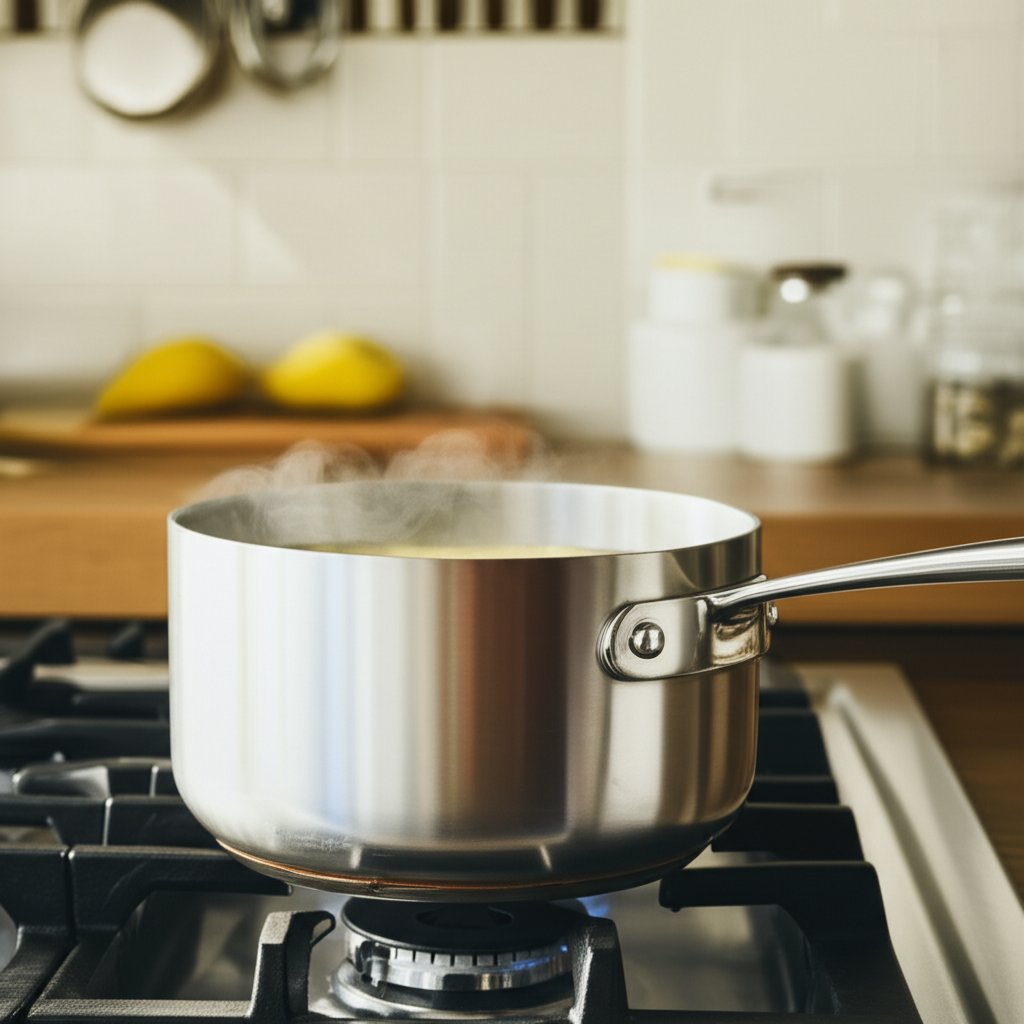
Imagine you’re prepping for a big family dinner and want your cookware to sparkle. Here’s how to clean stained aluminum pans and bring back their shine using ingredients you probably already have:
Sounds like magic, but it’s just chemistry. Aluminum naturally forms a thin oxide layer that can look cloudy or gray. Acidic solutions—like vinegar or lemon juice—break down these alkaline oxides and dissolve mineral deposits from hard water or food residue (Allrecipes). The heat from boiling speeds up the reaction, ensuring the acid reaches every nook and cranny. This method is especially useful if you want to know how to clean discolored aluminum pans without risk of scratching or damaging the finish.
Once you see your pan gleaming again, you’ll realize how easy it is to keep aluminum cookware looking its best with just a little science and kitchen know-how. If you’re facing more stubborn stains or burnt-on messes, don’t worry—the next step will show you how to tackle even the toughest baked-on grease.
Ever found yourself staring at a pan with a layer of burnt food or sticky, baked-on grease that simply won’t budge? You’re not alone. Even with regular care, aluminum pans can fall victim to those stubborn messes—especially after roasting, frying, or baking at high heat. The good news? You don’t need harsh chemicals or endless scrubbing to bring your cookware back to life. Let’s break down the most effective, kitchen-tested methods for tackling the toughest residues and restoring your pan’s natural shine.
When it comes to how to clean a burnt aluminum pan, a simple, homemade paste is your best friend. Both baking soda and cream of tartar are gentle yet powerful cleaning agents that lift stubborn grime without scratching the aluminum surface.
Baking soda and cream of tartar are both effective for how to clean aluminum pan with baked on grease and how to clean burnt food from aluminum pan because they combine mild abrasiveness with chemical action. Baking soda lifts particles and neutralizes odors, while cream of tartar’s acidity helps break down stubborn stains. The soak-and-scrub approach ensures deep cleaning without damaging your cookware’s finish.
With these techniques, even the most daunting burnt-on messes don’t stand a chance. Once your pan is free from grease and residue, you’ll be ready to tackle the next challenge: reversing blackening or chalky oxidation for a truly like-new shine.
Ever pulled your trusty aluminum pan from the dishwasher only to find it covered in black spots or a chalky white film? If so, you’re not alone. This sudden change can be alarming, but it’s not a sign that your pan is ruined. In fact, it’s a common issue caused by a simple chemical reaction—one that’s easy to fix once you know the science behind it.
So, what’s really happening? When you wash aluminum pans in the dishwasher, they’re exposed to harsh phosphate-based detergents, high heat, and minerals found in tap water. This combination triggers a reaction between the aluminum and the alkaline chemicals in the detergent, causing the metal to oxidize. The result? Your pan may turn black, develop a dull, gray patina, or even show a white, chalky residue. This oxidation layer is not dangerous, but it does affect the appearance and can even impact cooking performance over time.
Imagine cooking a beautiful meal, only to have your pan look worse for wear every time it’s cleaned. The good news is, you don’t have to live with discolored cookware. Let’s walk through a proven, kitchen-safe method for restoring your pan’s shine—no special products required.
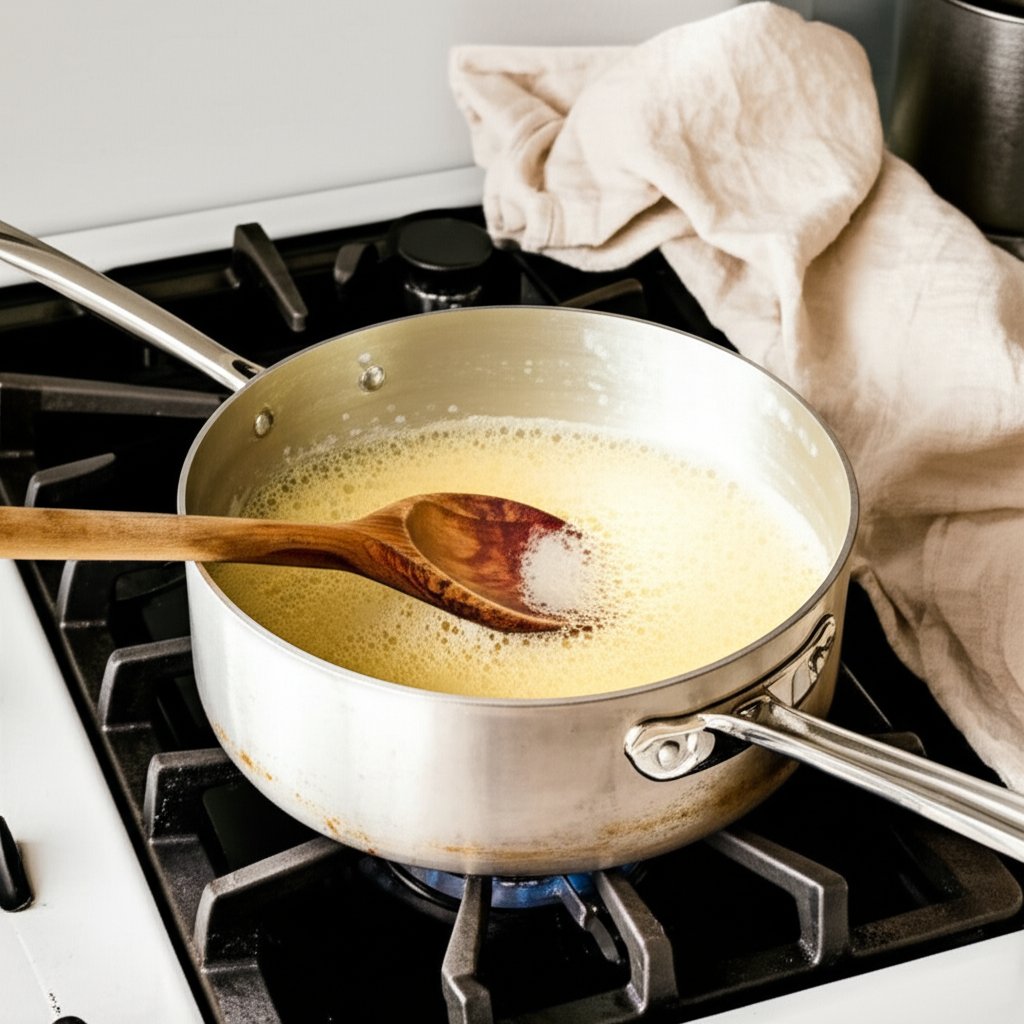
Wondering how to clean an aluminum pan that turned black or remove oxidation after a dishwasher mishap? Cream of tartar is your secret weapon. This gentle, food-safe acid lifts away stains and reverses oxidation without scratching or damaging the metal. Here’s how to do it:
Sounds like kitchen magic, but it’s all chemistry. Cream of tartar is a mild acid that dissolves the stubborn oxidation layer without harming the underlying aluminum. The boiling process helps the solution reach every nook and cranny, ensuring a thorough clean. This approach is especially helpful when learning how to clean oxidized aluminum pans or restore pans after dishwasher mishaps.
With your pan’s shine restored, you’re ready to adapt your cleaning routine for different types of aluminum cookware—ensuring every piece in your kitchen stays in top shape for years to come.
Ever wondered why one cleaning trick makes your frying pan sparkle but leaves another pan looking worse? That’s because not all aluminum cookware is created equal. From classic shiny pots to high-tech non-stick and ultra-durable anodized pans, each type has its own cleaning quirks. Understanding these differences is the secret to keeping your entire collection in peak condition—without accidental damage or dulling.
When you’re learning how to clean aluminum pans, it’s tempting to use the same method for every piece. But imagine using a scrubby sponge on a delicate non-stick pan, or a harsh detergent on anodized cookware—suddenly, your investment could be at risk. The material and finish of your cookware determine what it can handle, how it reacts to cleaning agents, and how long it will last in your kitchen.
To help you choose the right approach every time, here’s a handy table comparing the best cleaning methods and what to avoid for each major type of aluminum pan:
| Pan Type | Best Cleaning Method | What to Avoid |
|---|---|---|
| Standard/Non-Anodized Aluminum |
|
|
| Anodized Aluminum |
|
|
| Cast Aluminum |
|
|
| Non-Stick Coated Aluminum |
|
|
Hard anodized aluminum pans are prized for their strength and non-reactive surface, but they do need special care. Always use a pH-neutral, mild detergent—never harsh chemicals or abrasive pads—to protect the sealed layer that makes these pans so durable and safe for daily cooking. If you encounter stubborn residue, soak the pan in warm water and use a soft-bristled brush for cleaning. Hand washing is a must; dishwashers can wear down the anodized surface over time, reducing its resilience and non-reactivity. For more details on caring for anodized cookware, see this expert guide.
Cast aluminum is thicker and more durable than rolled or stamped pans, making it ideal for heavy-duty cooking. However, it’s still vulnerable to harsh cleaning techniques. After each use, hand wash with mild soap and a soft brush, taking extra care to clean any crevices or ridges. For baked-on food, soak the pan and then gently scrape with a wooden or plastic tool. Avoid soaking for too long, as it can cause pitting or corrosion. Never use the dishwasher, as it can accelerate wear and dull the finish.
Non-stick aluminum frying pans are a kitchen favorite for easy cooking and cleanup—but they’re also delicate. Always use a soft sponge and mild soap, and avoid metal utensils or abrasive pads, which can scratch or peel the coating. Clean the pan promptly after each use to prevent food and oil from building up. If you need to tackle a stubborn spot, a gentle baking soda paste can help, but be sure to rinse thoroughly and dry immediately. Whenever possible, skip the dishwasher to preserve the non-stick layer’s life and performance. For more tips on extending the life of your non-stick pans, check out this helpful resource.
Matching your cleaning method to the pan’s finish is the key to preserving shine and performance. When in doubt, always choose gentle, hand-washing techniques and avoid harsh chemicals or abrasives. Your aluminum cookware will thank you with years of reliable service.
Now that you know how to care for every type of aluminum pan, you’re ready for the final step: ensuring a like-new shine and protecting your investment for the long haul.
Ever wondered why some aluminum pans look fresh from the store, even after years of use, while others quickly turn dull or scratched? The secret isn’t just in how you clean them—it’s in how you finish and store them. If you want to know how to clean aluminum pans like new and keep them shining for the long haul, it’s all about those final, often-overlooked steps.
When you finish cleaning, don’t let your pan air dry. Water spots, streaks, and even corrosion can develop if moisture lingers on the surface. Instead, grab a soft towel or microfiber cloth and dry the pan immediately—inside and out. For aluminum sheet pans or larger bakeware, towel-drying every corner ensures no hidden moisture remains. If you want to speed up the process, place the pan in a warm (not hot) oven for a few minutes; this helps evaporate any stubborn droplets.
Imagine spending time restoring your pan’s shine, only to have it scratched in the cupboard. To avoid this, always store aluminum pans with a soft barrier in between. Slip a paper towel, dishcloth, or silicone pan protector between stacked pans. This simple habit keeps surfaces smooth and prevents dents or scratches—especially important for how to clean old aluminum pans that may already have some wear.
"A quick towel dry and a paper towel between pans is the easiest way to keep your aluminum cookware looking like new—no matter how often you use it."
But here’s something many overlook: the quality of the aluminum itself makes a world of difference. High-grade aluminum pans are not only easier to clean, but they also resist warping, pitting, and discoloration better than lower-quality options. Whether you’re learning how to clean aluminum pans like new or caring for industrial aluminum profiles, the same principle applies—durability and finish matter.
For example, cast aluminum pans made from a single piece of high-quality metal offer superior heat distribution and are less prone to damage. Likewise, heavy-duty aluminum sheet pans can withstand repeated cleaning and baking cycles when made with premium material. In industrial settings, the expertise of a manufacturer in producing durable, well-finished aluminum profiles ensures longevity and performance across countless applications.
When it comes to selecting aluminum cookware or materials for larger projects, a manufacturer’s commitment to quality is crucial. Companies like Shengxin, a professional aluminum profile manufacturer in China, understand the science behind creating long-lasting, high-performance aluminum. Their advanced production processes and strict quality standards ensure that each product—whether a pan or a structural profile—delivers the durability and shine you expect for years to come. To learn more about what sets high-quality aluminum apart, visit Clean Aluminum Pans.
With the right care, smart storage, and a focus on quality materials, you can keep your aluminum pans looking—and cooking—like new for a lifetime. Ready to put your knowledge into action? Start with your next meal, and enjoy the shine!
To clean tarnished aluminum pans, make a paste with vinegar, salt, and flour or use a mixture of vinegar or lemon juice with water. Apply the paste or solution to the pan, let it sit for at least 15 minutes, then gently scrub with a soft cloth or non-abrasive sponge. Rinse thoroughly and dry immediately to prevent further tarnishing.
Black residue on aluminum pans often results from oxidation or exposure to harsh detergents. To remove it, simmer a mixture of water with either cream of tartar, white vinegar, or lemon juice in the pan for about 10–15 minutes. After cooling, scrub gently with a non-abrasive sponge and wash as usual. Repeat if necessary for stubborn spots.
Avoid using steel wool, abrasive scouring pads, or harsh alkaline cleaners on aluminum pans, as these can scratch, dull, or damage the surface. Also, skip the dishwasher, since its detergents and high heat can cause oxidation and blackening, shortening the lifespan of your cookware.
To remove baked-on grease, create a thick paste of baking soda and water or cream of tartar and water. Spread the paste on the affected areas and let it sit for several hours or overnight. Then, scrub gently with a soft brush or sponge and rinse thoroughly. For persistent residue, repeat or combine with a gentle boil using vinegar or lemon juice.
Yes, you can restore pans affected by dishwasher oxidation by simmering a water and cream of tartar solution in the pan for 10 minutes. After cooling, wash and dry the pan thoroughly. This method helps dissolve the oxidized layer and brings back the pan’s shine. Always hand-wash aluminum pans to prevent future discoloration.


 บริการออนไลน์
 0086 136 3563 2360
 sales@sxalu.com
 +86 136 3563 2360
 ไทย
ไทย English
 français
 Deutsch
 русский
 español
 português
 العربية
 Việt
Việt Українська