Ever tried to paint a metal chair or an outdoor fixture, only to watch the paint bubble and peel away after a few months? If you’ve wondered why painting aluminum seems trickier than painting steel or wood, you’re not alone. The secret lies in aluminum’s unique chemistry—and understanding this is the first step to mastering how to paint aluminum for a finish that truly lasts.
Aluminum is prized for its light weight, strength, and corrosion resistance. But these very qualities make it a challenge for paint to stick. The moment bare aluminum is exposed to air, it forms a thin, invisible oxide layer—just nanometers thick—that instantly protects the metal from corrosion. While this passive film is great for durability, it’s also non-porous and chemically stable, which means most paints and adhesives simply can’t grip it. Imagine trying to stick tape to a surface covered in dust; that’s what it’s like if you skip proper prep when painting aluminum.
So, how do you get paint to stick to aluminum? It all comes down to creating a surface that paint can bond with. The natural oxide layer, though only 1–10 nanometers thick, is incredibly resilient and self-healing. But it’s also fragile and easily disturbed by abrasion or chemicals. The key is to transform this layer—either by mechanical sanding, chemical etching, or both—so that a special primer can form a strong, permanent bridge between the aluminum and your topcoat.
You're not painting the aluminum; you're painting the primer that's bonded to the aluminum.
Every professional knows: 90% of a successful aluminum paint job is in the preparation. When you invest the time to clean, sand, and prime correctly, you set the stage for a finish that resists peeling, flaking, and weathering for years. Skip these steps, and you’ll likely be repainting much sooner than you’d like.
Ready to learn the step-by-step process for how to paint on aluminum and get results that last? Let’s dive into the essential tools and materials you’ll need next.
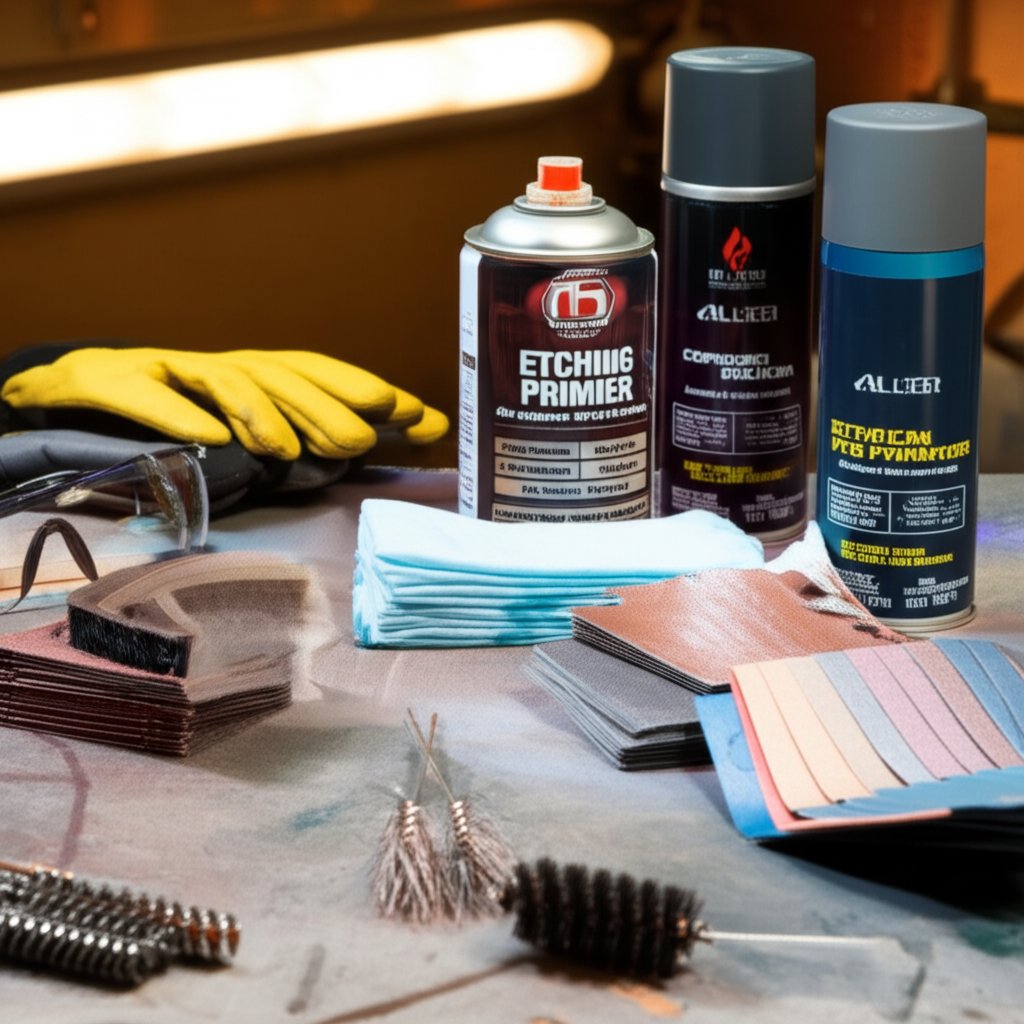
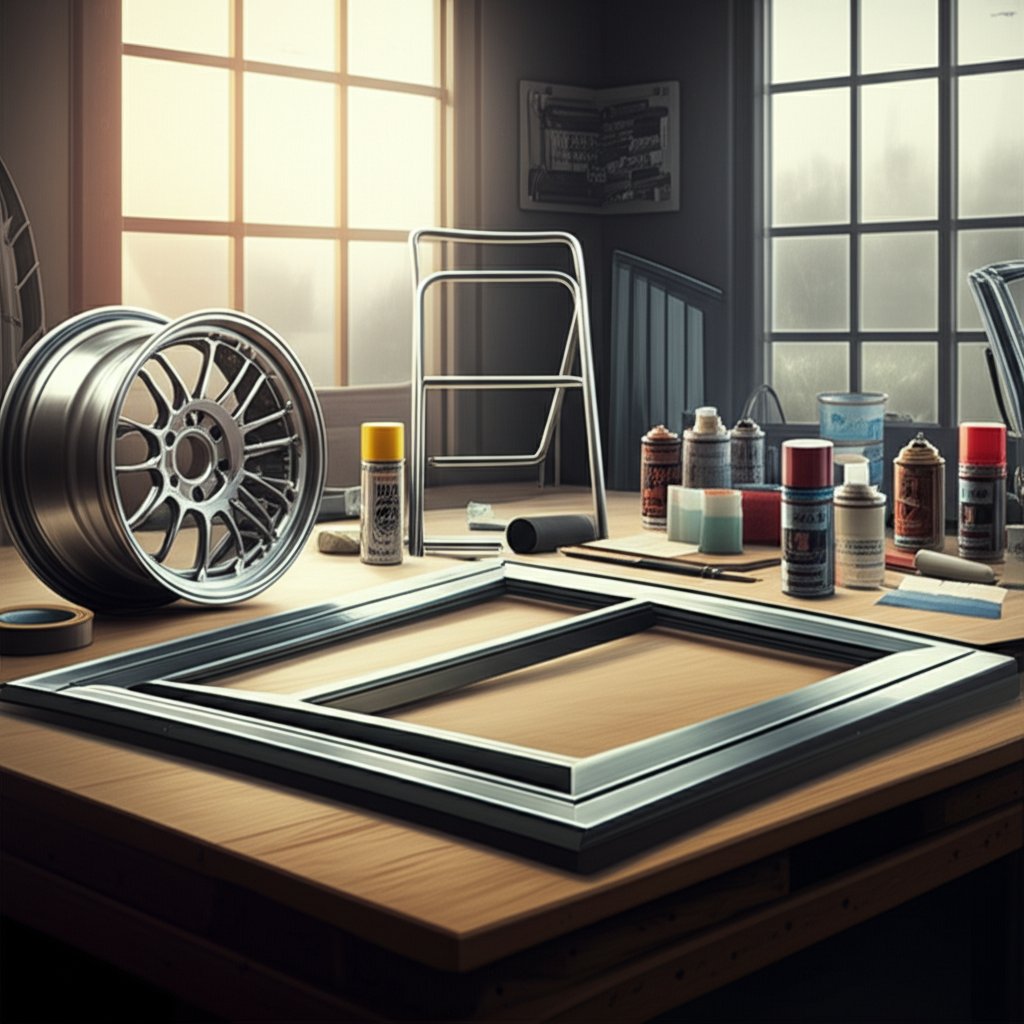
Ever started a project only to realize halfway through that you’re missing a crucial piece of gear? When learning how to prep aluminum for paint, having the right tools and materials on hand is the difference between a smooth, professional finish and a frustrating, patchy mess. Before you touch a brush or spray can, take a few minutes to lay out everything you’ll need—because in aluminum painting, preparation is truly half the battle.
Painting aluminum isn’t just about technique—it’s about protecting yourself, too. Many paints, primers, and cleaners contain chemicals that can irritate your skin, eyes, or lungs. Here’s what you should always have ready:
Ready to tackle how to prepare aluminum for painting? Here’s a category-by-category checklist of what you’ll need for a seamless workflow:
One of the most common questions is: which sandpaper grit do you need? The answer depends on your project stage. Use the table below to choose the right grit for each step of how to clean aluminum for painting and prep it for primer:
| Grit Number | Typical Use on Aluminum | Best Application |
|---|---|---|
| 80–120 | Initial scuffing, removing old paint, roughing up bare aluminum | Hand sanding or with a palm sander for aggressive prep |
| 220–320 | Smoothing after initial scuff, prepping for primer | Intermediate sanding, ensuring a uniform dull finish |
| 400–600 | Between coats, final smoothing before topcoat | Light sanding for a glass-smooth finish |
For most aluminum painting projects, start with 80–120 grit to break the glossy oxide, then finish with 220–320 grit for primer prep. Use 400–600 grit only for smoothing between coats or before the final paint layer.
Imagine you’re prepping an old aluminum patio chair: you’ll need to degrease, sand off the old finish with 80-grit, refine with 220-grit, and then wipe clean before priming. Having your full toolkit ready means you’ll never have to stop mid-project to hunt for missing supplies.
With your gear assembled, you’re set up for success. Next, let’s break down the deep-cleaning process—because even the best primer won’t stick if there’s grease or dirt left behind.
Ever wondered why paint peels from aluminum siding or why a freshly painted outdoor chair starts flaking after just one season? The answer almost always comes down to the cleaning step. If you want to master how to clean aluminum before painting, think of it as laying the foundation for a house—any shortcuts here will show up later as cracks and failures.
Before you even think about sanding or priming, every trace of grease, oil, or dirt must be removed. Aluminum’s smooth, non-porous surface can be surprisingly stubborn when it comes to holding onto contaminants. Imagine prepping aluminum siding for painting after years outdoors—there could be layers of waxy residue, atmospheric grime, or even chalky oxidation.
For outdoor furniture or siding, a dedicated aluminum cleaner can help tackle stubborn oxidation or environmental build-up. Always check the manufacturer’s label to ensure compatibility with aluminum surfaces.
Here’s a fail-proof process for how to prep aluminum siding for painting, or any aluminum project—big or small:
For those focused on how to clean aluminum siding before painting, consider working in manageable sections—clean, rinse, and dry each area before moving on. This approach prevents water spots and ensures consistent results.
Once your surface is spotless and dry, you’re ready for the next critical phase: sanding and etching. Proper cleaning means your primer will have the best chance to grip, setting you up for a finish that stands the test of time.
Ever wondered why even the best primer sometimes fails to stick to aluminum? The answer lies in the surface itself. If you want to master how to prep and paint aluminum, you need to give your primer something to grip—think of it as roughing up a slippery slide so paint can climb and stay put. This step is all about creating that essential “tooth” for long-lasting adhesion.
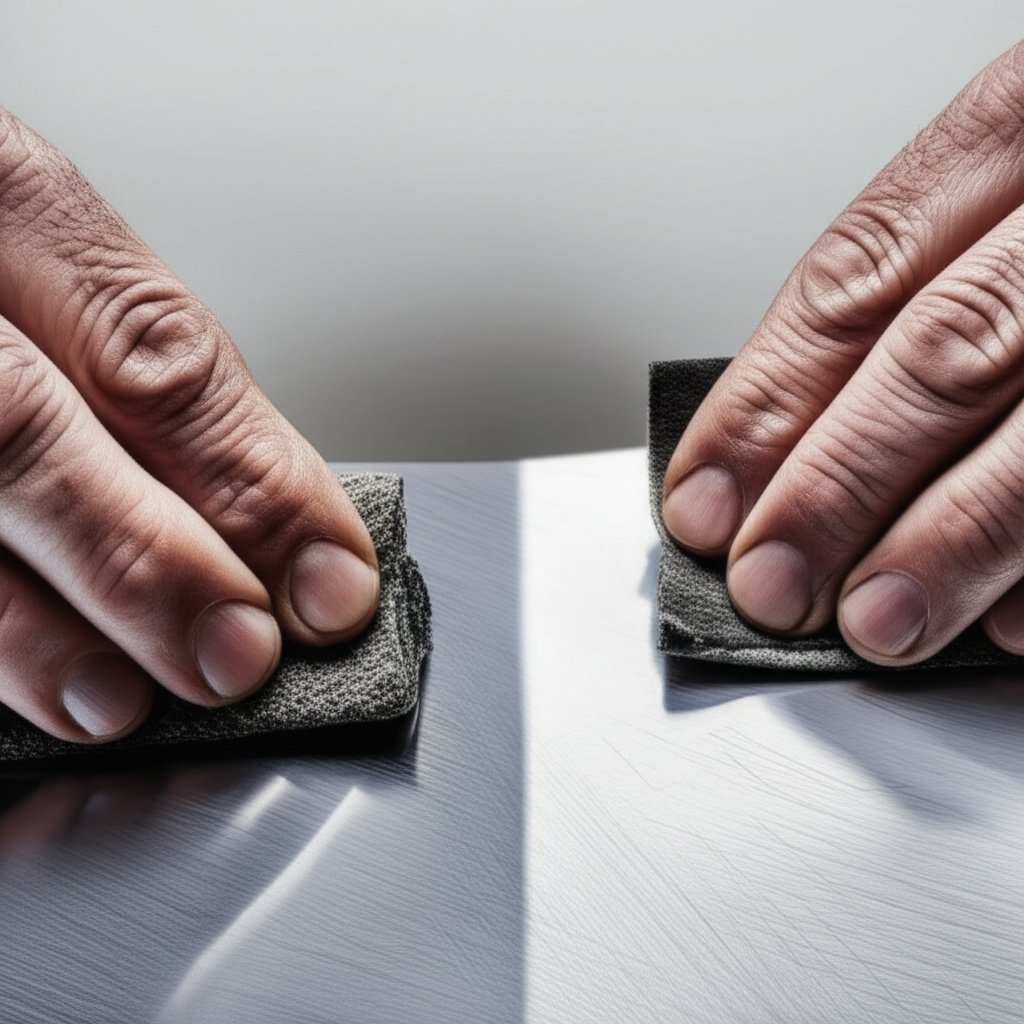
Let’s break it down: aluminum’s natural oxide layer is smooth and slick, making it tough for primers and paints to latch on. Mechanical abrasion—using sandpaper, scuff pads, or wire brushes—physically roughens the surface, while chemical etching (with specialty solutions) dissolves the oxide layer to create microscopic grooves. For most DIY and home projects, mechanical sanding is the safest and most effective way to prep aluminum for painting.
Sounds complex? Here’s the good news: you don’t need fancy chemicals or industrial tools for most jobs. With the right sandpaper and a little elbow grease, you can create a surface that’s ready for primer in just a few steps.
The goal isn’t to polish the aluminum to a shine—in fact, that’s the opposite of what you want. Instead, aim for a uniform, dull finish. This matte texture means the entire surface has tiny scratches that give your primer maximum grip. Whether you’re prepping a bike frame, window trim, or a boat hull, the process is largely the same—only the tools may change:
Imagine prepping a faded aluminum patio chair: you’d start with 80-grit sandpaper to break through the old finish, then switch to 180-220 grit for a finer, more uniform surface. For a boat hull, a random orbital sander accelerates the process and keeps the finish consistent.
Pro tip: Don’t rush the sanding. You’ll notice the aluminum shifts from shiny to a soft, matte look—this is your sign that the surface is ready for primer. For cast or pitted aluminum, a wire brush can help reach into crevices that sandpaper might miss.
Once you’ve achieved a consistent, dull finish and wiped away all dust, your aluminum is prepped for priming. This careful surface prep is the secret to how to etch aluminum for painting and ensure your topcoat lasts season after season. Up next, we’ll tackle the crucial step of applying a self-etching primer—your bridge between bare metal and a flawless paint finish.
Ever wondered why some aluminum paint jobs last for years, while others start peeling almost immediately? The answer lies in the priming step—arguably the most crucial phase when learning how to paint bare aluminum or raw aluminum. If you’ve ever skipped straight to painting or used a standard primer, you may have noticed poor adhesion, flaking, or bubbling. Let’s break down why a self-etching primer is the only reliable way to ensure your paint sticks and stands the test of time.
Aluminum’s natural oxide layer, while protective, is notoriously difficult for traditional primers and paints to grip. Standard primers simply sit on top of this layer, relying on mechanical adhesion alone. Over time, temperature changes, moisture, and everyday wear can cause these coatings to lift, chip, or peel away—especially in outdoor or high-traffic environments.
Self-etching primers are specifically engineered for metals like aluminum. They contain acidic agents that react with the surface, microscopically etching it and forming a tightly bonded layer. This dual action—chemical etching and mechanical bonding—creates a foundation that’s far superior to regular primers. In fact, self-etching primer is widely recommended for both bare and raw aluminum because it delivers excellent adhesion and corrosion resistance, as confirmed by leading manufacturers.
Without this chemical bond, even the most carefully prepped aluminum is at risk of premature paint failure. So, if you’re serious about how to paint anodized aluminum, bare aluminum, or raw aluminum, self-etching primer is non-negotiable.
Applying self-etching primer isn’t complicated, but attention to detail is key. Here’s a step-by-step guide to make sure you get it right:
Imagine you’re working on a set of aluminum wheels or a bike frame: spray a light first coat, let it flash, then follow up with a second and third coat if needed. The goal is a uniform, matte finish—no glossy spots or heavy buildup.
Not all aluminum surfaces start the same. Here’s how to handle different scenarios:
Pro tip: After priming, avoid touching the surface with bare hands—skin oils can interfere with paint adhesion. If you need to move the part, use clean gloves or handle only masked-off sections.
Once your primer is dry and the surface has a consistent, matte appearance, you’ve created the ideal foundation for your topcoat. Whether you’re painting a boat, patio furniture, or a set of custom wheels, this meticulous priming step is what ensures your finish will look great—and last. Next, we’ll explore how to choose and apply the perfect topcoat for your project.

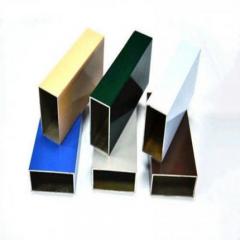
Ready for the most rewarding step? After all the prep, priming, and patience, it’s finally time to add color and protection to your project. But with so many options—acrylic, epoxy, spray, brush—how do you know which paint and method will give you that smooth, long-lasting finish? Let’s break down your choices and pro techniques so you can confidently tackle everything from aluminum siding to custom wheels.
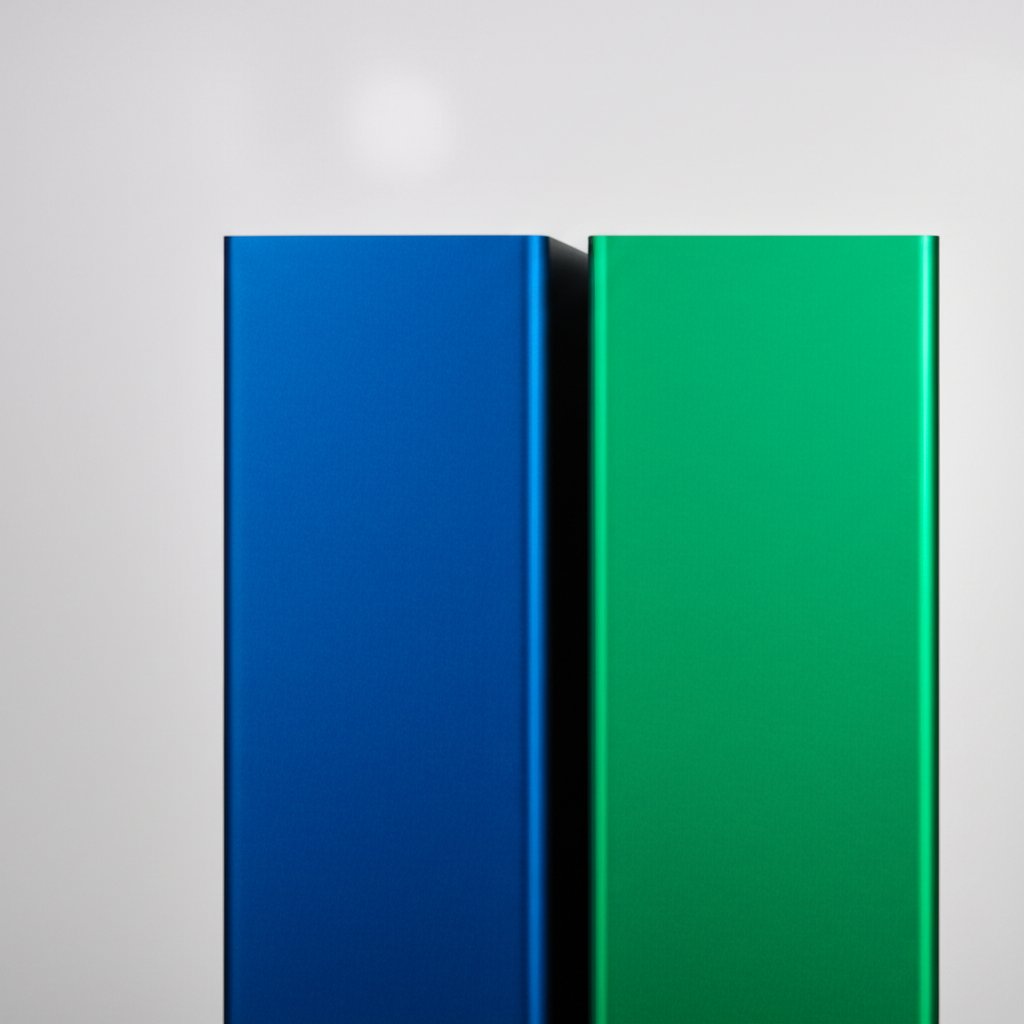
Not all paints are created equal—especially when it comes to aluminum’s unique surface. The right topcoat depends on your project’s use, durability needs, and the look you want to achieve. Here’s what you need to know:
Imagine you’re painting aluminum siding: acrylic latex is your best bet for color retention and flexibility. For wheels or a boat hull, epoxy or polyurethane gives you the toughness and protection needed for harsh conditions.
Wondering how to spray paint aluminum for that ultra-smooth, even look? Or maybe you’re weighing the pros and cons of brushing versus rolling? Here’s how to choose—and how to apply your topcoat like a pro:
Each method has its place—spraying for a professional, brush-free finish; rolling for speed and coverage; brushing for control and detail. For best results, always follow the paint manufacturer’s instructions for application and drying times.
Imagine tackling how to paint aluminum wheels: you’d prep, prime, and then spray several thin coats of epoxy or polyurethane, letting each layer dry fully. For siding, rolling on acrylic latex in two or three thin coats will give you a weather-resistant, vibrant finish that lasts.
Once your final coat is on and you’re satisfied with the coverage and sheen, resist the urge to touch or handle the surface. The drying and curing stage is just as important for durability as the painting itself. Up next, let’s explore how to give your project the time it needs to reach full strength—and when to consider a protective clear coat for maximum longevity.
Ever finished painting your aluminum patio set or boat, only to see fingerprints, scratches, or dull spots appear days later? Or maybe you’ve repainted window frames, but the finish never seems as tough as you’d hoped. The reason often comes down to one overlooked step: the difference between drying and curing—and why patience is your best tool for a professional result.
It’s easy to think your project is done once the paint feels dry to the touch. But here’s where many DIYers (and even some pros) go wrong. Drying simply means the solvent or water in the paint has evaporated from the surface, and the paint won’t come off on your fingers. Curing, on the other hand, is the chemical process that gives the paint its full hardness, durability, and resistance to chemicals or weather. For aluminum projects—whether you’re learning how to paint aluminum boat hulls, patio furniture, or window frames—this distinction is crucial.
Imagine painting an aluminum boat in spring: if the temperature dips below 50°F at night or humidity spikes, expect the paint to cure much more slowly. Handling or exposing the surface to water before it’s fully cured can lead to smudges, loss of gloss, or even peeling.
Now, let’s talk about the unsung hero in any outdoor aluminum paint job: the clear coat or sealant. While not always mandatory, a clear coat provides an extra layer of protection against UV rays, moisture, salt spray, and physical wear—especially important for high-exposure projects like:
Applying a clear coat is straightforward but timing is everything: wait until your colored topcoat is fully dry (ideally, after 24 hours), then apply the sealer in thin, even layers. Allow each layer to dry completely before handling or exposing to the elements.
Patience during the curing phase is what guarantees a durable, long-lasting paint job.
So, whether you’re tackling how to paint aluminum patio furniture or restoring an aluminum boat, don’t rush the final cure. Give your project the time it needs and consider a protective sealer for those high-wear, outdoor, or marine applications. This last bit of patience is what separates a quick fix from a finish that lasts for years. Next, let’s recap the entire process and explore professional alternatives for flawless results.
Ever look at a freshly painted aluminum door or a set of gleaming alloy wheels and wonder how the pros get such a flawless, durable result? The secret isn’t just in the paint—it’s in the process. Whether you’re learning how to paint aluminum metal for a DIY project or tackling something bigger, the formula for success is always the same:
Follow these steps, and you’ll achieve a paint job that stands up to weather, wear, and time—whether it’s an aluminum door, patio furniture, or alloy wheels. But as you’ve seen, each phase requires attention to detail and a fair amount of time and effort.
Sounds complex? That’s because achieving a truly professional, factory-grade finish on aluminum is a demanding process. Even with the best prep and products, DIY painting can’t always match the durability, consistency, or aesthetics of professional powder coating or pre-finished materials. For high-visibility projects—like storefronts, commercial signage, or architectural details—or for anyone who values long-term performance over short-term savings, it’s worth considering a professional solution.
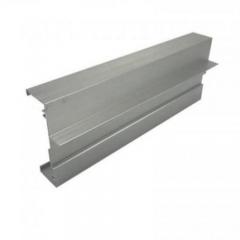
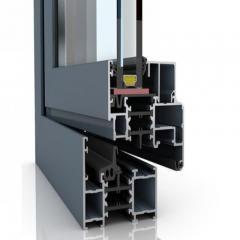
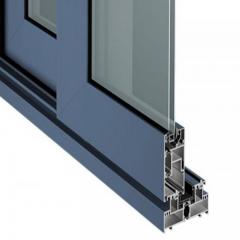
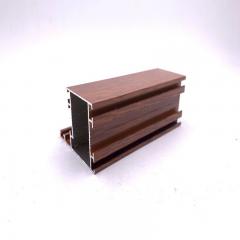
For large projects, commercial builds, or when only the best will do, starting with pre-powder coated profiles can be more cost-effective and reliable than painting aluminum yourself. Shengxin Aluminum—a leading professional aluminum profile manufacturer—offers expertly pre-powder coated solutions that provide a perfect, durable finish from day one, eliminating the risks and labor of DIY painting.
So, whether you’re set on mastering how to paint aluminum alloy wheels in your garage or you need a flawless finish for an entire building, you now have the knowledge to choose the best path. For most DIYers, the satisfaction of a job well done is its own reward. But when only perfection will do, professional-grade alternatives are just a click away.
For aluminum surfaces, 100% acrylic latex is ideal for siding and window frames, while epoxy or polyurethane paints work best for high-wear items like boats and wheels. Always choose paints labeled for metal and, for outdoor use, ensure they’re rated for exterior conditions to maximize durability and color retention.
Yes, aluminum requires a primer for optimal paint adhesion. A self-etching primer is essential for bare or raw aluminum, as it chemically bonds to the metal and creates a durable base for the topcoat. Skipping this step often leads to peeling or flaking paint, especially in outdoor or high-traffic environments.
Absolutely. Sanding aluminum with 80–120 grit sandpaper removes the natural oxide layer and creates a textured surface, or 'tooth,' that allows primer and paint to adhere securely. Finer grits (220–320) can be used for smoothing before priming, and a final wipe-down ensures no dust remains.
Begin by removing loose debris, then use a solvent-based degreaser like acetone or mineral spirits to eliminate grease and residue. Rinse thoroughly with clean water and dry with a lint-free cloth. Avoid ammonia-based cleaners, as they can react with aluminum and damage the surface.
For large-scale, commercial, or high-visibility projects where flawless durability and finish are critical, professional solutions like pre-powder coated aluminum profiles from manufacturers such as Shengxin Aluminum are recommended. These products offer consistent quality and longevity, saving time and reducing long-term maintenance.


 บริการออนไลน์
 0086 136 3563 2360
 sales@sxalu.com
 +86 136 3563 2360
 ไทย
ไทย English
 français
 Deutsch
 русский
 español
 português
 العربية
 Việt
Việt Українська