
Ever wondered why your aluminum cuts don’t look as sharp as you’d like? Or maybe you’re tackling a project at home and aren’t sure which tool will give you that professional edge. Cutting aluminum might seem straightforward, but the difference between a rough edge and a clean, precise finish comes down to understanding the right techniques—and respecting a few critical safety rules.
Aluminum is prized for its versatility and strength, making it a favorite for everything from home DIY projects to aerospace applications. However, its unique properties—like high thermal conductivity and relatively low melting point—mean that improper technique can lead to warped edges, excessive burrs, or even safety hazards. Whether you’re learning how to cut aluminum at home or aiming for a flawless finish in a workshop, the right approach ensures not only a clean cut but also preserves the material’s integrity and your own safety.
Always wear ANSI-approved safety glasses, hearing protection, and gloves when cutting aluminum. Metal chips and sharp edges can cause serious injuries if you’re not properly protected.
This guide breaks down every step of the process—from choosing the right safety gear and prepping your workspace to selecting the best tool for your specific aluminum project. You’ll discover practical tips on how to cut aluminum cleanly, how to clamp and mark your material for accuracy, and how to achieve a professional finish, whether you’re using hand tools or advanced machinery. Each technique is supported by industry best practices and real-world examples, ensuring you get results that look—and perform—as good as you imagined.
When you’re ready to start a project—whether it’s learning how to cut a sheet of aluminum or tackling aluminum siding for a home upgrade—the first step is always preparation. Sounds simple? It’s the difference between a clean, professional cut and a frustrating, potentially dangerous experience. Let’s break down exactly how to set yourself up for success.
Imagine making your first cut, only to realize you forgot your gloves or didn’t mark your line straight. You’ll notice that even seasoned pros never skip the basics. Before you reach for any tool, make sure you’re protected and your work is clearly laid out. Here’s a practical safety and prep checklist to follow:
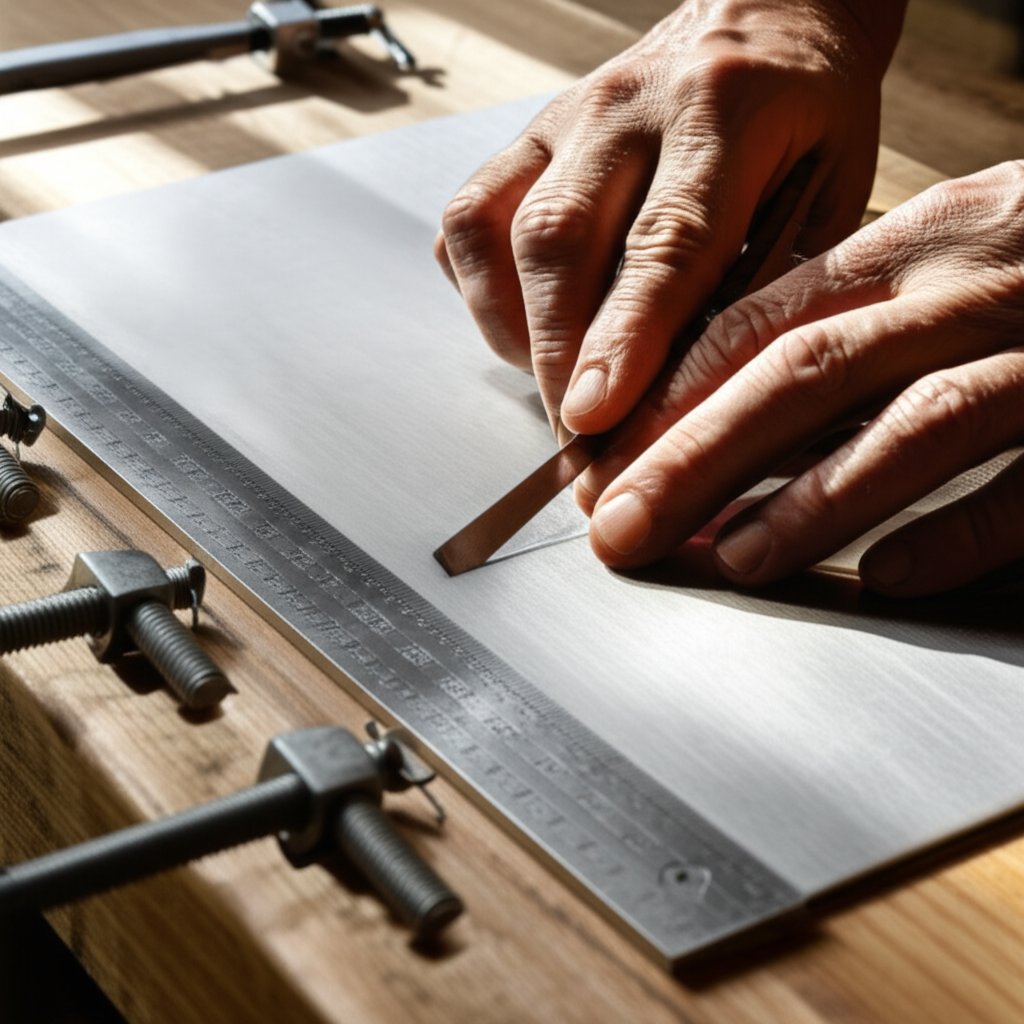
Picture this: you’re halfway through cutting aluminum by hand, and the piece slips—resulting in a jagged edge or worse, an injury. To avoid this, always clamp your material securely before cutting. For thin sheets, use multiple clamps spaced evenly to prevent flexing. When working with longer pieces like aluminum siding, support both ends on a stable surface. If you’re cutting round or irregular shapes, soft-jawed vises or specialty clamps can help prevent dents and scratches.
With your workspace safe, your material marked, and everything locked firmly in place, you’re now ready to choose the best tool for the job. The next section will guide you through selecting the ideal saw, snip, or grinder for your specific aluminum project.
When you face a shiny sheet of aluminum, a thick extrusion, or a round pipe, the first question is always: which tool will give you the cleanest, safest, and most efficient cut? The answer depends on your material’s thickness, the type of cut you need, and the tools you have on hand. Let’s break down your options so you can approach your next project—whether it’s learning how to cut aluminum sheet for a backsplash or how to cut thick aluminum tubing for a custom rack—with confidence and precision.
Imagine you’re cutting a thin piece of flashing for a window, then switching to a heavy aluminum pipe for a railing. The ideal tool changes with the job. Here’s how to match the tool to the task:
Still not sure which tool fits your needs? The table below compares the most common options for how to cut aluminum sheet, thick aluminum, pipe, and tubing—so you can make the best choice for your project.
| Tool | Best For (Material Type) | Pros | Cons |
|---|---|---|---|
| Miter Saw | Aluminum extrusions, thick tubing, pipe, angle |
|
|
| Circular Saw | Aluminum sheet (thin to moderately thick), straight cuts |
|
|
| Jigsaw | Curved cuts, intricate shapes, moderate thickness |
|
|
| Angle Grinder | Rough cuts, demolition, trimming thick sections |
|
|
| Hand Snips (Aviation Snips) | Thin aluminum sheets, flashing, soffit, short cuts |
|
|
Choosing the right tool is the foundation for achieving clean, accurate cuts—no matter if you’re working on how to cut aluminum pipe for a custom fixture or slicing thin sheet for decorative panels. Remember, always pair your tool with the correct blade (look for those labeled for non-ferrous metals with a high tooth count) and take the time to clamp your work securely. With the right setup, you’ll spend less time correcting mistakes and more time building something you’re proud of.
Now that you’ve selected your ideal tool, the next step is mastering the actual cutting process—starting with power saws and the blades that make all the difference.

When your project calls for precision—like learning how to cut aluminum extrusion or slicing through extruded aluminum angle—power saws are your best ally. But before you fire up that miter or circular saw, it’s crucial to set yourself up for clean, safe, and accurate results. Let’s break down the essentials, from blade choice to the final, satisfying pass through your material.
Imagine you’re tasked with trimming a length of aluminum angle for a custom frame. The right saw and blade can mean the difference between a smooth, burr-free edge and a rough, jagged cut that needs hours of cleanup. Here’s what you need to know:
Not all blades are created equal, especially when it comes to how to cut aluminum angle with a circular saw or tackling thick extrusions. Using the wrong blade risks gummed teeth, rough edges, and even tool damage. Here’s a checklist to make sure you’re set up for success:
Whether you’re mastering how to cut aluminum extrusion for a custom build or trimming an angle for a precision frame, following these steps will give you professional, repeatable results. Next, we’ll look at hand tool techniques that come in handy for thinner materials and detailed work.
Ever looked at a roll of aluminum flashing or a section of gutter and wondered, "Can I really cut this cleanly at home without fancy machinery?" The answer is yes—if you know which hand tool to use and how to use it. Whether you’re learning how to cut aluminum sheet metal for a DIY backsplash, trimming gutters for a home repair, or shaping soffit and flashing for weatherproofing, hand tools like aviation snips and hacksaws are your go-to solutions for thin materials. Let’s break down the process and help you get professional results, even on your first try.
When it comes to thin aluminum—think sheet metal under 1/16 inch, soffit, flashing, or standard gutters—hand tools offer precision and control without the need for power. Here’s how to choose and use the right tool for your project:
Aviation snips, sometimes called "sheet snips," are designed specifically for cutting sheet metal, and they excel at both straight and curved cuts. You’ll find three main types, color-coded for quick selection:
Imagine you’re shaping aluminum flashing around a window—choose red or green snips for tight curves, or yellow for long, straight sections. Aviation snips can typically handle aluminum up to 18 gauge, making them perfect for most residential projects (Monroe Aerospace).
When you need to make a straight cut through thicker sheet, a gutter section, or a soffit that’s too rigid for snips, a hacksaw is your best bet. Here’s how to get a smooth, accurate cut:
When tackling how to cut aluminum gutters, soffit, or flashing, always measure and mark your cut line clearly. Use a straightedge for accuracy. For long, straight cuts, start with aviation snips for the initial incision, then finish with a hacksaw if needed. For curved or detailed work, stick with the appropriate snip color for the direction of your cut. No matter the tool, always wear gloves and safety glasses, as thin aluminum edges can be razor-sharp.
Mastering these hand tool techniques means you’ll be ready for almost any thin aluminum project around the home. Next, we’ll show you how to finish those cuts for a professional, safe edge that’s ready for installation or paint.
Ever picked up a freshly cut piece of aluminum and felt the sharp, jagged edge? Whether you’re working on how to cut aluminum diamond plate for a toolbox, trimming an aluminum threshold, or just want to know how to cut aluminum cleanly for any project, the job isn’t finished until the edges are safe and smooth. Let’s walk through the essential finishing steps that separate a DIY job from a truly professional result.
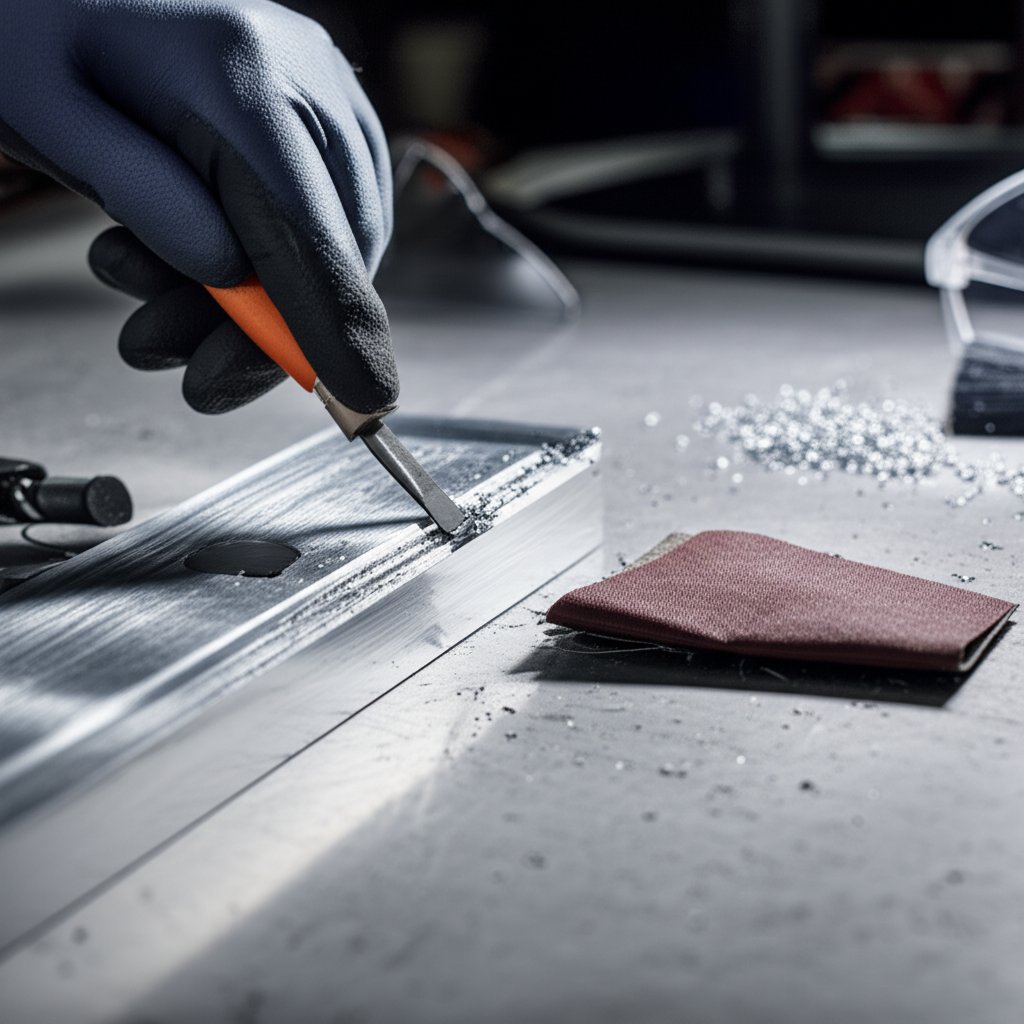
When you cut aluminum—no matter the method—you’ll almost always be left with burrs: those tiny, sharp fragments clinging to the cut edge. Burrs aren’t just unsightly; they can cause serious injuries or damage finished products if left untreated. Imagine running your hand along a cut aluminum threshold or installing diamond plate with rough edges—one wrong move and you’re dealing with a nasty cut or a ruined finish. That’s why deburring is a non-negotiable step in any aluminum project.
"A clean, deburred edge isn’t just about looks—it’s essential for safety, preventing injuries, and ensuring your aluminum parts fit and function perfectly in their final application."
Want your aluminum to truly shine—literally? After deburring, you can take the finish further by sanding in stages and, if desired, buffing to a satin or even mirror-like finish. Here’s a simple progression:
As you finish, periodically wipe the edge with a clean cloth to check your progress and remove any sanding dust. This is especially important before painting or anodizing, as a clean, smooth edge helps coatings adhere better and last longer.
By giving attention to deburring and finishing, you don’t just make your aluminum parts look great—you make them safer and more durable, too. With your edges now perfectly smooth, you’re ready to tackle any final adjustments or address common issues that can arise during cutting, which we’ll cover in the next section.
Ever started cutting aluminum—maybe a rain gutter, downspout, or thick plate—only to find the blade jams, the edge looks ragged, or your piece warps out of shape? If so, you’re not alone. Even experienced DIYers and pros run into these issues. The good news? Each problem has a clear solution. Let’s walk through the most common aluminum cutting headaches and how to fix them, so your next project goes smoothly from start to finish.
By understanding and troubleshooting these common problems, you’ll make cleaner, safer, and more professional cuts—whether you’re learning how to cut aluminum rain gutters, downspouts, or heavy plate. With these solutions in hand, you’re ready to start your next project with confidence. Next, discover why starting with high-quality aluminum stock makes every step easier and your results even better.
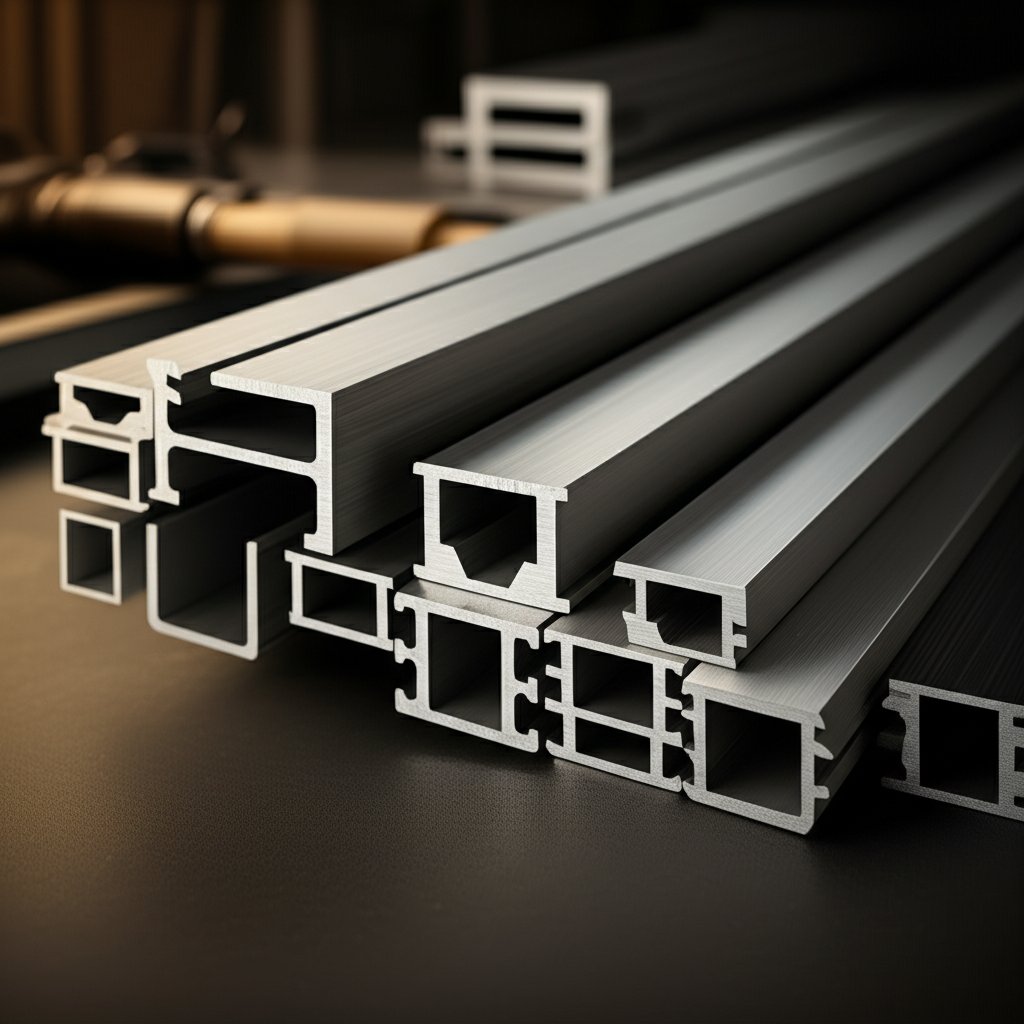
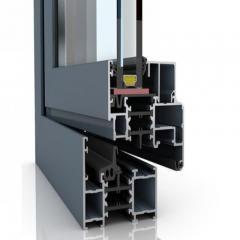
Ever wondered why some cuts are effortless and precise while others seem to fight you every step of the way? The secret often lies in the quality of your aluminum stock. When you’re learning how to cut aluminum extrusions, railing, or deck railing, starting with professional-grade material isn’t just a nice-to-have—it’s the foundation for clean, predictable results.
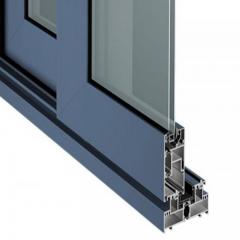
Imagine you’re about to cut an aluminum extrusion for a custom railing. If the profile’s alloy composition varies or the dimensions are inconsistent, you’ll notice the saw binds, the edge tears, or the fit isn’t quite right. High-quality aluminum profiles—especially those made from consistent alloys like 6061 or 6105-T5—offer uniform strength, reliable machinability, and precise dimensions. This means your power saw glides through the metal, your hand tools cut cleanly, and every joint fits as planned.
Consistent, professional-grade profiles also minimize surprises—like hidden hard spots, warping, or excessive burrs—so you spend less time troubleshooting and more time building. Whether you’re cutting a single deck railing or fabricating a full modular frame, the right starting material is your best insurance for a project that comes together smoothly.
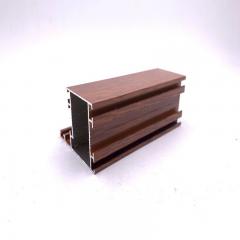
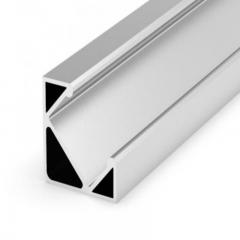
So, where do you find aluminum that meets these high standards? For small DIY projects, local suppliers or hardware stores may offer basic extrusions. But when your project demands custom dimensions, advanced finishes, or bulk quantities—like outfitting an entire deck or building automation frames—partnering with a specialized manufacturer like Shengxin Aluminium is the smart move. Suppliers who focus on high-quality aluminum, such as those offering modular T-slot systems (like 8020 aluminum), provide not only superior material but also expert guidance to help you select the right alloy and profile for your needs.
The techniques in this guide work best with high-quality stock. For professional aluminum solutions, visit Cut Aluminum to see how a top-tier supplier like Shengxin—professional aluminum profile manufacturer in China—can elevate your project from the start. With the right materials in hand, you’ll find that every cut is cleaner, every fit is tighter, and your finished project stands out for its precision and durability.
The best tool depends on your project and aluminum thickness. For thick extrusions or pipes, a miter saw with a carbide-tipped, non-ferrous metal blade gives precise, clean cuts. For sheets or long straight cuts, a circular saw is effective. For thin sheets, gutters, or flashing, aviation snips or a hacksaw work well. Always choose a blade designed for aluminum and clamp the material securely for safety and accuracy.
To cut aluminum by hand, use aviation snips for thin sheets and a hacksaw for thicker pieces or gutters. Mark your line with a scribe or marker and secure the material with clamps or a vise. Cut slowly and steadily, letting the tool do the work. After cutting, deburr the edge with a file or sandpaper for safety and a smooth finish.
Yes, for power saws, use a carbide-tipped blade specifically labeled for non-ferrous metals like aluminum. Choose a blade with a high tooth count (60–100 teeth for a 10-inch blade) and a negative or neutral rake angle. This helps prevent rough edges, reduces burring, and extends blade life.
To minimize burrs, use a sharp, high-tooth-count blade designed for aluminum and cut slowly with proper lubrication. After cutting, always deburr the edge using a deburring tool, file, or sandpaper. Supporting and clamping the material securely also helps achieve smoother results.
High-quality aluminum profiles offer consistent alloy composition and precise dimensions, making cuts cleaner and more predictable. Using professional-grade stock reduces the risk of blade binding, warping, and uneven edges, ensuring your finished project is safer and more durable.


 บริการออนไลน์
 0086 136 3563 2360
 sales@sxalu.com
 +86 136 3563 2360
 ไทย
ไทย English
 français
 Deutsch
 русский
 español
 português
 العربية
 Việt
Việt Українська