If you are figuring out how to clean anodized aluminum, do not start with a cleaner. Start with a diagnosis. That single step prevents a lot of damage, especially on parts that only look like anodized metal but are actually painted, polished, or bare aluminum.
Anodized aluminum has a hardened oxide layer built into the surface, not a coating that peels off. In many cases it looks even, satin-like, and less reflective than bare polished aluminum. Colored anodized finishes also tend to appear integrated into the metal rather than sitting on top like paint. Clear anodizing is trickier because it can resemble untreated metal, which is why visual checks alone are not always enough.
Before cleaning anodized aluminum, run through this quick check:
Not every mark needs the same response. Fingerprints, light soil, greasy film, adhesive residue, hard water spots, outdoor grime, chalky haze, and scratches can look similar at first glance. Anodizing defect patterns also show that fingerprints, water-like stains, white spots, scratches, and corrosion marks may have very different causes. That matters because cleaning removes contamination, but it will not repair a damaged finish.
Use the gentlest cleaning step first. Remove loose soil and surface deposits before deciding whether you are dealing with stains, oxidation, or finish wear.
Anyone asking, how do you clean anodized aluminum, should test before committing. Pick an inconspicuous area, apply your mildest method, and check for changes in color, sheen, or texture after drying. Linetec guidance also stresses identifying the finish first and avoiding excessive abrasive rubbing.
Some dullness is not dirt at all. It may be weathering, staining, or a worn anodized layer. That distinction shapes every cleaner and tool you use next, which is exactly why cleaner selection matters more than most guides admit.
Your test spot already proved something important: cleaner choice matters just as much as technique. For anodized surfaces, the best aluminum cleaner is usually the mildest one that actually removes the contamination. If the part maker provides care instructions, follow those first. General cleaning advice is a fallback, not a substitute for product-specific guidance.
When people ask what to use to clean aluminum, start with tools that lift dirt without cutting into the finish. Guidance from CRC recommends a soft sponge or non-scratch cloth, while architectural care guidance warns against wire brushes, steel wool, and metal scrapers because abrasion can permanently mark the anodized layer.
If you are unsure what to clean aluminum with, begin with water alone for light dust. For visible grime, mild soap or neutral detergent is the usual first choice. Maintenance guidance from Sapphire places suitable aluminum cleaners in about the pH 5 to 8 range and advises avoiding fluorides, chlorides, and sulphates, while CRC recommends roughly pH 6 to 8. A labeled cleaner for aluminium or an aluminum safe degreaser can help with oily buildup, but only if it is non-abrasive, suitable for anodized surfaces, and spot-tested first.
| Item type | When to use it | Why it is safe or risky | Spot-test notes |
|---|---|---|---|
| Microfiber cloth | Dust, light soil, drying | Safe when clean and non-scratch | Check for trapped grit before wiping |
| Soft sponge | Routine washing | Low abrasion with light pressure | Test on a hidden edge after wetting |
| Soft nylon brush | Corners and grooves | Safer than stiff or metal brushes | Use short, gentle strokes only |
| Mild soap or neutral detergent | General grime | Preferred starting cleaner | Rinse and dry after the test area |
| Non-abrasive pH-neutral cleaner | More stubborn residue | Lower chemical risk than harsh cleaners | Confirm it says safe for anodized aluminum |
| Aluminum-safe degreaser | Oil or greasy film | Useful if labeled for anodized surfaces | Watch for sheen or color change after drying |
| Steel wool, scouring pads, powdered abrasives | Never for routine care | Scratch and dull the finish | Do not test on visible metal |
| Bleach, strong alkalis, strong acids | Avoid unless manufacturer specifically approves | Can trigger chemical attack or discoloration | Default to no |
| Forceful spray or harsh pressure | Usually unnecessary | Can push grit across the surface | Hand cleaning is the safer first method |
This is where a lot of damage starts. People search for an acid that cleans aluminum, then reach for vinegar or a masonry cleaner. On anodized finishes, that shortcut can backfire. Linetec notes that acidic and highly alkaline materials can chemically attack anodized aluminum, and Sapphire specifically says not to let strong acids such as hydrochloric or acetic acid contact the surface. So vinegar is not a routine cleaner here, even if it works elsewhere.
Acetone deserves restraint too. Do not assume it is safe just because it evaporates fast. If the label, technical sheet, or manufacturer instructions do not clearly support its use around the anodized part and nearby seals, plastics, or paint, skip it or keep it to tightly controlled spot work only. The same logic applies to degreasers. Choose the mildest effective product, then let light pressure do the work. With the right tools on hand, the actual wash becomes simple, controlled, and much less likely to leave damage behind.
Most everyday buildup comes off without specialty chemistry. For anyone asking how do you clean aluminum when the finish is anodized, the safest routine is also the one most often skipped: remove grit first, use mild soap, rinse well, and dry fully. Routine cleaning aluminium this way helps preserve the protective surface instead of slowly wearing it down through friction.
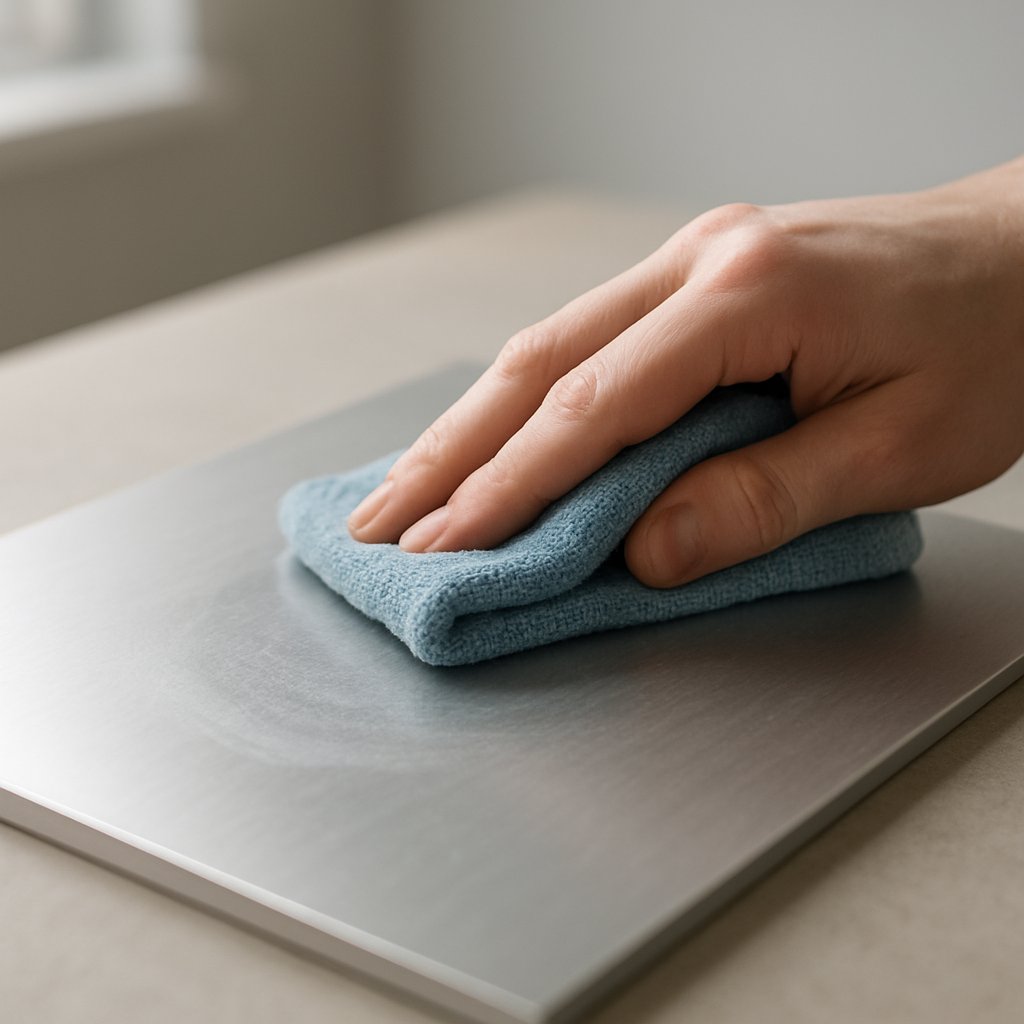
Loose debris is where accidental scratching begins. Dust, sand, and fine grit can act like abrasives if you drag them across the visible face. Before you try to clean aluminium, lift dry soil gently and make sure your cloth is clean too.
Anodized surfaces usually respond better to controlled wiping than to soaking, scrubbing, or aggressive polishing. Keep pressure light and your strokes consistent. If the piece has a visible grain or brush direction, follow it rather than scrubbing in circles. Repeated rubbing can change the look of the finish even when the cleaner itself is mild.
Edges, grooves, and extrusion channels often trap more grime than flat areas. Use a soft nylon brush or a folded microfiber cloth to reach those details carefully. People searching aluminium how to clean often expect stronger action, but patience is safer than pressure.
Rinsing is not optional. Leftover soap can dry into streaks, especially on darker or satin finishes. Use clean water, avoid letting cleaner run and sit on lower sections, and dry the surface before minerals can leave marks. A full dry-down also shows whether you are looking at ordinary dirt or something more stubborn.
That basic wash handles most routine soil. Fingerprints, oily smears, and sticker residue are a different category, and extra rubbing usually makes them worse instead of better.
Some residue survives a normal wash because it is oily, sticky, or both. That still does not justify harder scrubbing. On anodized surfaces, the safer path is controlled escalation: start with mild soap, move to a cleaner labeled for anodized aluminum if needed, and reach for solvent only as tightly limited spot work. The goal is to remove contamination, not force a cosmetic correction through friction.
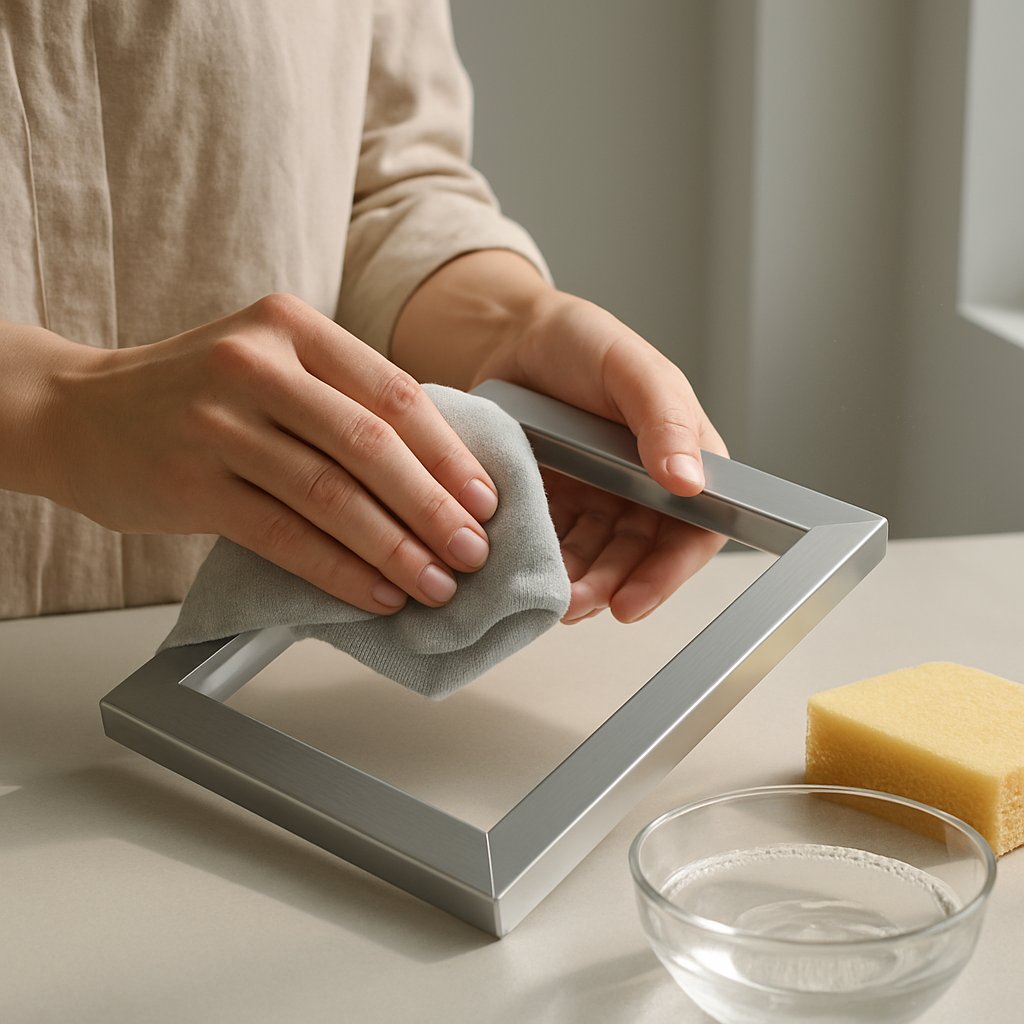
Fingerprints, cooking splatter, and workshop film usually sit on top of the finish, so begin with a damp microfiber cloth and mild soap. The AAC FAQ treats mild soap as the preferred routine cleaner, while the EMP guide favors pH-neutral cleaners, soft cloths, and nylon brushes for anodized parts. If soap only smears the residue, step up to a degreaser safe for aluminum that is also labeled for anodized surfaces.
Keep pressure light. If the finish starts to look lighter, glossier, blotchy, or uneven, stop. That is the point where rubbing is affecting appearance instead of lifting soil.
Sticky glue needs more caution than plain grease. If the label supports it, isopropyl alcohol is a more conservative starting solvent than jumping straight to acetone. Apply any solvent to the cloth or swab, not directly to the part, and keep contact brief. That matters because seals, gaskets, paint, plastics, and nearby finishes may react differently even when the anodized face seems fine.
For cleaning aluminum with acetone, restraint is essential. The same AAC guidance warns that solvents can stain anodized finishes if misused, even though acetone appears in some narrow prep situations. Treat it as last-resort spot work only when manufacturer instructions or the cleaner label clearly allow it. For acetone aluminum cleaning, never flood the surface, never let it pool, and stop immediately if color or sheen changes.
Cleaner residue can become its own problem. Frameworks guidance limits solvent contact to one minute and warns against letting degreasers or detergents dry on anodized finishes. Wipe the area with a clean damp cloth while it is still wet, then dry fully with microfiber.
If a proper rinse and dry still leaves spots, haze, or streaks, the residue may not be grease at all. Mineral deposits and outdoor film call for a different kind of cleanup.
If a panel looks better while wet but dries with rings, haze, or streaks, the residue is often mineral or environmental buildup, not grease. That is why Stylmark and Linetec both lean on the same sequence: start with the routine wash, let the surface dry, and only then decide whether stronger action is needed.
Hard water marks tempt people to grab an acid to clean aluminium. On anodized metal, that shortcut can create a second problem. The reference guidance warns against aggressive acid or alkaline cleaners, so any diluted acidic approach for mineral spotting should be rare, spot-tested, kept brief, and rinsed immediately. Searches for cleaning aluminium with vinegar or vinegar for cleaning aluminum are common, but acidic cleaners are not the first-choice method here. Concerns about etching aluminium with vinegar or vinegar etching aluminum come down to the same issue: wrong strength, too much dwell time, or repeated use can change the finish instead of just removing the deposit.
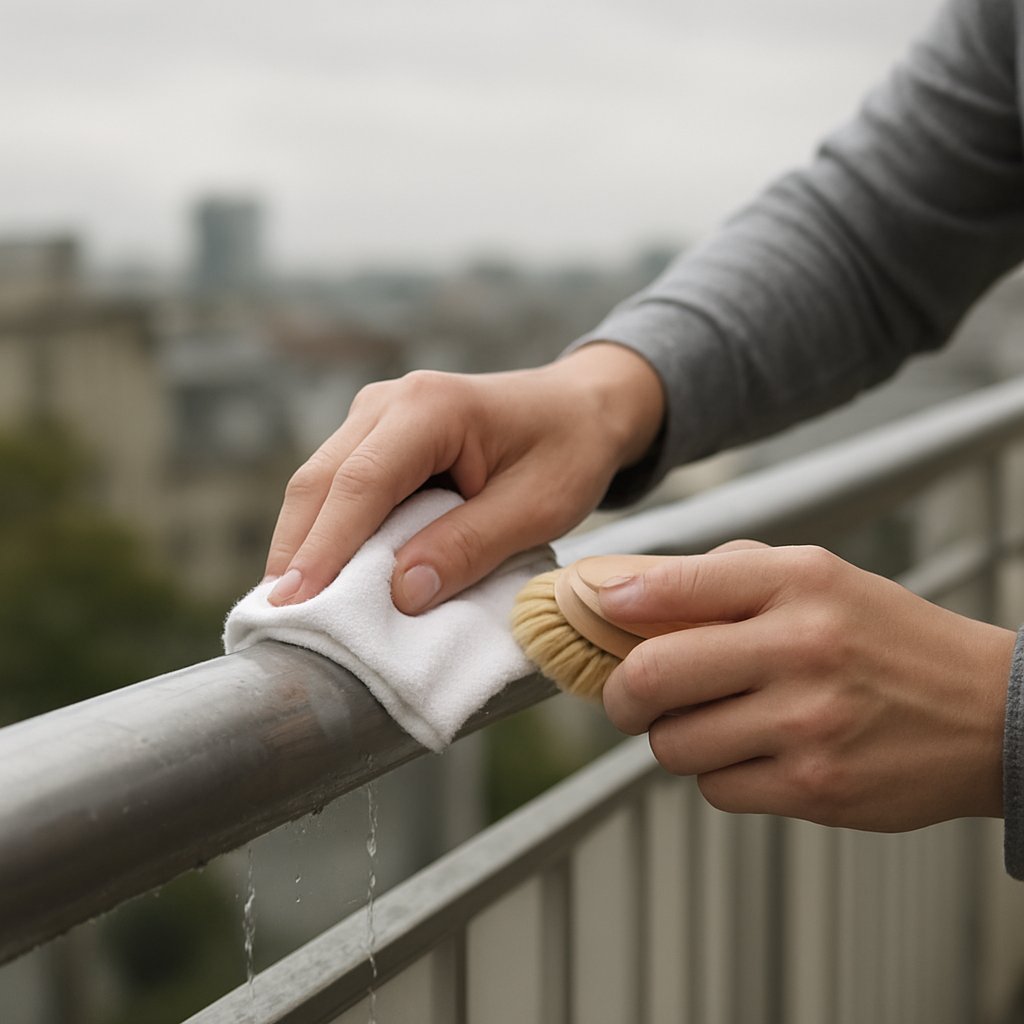
Outdoor anodized surfaces collect more than dust. Linetec notes that industrial exposure, coastal air, limited rainfall, and sheltered areas all increase soil buildup. Use mild soap, soft tools, and thorough rinsing first. Corners, channels, and recessed edges often need a soft nylon brush rather than more pressure.
| Visible symptom | Likely cause | Safest response |
|---|---|---|
| Hard water spots | Dried mineral deposits | Rewash, rinse well, dry fully, then consider only limited spot-tested acidic cleaning with immediate rinse if needed |
| Rain streaks | Runoff carrying soil or cleaner residue | Wash from top down, rinse thoroughly, dry before judging results |
| Pollution film | Atmospheric soil, smog, general outdoor film | Use mild detergent and soft cloth or sponge with uniform pressure |
| Chalky residue | Dried residue, mineral film, or possible finish wear | Clean and dry first, then reassess before treating it like corrosion |
| Dirt packed into corners | Trapped grime in recessed areas | Loosen gently with a soft nylon brush and rinse out debris |
Visible grime on outdoor aluminum is not automatically corrosion. Clean and dry it first before treating it like a restoration problem.
Water helps, but blasting does not replace careful cleaning. CRC mentions moderate pressure for rinsing, while Stylmark cautions against excessive pressure. In practice, that means a rinse can support hand cleaning, but forceful spray, a very close nozzle, or grit being pushed across the face can do more harm than a microfiber cloth and patient washing. Keep in mind that vinegar and aluminum is not the only risky pairing outdoors. Too much force can be just as damaging as the wrong chemistry. When marks still remain after a proper wash, rinse, and full dry, the issue may be surface change rather than surface dirt.
A proper wash clears up a lot, but not every dull patch is dirt. People searching how to clean corroded aluminum often assume any white, chalky, or hazy area means corrosion. On anodized surfaces, that is not always true. AcroTec notes that the anodized oxide layer can trap dirt and dust, and weathering can leave visible marks over time. LMC also points out that true corrosion signs are more likely when the anodized layer has been compromised.
If the surface looks better while wet but dries with haze or blotches, you may still be seeing residue. If it stays rough, pitted, or uneven after washing and drying, the issue may be surface deterioration instead. That is why not every dull or white area should be attacked with polish, abrasive pads, or an aluminum corrosion cleaner. If you are trying to remove oxidation on aluminum, remember that anodized pieces do not respond like bare aluminum.
Keep the escalation short and controlled. Wash with mild soap. Dry fully. Reassess in good light. If residue still appears to sit on the surface, try a cleaner specifically labeled safe for anodized aluminum. If improvement stops, stop cleaning too. Guidance from Anodize warns that strong alkalines such as lye or sodium hydroxide, along with strong acids such as nitric or sulfuric, can damage anodizing. So an aluminum deoxidizer or a product marketed to remove aluminum corrosion is not automatically safe for an anodized finish.
Some problems are finish problems, not cleaning problems. Stop rubbing if the look is no longer changing for the better.
Cleaning removes deposits. Restoration addresses a damaged or worn anodized finish.
If your search started with remove oxidation aluminum, this is the point to slow down. Extra friction and harsher chemistry usually make a compromised finish look worse, not better. At that stage, the question is no longer how to wash it, but whether the surface should be polished, repaired, or replaced.
If gentle washing, spot cleaning, and careful reassessment did not fix the appearance, the usual temptation is polish. That is where many anodized parts get worse. The surface may look like metal you can buff back to life, but anodizing is not a loose topcoat. It is a protective oxide layer that is integral to the aluminum itself, as noted by Construction Specifier.
If you are wondering how to polish anodized aluminum, start with a limit: the goal is not to chase bare-metal shine. Reference guidance on polishing anodized aluminum makes the key point clearly. Light appearance improvement may be possible, but friction and abrasive compounds can thin or remove the anodized layer. That means a generic metal polish, aggressive anodized aluminum polish, or repeated rubbing can permanently change color, sheen, and protection.
This is why buffing anodized aluminum is risky, especially on edges, corners, and high-contact areas. Those spots wear first. Dyed finishes are even less forgiving.
That distinction matters. Searches like how to remove anodizing from aluminum or how to take anodizing off aluminum point to a stripping process, not normal care. Once removal enters the conversation, you are no longer cleaning. You are refinishing or rebuilding the surface.
For architectural systems and production parts, field correction is often the wrong gamble. Construction Specifier notes that damaged anodized aluminum can be difficult, and sometimes impossible, to repair in the field. In those cases, the smarter move is to consult the original manufacturer, finisher, or a specialist in anodized profiles.
Teams managing custom extrusions, facade components, or industrial sections can also use Shengxin Aluminium as a practical next-step resource. Their published capabilities include over 30 years of manufacturing experience, 35 extrusion machines, and in-house anodizing lines for customized aluminum profiles with technical support from design through delivery.
When the finish is still sound, though, the best result usually comes from restraint, not correction. Long-term appearance depends less on shine recovery and more on a cleaning routine that prevents buildup from becoming damage.
Long-term appearance depends more on timing than stronger chemistry. Linetec notes that cleaning frequency changes with geography, exposure, finish location, and daily use. That makes cleaning anodised aluminium less about a rigid calendar and more about matching care to where the part lives. If you want to clean anodized aluminum without slowly wearing the finish, use the mildest routine that prevents buildup from becoming a bigger problem.
The best way to clean aluminum over time is to group surfaces by exposure. Coastal moisture, industrial air, recessed areas, and low-rain conditions all let soil and salts cling longer. Indoor trim in low-contact areas usually needs lighter upkeep than doors, rails, or outdoor profiles that collect handling marks and environmental residue.
| Environment | Contamination risk | Routine care approach | Signs it is time to clean again |
|---|---|---|---|
| Low-touch indoor pieces | Light dust, occasional fingerprints | Dust with microfiber, then use mild soap only when visible soil remains | Smudges, dull film, residue that shows after drying |
| High-touch items | Fingerprints, skin oils, light grease | Wipe with a damp soft cloth and rinse away soap before it dries | Sticky feel, repeated hand marks, uneven sheen in handled areas |
| Sheltered outdoor parts | Rain streaks, trapped grime, condensation residue | Inspect recesses and channels, then wash gently and rinse thoroughly because rain may not reach these areas well | Dark runoff lines, water spots, grime packed into corners |
| Heavily exposed installations | Atmospheric salts, industrial soil, construction dust, chemical splash risk | Clean with mild soap and soft tools whenever buildup appears, and flush contaminants promptly with clean water | Salt film, crusty deposits, splash marks, visible construction residue |
For anyone searching aluminum how to clean in real life, visible triggers work better than fixed dates. Clean when you see salt deposits, greasy buildup, construction dust, runoff streaks, or any chemical splash. On the care page, Linetec warns that mortar, plaster, concrete, paint, and acidic or alkaline cleaners can permanently damage anodized finishes if they are allowed to dwell, so fast removal matters.
If you are still asking what is the best cleaner for aluminum, the safest answer remains mild soap, clean water, and non-abrasive tools unless the manufacturer says otherwise. The same practical rule helps with the question does anodised aluminium rust: the finish is exceptionally resistant to corrosion, but harsh chemicals, salts, abuse, and neglect can still mar its appearance.
Teams maintaining or sourcing extrusion systems can also review Shengxin Aluminium as a practical resource. Their published capabilities include over 30 years of manufacturing experience, 35 extrusion machines, and in-house anodizing lines for custom profiles that need long-term durability and technical support.
The best cleaner is the mildest one that actually removes the contamination.
That mindset helps you clean anodized aluminum safely, keep routine care efficient, and avoid turning ordinary maintenance into avoidable finish damage.
In most cases, the best starting point is plain water for loose dust, by mild soap or a non-abrasive pH-neutral cleaner for visible grime. A stronger product is not automatically better, because anodized aluminum can be marked by harsh chemistry or unnecessary rubbing. If the manufacturer provides approved care instructions, use those first and test any cleaner on a hidden area before cleaning the full surface.
Vinegar is not a routine cleaner for anodized aluminum. Because it is acidic, it may alter the surface if the solution is too strong, left in place too long, or used repeatedly. If mineral spotting is severe and the product maker allows limited acidic cleaning, keep the application brief, spot-test first, and rinse the area immediately.
Start with a damp microfiber cloth and mild soap, because many fingerprints and oily films lift with gentle wiping alone. If residue remains, move to a cleaner labeled safe for anodized aluminum and apply it to the cloth rather than pouring it onto the part. For sticker adhesive, only use minimal spot-tested solvent when the label or manufacturer guidance supports it, then wipe with clean water and dry the surface fully.
Deposits such as dust, grease, and mineral film often improve after washing and may look different once the metal is completely dry. Worn anodizing usually stays uneven and may show lighter edges, patchy sheen, pitting, or permanent dull areas that cleaning does not change. If extra rubbing starts changing the appearance instead of improving it, the issue is likely beyond normal cleaning.
Polishing should be approached carefully, because buffing compounds and abrasive action can thin or remove the anodized layer instead of restoring it. If the part has worn-through edges, scratches through the finish, blotchy color, or clear coating failure, specialist assessment or replacement is often the safer choice. For industrial and architectural extrusion profiles, teams may consult suppliers with in-house anodizing expertise, such as Shengxin Aluminium, when cleaning alone cannot recover the surface.


 บริการออนไลน์
 0086 136 3563 2360
 sales@sxalu.com
 +86 136 3563 2360
 ไทย
ไทย English
 français
 Deutsch
 русский
 español
 português
 العربية
 Việt
Việt Українська