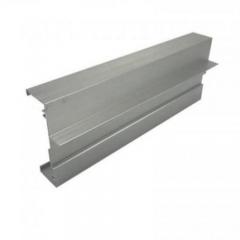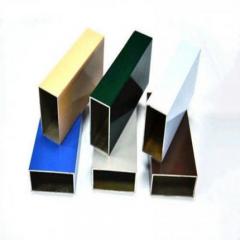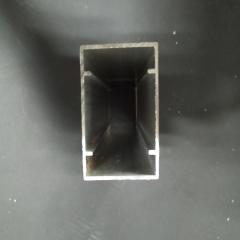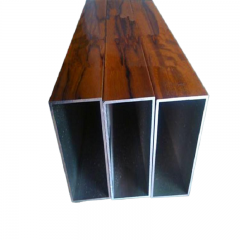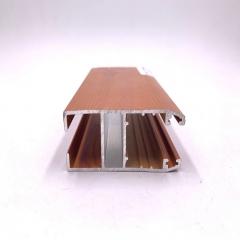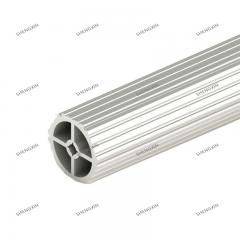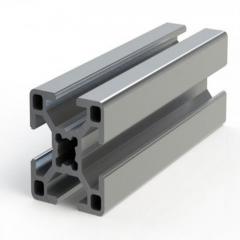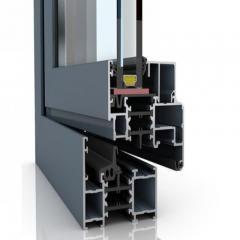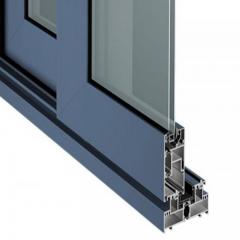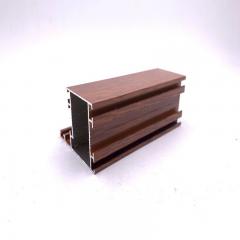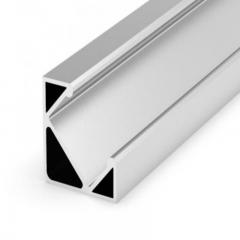
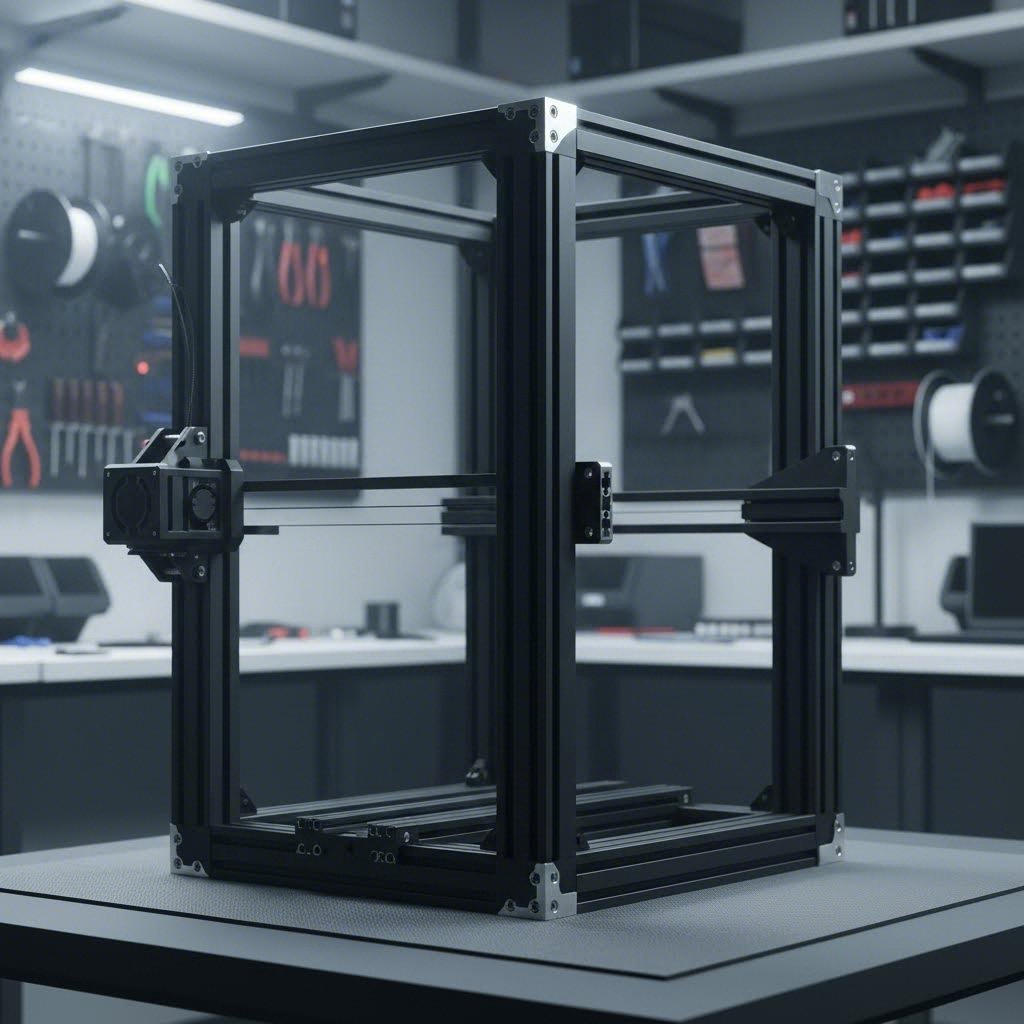
When you look at almost any quality 3D printer today, you'll notice something they have in common: a sturdy frame built from aluminum extrusion profiles. But what exactly is aluminum extrusion, and why has it become the gold standard for 3D printer frame construction? Simply put, aluminum extrusion is a manufacturing process where aluminum alloy is heated and pushed through a specially shaped die to create consistent, uniform profiles. Think of it like squeezing Play-Doh through a mold, except the result is precision-engineered structural components that form the backbone of your printer.
Before aluminum extrusion for 3D printer frames became widespread, builders relied on welded metal frames, wooden structures, or even 3D printed components. Each approach had significant drawbacks. Welded frames required specialized skills and equipment, offered zero flexibility for modifications, and any mistakes meant starting over. Printed frame alternatives lacked the rigidity needed for precise printing. Aluminum extrusion changed everything by introducing a modular framing system that anyone could assemble with basic tools.
The modular design of these frames means you can build, modify, and upgrade your printer without permanent commitments. Need to increase your build volume? Simply swap out a few extrusion parts for longer ones. Want to add a second Z-axis motor mount? Just slide in new brackets anywhere along the frame. This flexibility has made aluminum profiles the go-to choice for both commercial manufacturers and DIY enthusiasts building custom machines.
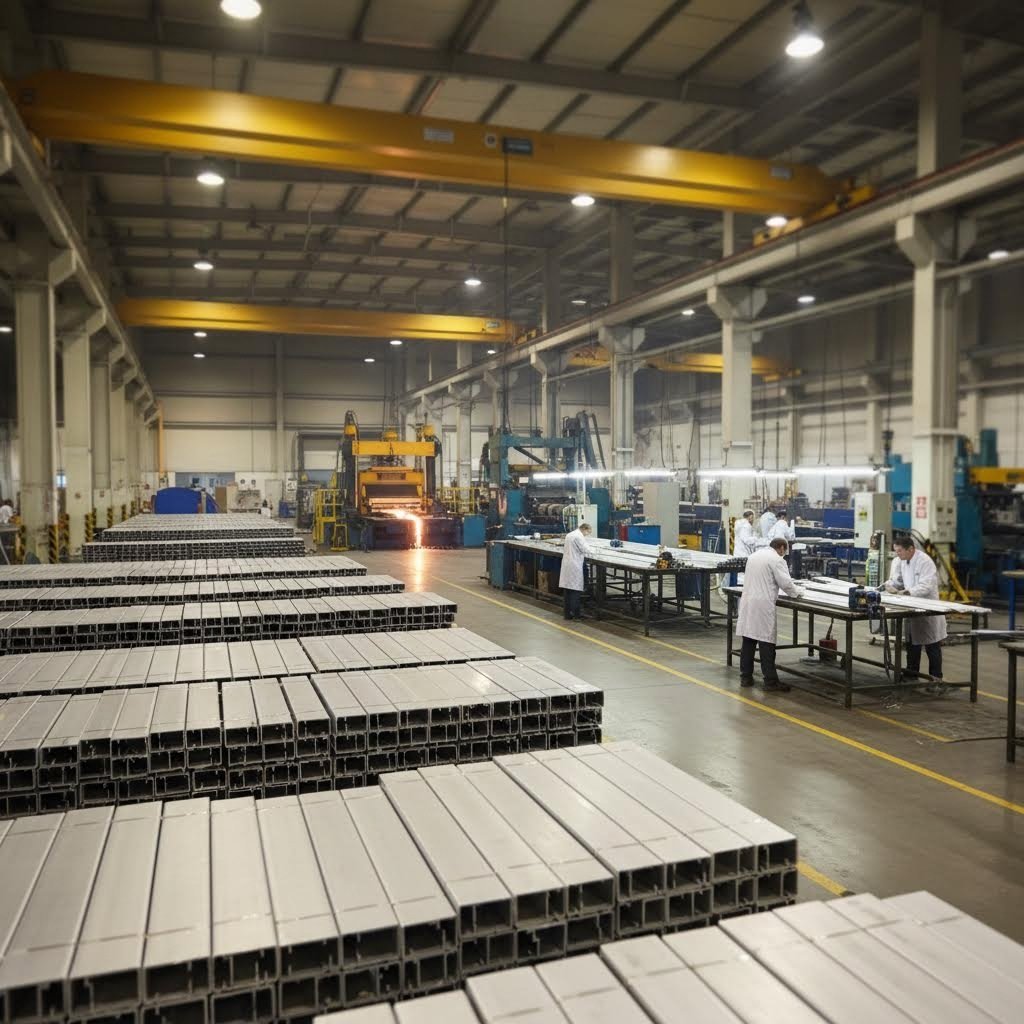
Understanding what is extrusion in 3d printing context starts with the manufacturing journey. According to manufacturing experts at Wayken, the process begins by preheating a cylindrical aluminum billet to 400-500°C, making it malleable but not molten. A hydraulic ram then applies up to 15,000 tons of pressure, forcing the softened aluminum through a precision die. The material emerges fully formed in the desired profile shape.
After exiting the press, the extrusion undergoes quenching to cool it evenly, by stretching to correct any twists and ensure perfect straightness. Finally, the profiles are cut to length and heat-treated to achieve the proper temper, typically T5 or T6. This carefully controlled process ensures every piece of 3d printer extrusion you receive maintains consistent dimensions and mechanical properties.
Why does this matter for your printer? A frame for 3d printer applications demands exceptional consistency. Here are the key benefits that make extruded aluminum profiles superior:
Most extrusion parts used in 3D printers are made from 6105-T5 or 6063-T5 aluminum alloy, chosen specifically for its machinability, strength, and compatibility with anodized finishes. While there's no official standard governing these profiles, the widespread adoption across the industry means components from different vendors are typically interchangeable, giving you flexibility in sourcing your materials.
Now that you understand how aluminum extrusion is manufactured, you're probably wondering which profile type is right for your build. Walk into any 3D printing community, and you'll hear debates about T-slot versus V-slot profiles. Many guides simply list these options without explaining why you'd choose one over the other. Let's fix that by breaking down the functional differences that actually matter for your printer's performance.
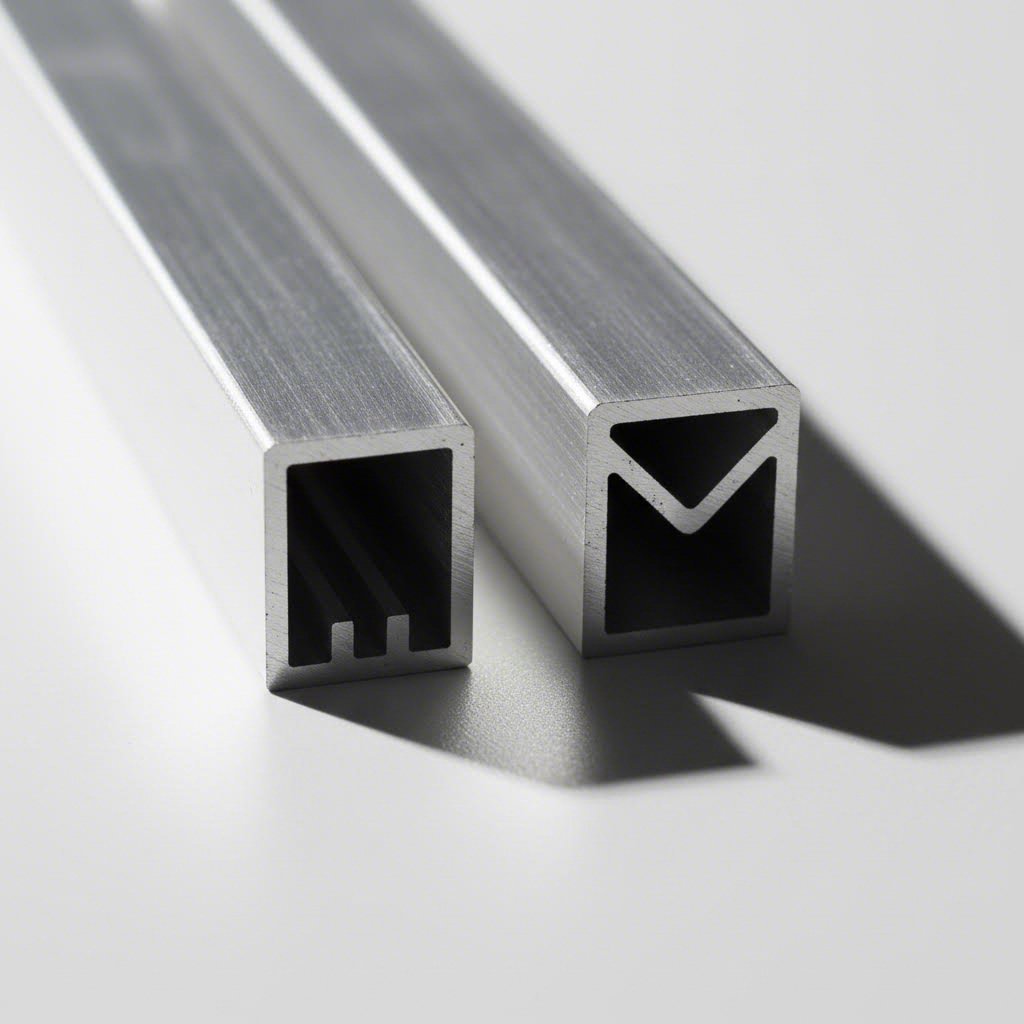
T-slot aluminum profiles are the traditional workhorses of modular framing. When you look at a cross-section, you'll notice grooves shaped like the letter "T" running along each face. This design has been used in industrial applications for decades, and for good reason.
The T-shaped groove serves one primary purpose: providing secure mounting points for fasteners. You slide T-nuts or T-bolts into the channel, then tighten them down wherever you need an attachment point. This creates an incredibly versatile system where brackets, motors, electronics, and accessories can be mounted anywhere along the profile without drilling a single hole.
According to manufacturing specialists at PTSMAKE, T-slot profiles boast an extensive ecosystem of compatible fasteners, including standard T-nuts, roll-in T-nuts, drop-in T-nuts, and spring-loaded variants. This massive selection of hardware makes building complex, rigid structures straightforward.
Where do T-slots excel? They're ideal when your profile serves purely structural purposes. Think about the vertical uprights of a CoreXY printer, the base frame of a bed slinger, or any component where you need maximum connection options but won't be running motion components directly on the extrusion surface.
V-slot profiles take a fundamentally different approach. Instead of the rectangular T-shaped channel, aluminium v slot extrusion features a 90-degree angled groove that forms a distinctive "V" shape. This isn't just an aesthetic choice—it's an engineering decision that transforms your frame into a linear motion system.
The V-shaped groove is precision-engineered to mate perfectly with V-wheels, typically made from materials like Delrin or polycarbonate. When these wheels ride in the groove, they create smooth, low-friction linear motion. This means your aluminum extrusion v slot profile serves double duty: it's both the structural frame and the motion guide for your printer's moving components.
Imagine building a 3D printer where the X-axis carriage rolls directly on the frame rails rather than requiring separate linear rods or rails. That's exactly what V-slot enables. This integration reduces part count, simplifies assembly, and can lower overall build costs—especially for DIY projects where every component adds complexity.
V-slot extruded aluminum is particularly popular in these applications:
However, there's a trade-off to consider. While standard T-nuts can sometimes fit into V-slots, the angled sides may prevent optimal seating. The v slotted aluminum insert options are more limited compared to the extensive T-slot hardware ecosystem. If you need maximum mounting flexibility without motion requirements, T-slots remain the better choice.
Understanding when each profile type excels requires looking at the complete picture. Here's a detailed comparison to guide your decision:
| Feature | T-Slot Profile | V-Slot Profile |
|---|---|---|
| Groove Angle | Rectangular/Trapezoidal (T-shape) | 90-degree angled (V-shape) |
| Primary Use Case | Structural framing and mounting | Combined structure and linear motion |
| Wheel Compatibility | Not designed for wheel motion | Optimized for V-wheels |
| Fastener Options | Extensive (T-nuts, bolts, brackets) | More limited selection |
| Linear Motion | Requires separate rails/bearings | Built into the profile design |
| Typical 3D Printer Applications | Frame uprights, base structure, enclosures | X/Y gantry rails, carriage guides |
| Best For | Maximum mounting flexibility | Simplified motion systems |
Many successful printer builds combine both profile types strategically—using T-slots for the main frame structure and V-slot aluminium extrusion where motion components travel. This hybrid approach gives you the best of both worlds.
The key takeaway? Don't choose based on what looks popular in online forums. Consider your specific requirements. If your printer design calls for wheels riding directly on the extrusion, v slot extruded aluminum is your answer. If you need a rock-solid frame with maximum accessory mounting options, T-slots deliver. Many builders find success mixing both types, selecting each profile based on its role in the overall design.
With profile types clarified, the next critical decision involves sizing. Those numbers you see—2020, 2040, 4040—aren't random codes. They tell you exactly what you're getting, and choosing the right size directly impacts your printer's rigidity and performance.
You've probably seen those four-digit numbers plastered across product listings—2020, 2040, 4040, 4080—and wondered what they actually mean. Are they model numbers? Product codes? Random identifiers? Here's the straightforward answer: these numbers directly tell you the physical dimensions of the profile in millimeters, and understanding them is essential for choosing the right aluminum extrusion for 3d printer projects.
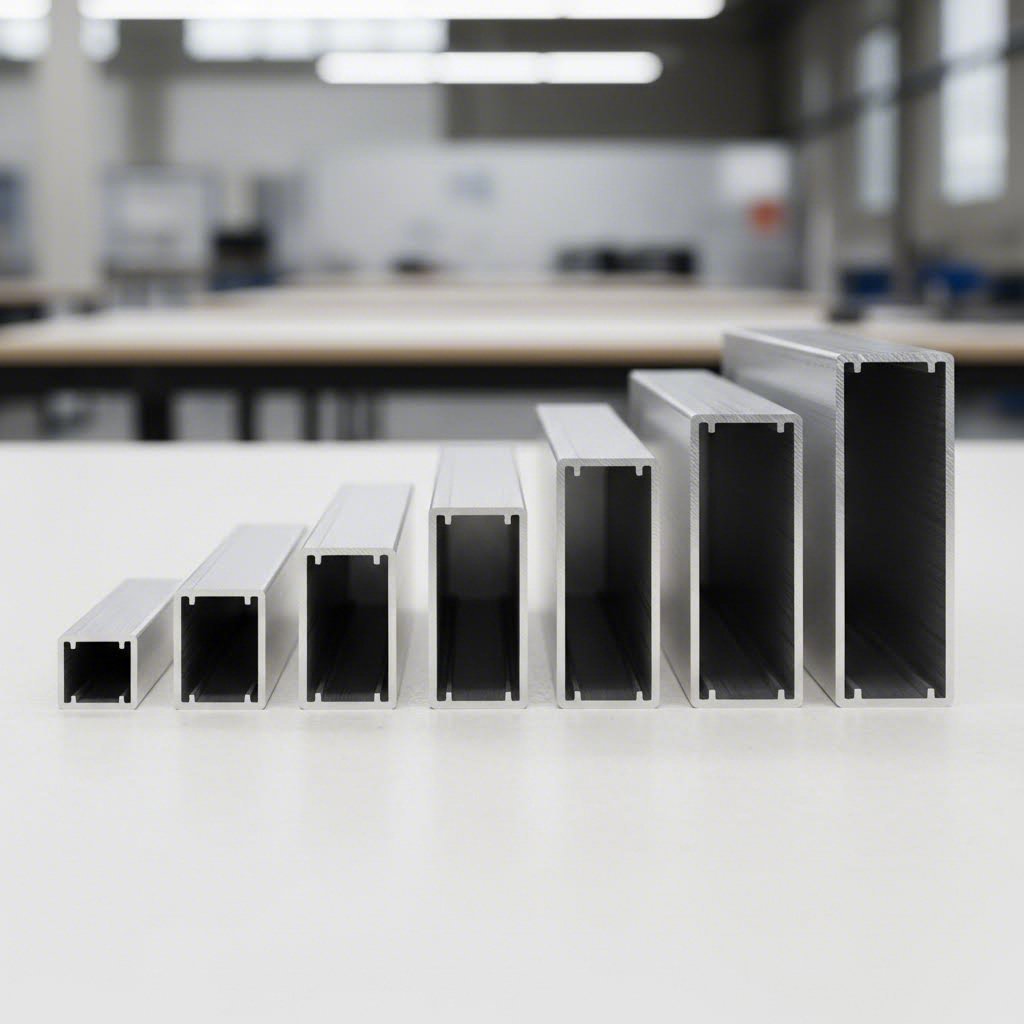
The naming convention is refreshingly simple once you know the secret. The first two digits represent the profile's width in millimeters, while the second two digits indicate its height. So a 2020 aluminum extrusion measures exactly 20mm wide by 20mm tall—a perfect square cross-section. A 2040 extruded aluminum profile? That's 20mm wide by 40mm tall, creating a rectangular shape that's twice as tall as it is wide.
This system makes comparing profiles intuitive:
Why does this matter for your build? Because cross-sectional dimensions directly determine two critical factors: how much weight the profile can support and how resistant it is to bending or flexing under load. A larger cross-section means more material resisting deformation, which translates to a more rigid extruded frame for your printer.
Sounds complex? Think of it this way: imagine trying to bend a drinking straw versus a thick wooden dowel. The dowel's larger cross-section gives it dramatically more resistance to bending forces. The same principle applies to aluminum frame extrusions—bigger profiles provide exponentially greater rigidity.
According to technical data from Machining Custom, moving from 2020 to 4040 profiles doesn't just double the strength—it increases load-bearing capacity significantly due to the relationship between cross-sectional area and structural performance. The 4040 profile's larger cross-section and thicker walls effectively resist bending and twisting, maintaining structural stability under stress that would cause smaller profiles to flex.
Wall thickness also plays a crucial role. Most 2020 aluminum extrusions feature wall thicknesses between 1.5mm and 3mm, providing basic structural strength suitable for lighter applications. Larger profiles like 4040 and 4080 incorporate thicker walls by design, dramatically enhancing their load capacity and durability over extended use.
When planning your 3d printer aluminum extrusion frame, you'll need to balance rigidity against weight and cost. Here's a detailed comparison of common sizes based on data from Bitfab and industry specifications:
| Profile Size | Dimensions (W x H) | Weight per Meter | Relative Strength | Best Use Case |
|---|---|---|---|---|
| 2020 | 20mm x 20mm | ~0.44 kg/m | Baseline | Small printers, light structures |
| 2040 | 20mm x 40mm | ~0.85 kg/m | 2x (vertical axis) | Medium printers, mixed frames |
| 3030 | 30mm x 30mm | ~1.0 kg/m | 2.5x | Mid-size builds, added rigidity |
| 4040 | 40mm x 40mm | ~1.5 kg/m | 4x+ | Large format, heavy-duty applications |
| 4080 | 40mm x 80mm | ~3.1 kg/m | 8x+ (vertical axis) | Industrial, maximum rigidity needs |
Notice how the weight roughly doubles as you move from one size category to the next, but the strength gains are even more dramatic. This is because rigidity increases with the cube of the profile's height in the direction of loading. A 4040 profile isn't just twice as strong as a 2020—it's approximately four times more resistant to deflection under the same load conditions.
So which size should you choose? The answer depends primarily on your printer's build volume and the forces involved. Here are practical guidelines based on real-world performance:
Here's a pro tip that experienced builders swear by: when in doubt, size up. The small additional cost and weight of using 2040 instead of 2020 for critical members often pays dividends in print quality. You can always add bracing to an under-built frame, but starting with adequate rigidity eliminates problems before they appear.
Many successful printer designs mix profile sizes strategically. You might see 4040 vertical uprights supporting the main structure, 2040 horizontal members where bending loads are highest, and 2020 profiles for lighter-duty applications like electronics mounts or enclosure frames. This approach optimizes the strength-to-weight ratio while keeping material costs reasonable.
Understanding profile sizes is just the first step in building a rock-solid frame. Next, you'll need to translate this knowledge into practical selection criteria based on your specific printer design, architecture type, and future upgrade plans.
You now understand what the profile numbers mean and how different sizes compare. But when you're staring at your CAD design or planning your first custom build, how do you actually decide which 3d printer aluminum extrusion to order? The answer isn't one-size-fits-all. Your ideal profile depends on several interconnected factors: build volume, printer architecture, component weight, and how you plan to upgrade the machine over time.
Build volume is your starting point, but it's not the complete picture. A 300mm cube printer doesn't automatically require the same frame as another 300mm machine. Why? Because the frame dimensions extend beyond the build area, and longer unsupported spans create more opportunity for flex and vibration.
Think about it this way: when you extend an aluminium extrusion 3d printer frame to accommodate a larger build plate, you're also increasing the distance between support points. Longer spans mean greater deflection under the same load. This is why large-format printers don't just use more extrusion—they use beefier profiles to compensate for increased structural demands.
Here's a practical framework for matching profile size to build volume:
Your printer's mechanical design matters just as much as its size. Different architectures place stress on the frame in different ways, and understanding these patterns helps you allocate rigidity where it counts most.
CoreXY Printers: These machines keep the print bed stationary while the toolhead moves in X and Y. The frame must resist forces generated by rapid direction changes during printing. Focus your 3d printer extruded aluminum investment on the top frame where the gantry mounts. Vertical uprights can often use lighter profiles since they primarily resist static loads, but horizontal gantry rails need maximum stiffness to prevent ringing artifacts.
Bed Slinger (Cartesian) Printers: Here, the bed moves back and forth on the Y-axis while carrying your print. This creates significant momentum forces, especially with larger, heavier beds. The Y-axis rails and base frame bear the brunt of these loads. If you're building an aluminum 3d printer in this configuration, prioritize heavier profiles for the base structure and Y-axis supports.
Delta Printers: Delta kinematics suspend the effector from three towers, placing continuous tension on the vertical columns. These towers must remain perfectly parallel and rigid throughout the print. Using v channel aluminum or robust 2040 profiles for the towers prevents the subtle deflection that causes delta-specific print artifacts.
Ready to make your decision? Follow this systematic approach to ensure you're choosing profiles that match your specific requirements:
Here's a key insight from experienced builders: always consider sizing up your primary structural profiles by one category. The marginal cost increase is minimal compared to the frustration of diagnosing print quality issues caused by frame flex. A frame that's slightly over-engineered gives you rigidity headroom for upgrades, faster print speeds, and years of reliable operation.
According to industry analysis, frame rigidity directly influences print accuracy. Insufficient stiffness leads to resonance during high-speed movements, causing layer shifting, ringing artifacts, and dimensional inaccuracies. This is why investing in the right profile size upfront delivers better results than trying to reinforce an undersized frame after construction.
To simplify your decision, here's a quick reference based on common build scenarios:
| Build Volume | Printer Type | Primary Frame | Gantry/Rails | Secondary Structure |
|---|---|---|---|---|
| Under 220mm | Any | 2020 | 2020 | 2020 |
| 220-350mm | CoreXY | 2040 | 2040 | 2020 |
| 220-350mm | Bed Slinger | 2040/4040 | 2040 | 2020 |
| 220-350mm | Delta | 2040 towers | N/A | 2020 |
| 350mm+ | Any | 4040 | 4040/2040 | 2040/2020 |
Remember that these are starting points, not rigid rules. Your specific design, component choices, and performance goals may warrant adjustments. The beauty of aluminum extrusion systems is their flexibility—you can always swap individual members if your initial choices prove inadequate.
With profile sizes selected, your next consideration should be the material itself. Not all aluminum extrusions are created equal, and understanding what separates quality profiles from budget options will save you from frustrating assembly issues and long-term performance problems.
You've selected your profile types and sizes, but here's a question many builders overlook: are all aluminum extrusions created equal? The short answer is no. Two seemingly identical 2040 profiles can perform dramatically differently based on the alloy composition, manufacturing precision, and surface treatment quality. Understanding these factors helps you avoid the frustration of receiving aluminum extrusion parts that don't fit together properly or degrade over time.
When you purchase extruded aluminium rails for your 3D printer, you're almost certainly getting 6063 aluminum alloy. This isn't random—it's the industry standard for good reasons. According to Hydro Extrusion, 6063 is an aluminum-magnesium-silicon heat-treatable alloy and one of the most popular in the 6000 series.
What makes 6063 ideal for 3d printer aluminum frames? Several properties stand out:
The "T5" designation you'll often see (as in 6063-T5) refers to the temper—essentially how the aluminum was heat-treated after extrusion. T5 means the profile was cooled from the extrusion temperature and then artificially aged to achieve specific mechanical properties. This temper offers an excellent balance of strength and workability for structural framing applications.
Imagine assembling your printer frame only to discover the corners won't square up properly, or your V-wheels bind in certain spots along the rail. These problems often trace back to quality issues in the extrusion itself. Here's what separates precision profiles from budget alternatives:
Dimensional Tolerance: Quality extrusions maintain tight tolerances on overall dimensions. A 2020 profile should measure very close to 20.0mm x 20.0mm across its entire length. Cheap profiles may vary by 0.5mm or more, which compounds into significant alignment problems when you're assembling a frame with multiple joints.
Slot Accuracy: The T-slot or V-slot channels must maintain consistent width and depth throughout the profile. Inconsistent slots mean T-nuts won't slide smoothly, brackets won't seat properly, and V-wheels may ride unevenly. This is perhaps the most common quality failure in budget extrusions.
Straightness: Extrusions should arrive straight, without bowing, twisting, or warping. Even slight curvature creates headaches during assembly and prevents achieving a truly square frame. Reputable manufacturers stretch the profiles after extrusion specifically to ensure straightness.
Surface Finish Consistency: Look for uniform surface texture without visible die lines, scratches, or pitting. According to Hydro's surface treatment documentation, surface preparation directly affects how well subsequent treatments adhere and perform.
Raw aluminum works fine for many applications, but surface treatments extend durability and can improve functionality. Here are your primary options:
Anodizing: This electrochemical process creates a hard, protective oxide layer on the aluminum surface. Anodized profiles resist scratching, wear, and corrosion far better than raw aluminum. The treatment also provides electrical insulation and creates a surface that's easy to clean. As noted by industry specialists, anodizing creates a "dirt-repellent and hygienic surface" that preserves the appearance over years of use.
Clear Anodizing: Maintains the natural aluminum appearance while adding protection. Popular for clean, industrial aesthetics.
Black Anodizing: The most common choice for 3D printer builds. Black profiles hide fingerprints and dust better than silver, and many builders prefer the modern look.
Colored Anodizing: Available through electrolytic coloring, offering colors from champagne to various shades with high UV resistance. Useful for color-coded builds or aesthetic preferences.
Powder Coating: An alternative to anodizing that applies a thicker protective layer. While more durable against impacts, powder coating can fill slot channels slightly, potentially affecting hardware fit.
Before you click "buy" on that tempting budget listing, watch for these warning signs that indicate substandard quality:
A well-made extrusion might cost 20-30% more than the cheapest option, but the time saved during assembly—plus the assurance that your frame will actually square up properly—makes the investment worthwhile.
Quality aluminum extrusion parts form the foundation of a reliable printer. Once you've identified trustworthy profiles, the next step is understanding the hardware ecosystem that connects everything together—brackets, T-nuts, and fasteners that transform individual profiles into a rigid, squared frame.
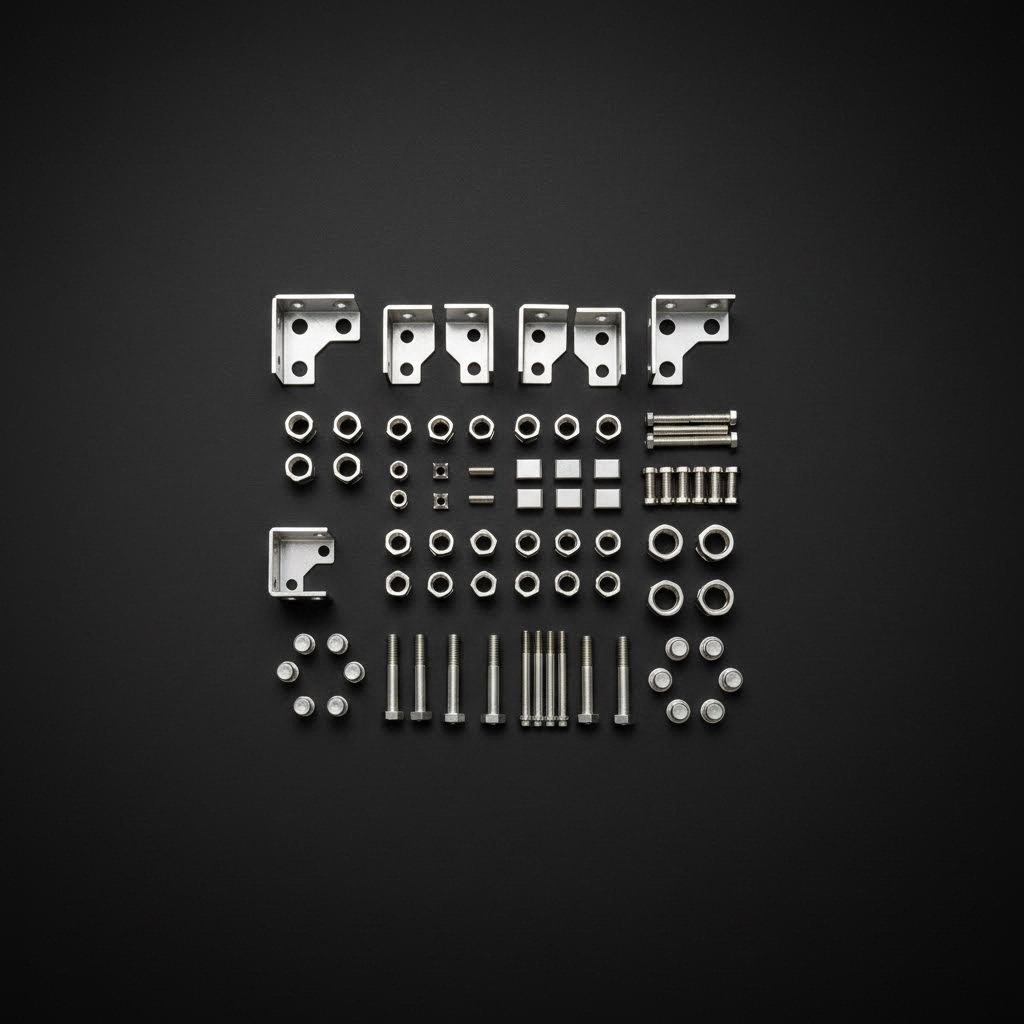
You've sourced quality aluminum profiles, but here's what catches many first-time builders off guard: the extrusions themselves are only half the equation. Without the right hardware, your carefully selected profiles remain just a pile of metal. The brackets, T-nuts, fasteners, and connectors you choose determine whether your extrusion frame comes together square, stays rigid under load, and allows for future modifications. Let's break down this essential hardware ecosystem.
Walk into any aluminum extrusion kit and you'll find bags of small components that look confusingly similar. Understanding what each piece does—and when to use it—transforms assembly from frustrating guesswork into a straightforward process.
T-Nuts: The Foundation of Every Connection
T-nuts are the workhorses of any aluminum extrusion assembly. According to Phidgets' comprehensive T-Slot guide, these specialized fasteners fit into the T-shaped slots, allowing you to create attachment points anywhere along the profile's length. But not all T-nuts work the same way:
Brackets and Connectors: Building Your Structure
Brackets transform individual profiles into rigid structures. Each type serves specific connection scenarios:
| Connector Type | Strength Characteristics | Best Use Cases | Notes |
|---|---|---|---|
| 90-Degree Brackets | Moderate; relies on fastener tension | General corner connections, reinforcement | Easy to install, visible externally |
| Corner Cubes | High; connects three profiles simultaneously | Frame corners where three extrusions meet | Requires tapped holes in profile ends |
| Gusset Plates | Very high; distributes load across larger area | High-stress joints, vibration-prone areas | Use with other connectors for maximum strength |
| Hidden Connectors | Moderate to high; mechanical lock | Clean aesthetics, T-junctions | Requires drilling into profiles |
| Inner Brackets | High; set screws pull joint tight | Concealed connections, quick assembly | Come in A and B variants for different orientations |
According to Phidgets' documentation, inner brackets deserve special attention: "The set screw hole is slightly canted so that the set screw pushes the bracketed extrusion into the other extrusion to tighten the hold." This mechanical advantage creates surprisingly strong connections without visible external hardware.
Fasteners: Matching Bolts to Your Application
Not all fasteners are interchangeable. As industry experts note, there are important differences between bolts and screws in extrusion framing. Bolts paired with T-nuts handle higher stress loads and are preferred for structural connections. Screws work well for lighter applications where quick assembly is priority.
A critical consideration: bolt length must be precise. The fastener should sink deep enough into the T-nut for a secure connection, but not so long that it contacts the extrusion floor. Phidgets recommends leaving "about 1mm of clearance plus the distance between the nut and the extrusion" to prevent wiggle in the mounting point.
Here's where things get tricky. Hardware designed for 2020 profiles won't fit 4040 slots, and mixing components from different series creates weak connections at best—or impossible assemblies at worst.
Each extrusion series (20mm, 30mm, 40mm) has corresponding hardware sized specifically for its slot dimensions. According to Phidgets, "The hardware's product ID usually tells you what category of T-slot width it falls under. Check this to gain an understanding of compatibility with a particular profile size."
When building with mixed profile sizes—common in optimized designs—you'll need hardware matched to each series. This means potentially stocking multiple T-nut sizes, bracket variants, and fastener lengths. Plan your bill of materials carefully to avoid assembly delays waiting for the right components.
Even with quality profiles and proper hardware, a frame can still come together crooked. Traditional T-slot assembly is particularly prone to alignment issues because, as assembly guides acknowledge, "adjusting one component often forces another part out of place."
The solution? Precision measurement tools and systematic assembly techniques:
The secret to square frames isn't tightening harder—it's tightening smarter. Loosely assemble the entire structure first, verify alignment with measuring tools, then systematically tighten connections while rechecking squareness at each step.
According to Anglelock's assembly documentation, a standard 24"x24"x24" cube frame takes approximately 59 minutes to assemble with traditional T-slot methods—and much of that time goes to the "measure, loosen, realign, retighten, repeat" cycle. Investing in proper alignment tools and techniques upfront dramatically reduces this iterative frustration.
With your hardware selected and alignment strategy planned, you're ready to calculate exactly what you need. The next step involves creating a comprehensive bill of materials that accounts for every profile length, bracket, and fastener—while building in margin for inevitable adjustments and future modifications.
You've selected your profile types, chosen appropriate sizes, sourced quality materials, and gathered the right hardware. Now comes the step where many builders stumble: actually calculating what you need. Getting this wrong means frustrating delays waiting for missing parts—or wasted money on materials you'll never use. Let's walk through a systematic approach to planning your aluminum extrusion rails and creating a complete bill of materials.
A proper bill of materials goes beyond simply listing profile lengths. It accounts for how extrusions connect at corners, includes all necessary hardware, and anticipates real-world assembly challenges.
Start with your frame's overall dimensions, but remember: the cut length of each profile isn't the same as the frame dimension. When two profiles meet at a corner, one butts against the side of the other. This means you need to subtract the width of intersecting profiles from your calculations.
Imagine you're building a simple cube frame with 400mm outer dimensions using 2020 profiles. The vertical uprights might run the full 400mm height, but horizontal members connecting them would be 400mm minus 20mm (the width of one upright) minus another 20mm (the second upright)—giving you 360mm cut lengths. Miss this calculation, and your frame dimensions won't match your design.
Here's a step-by-step process from design to ordering:
Even experienced builders occasionally fall into these traps. Knowing what to watch for saves time and frustration:
Under-ordering profiles: It's tempting to order exactly what your calculations show. But prototype builds rarely go perfectly. One mismeasurement, one drilling error, or one design change mid-build leaves you waiting for replacement parts. According to 80/20's project guidance, having spare material on hand keeps projects moving forward.
Forgetting tolerance stack-up: Each cut has a small tolerance. When multiple profiles connect in sequence, these small variations accumulate. A frame with ten joints might be several millimeters off from nominal dimensions. Plan for this by slightly oversizing profiles you can trim to fit, or by designing adjustment mechanisms into critical connections.
Ignoring corner joint geometry: Different bracket styles affect overall dimensions differently. Hidden connectors require drilling into profile ends, changing how pieces align. Corner cubes add bulk at intersections. An aluminium tube frame concept that looks perfect in CAD may not translate directly when real hardware enters the equation.
Not planning for future modifications: The beauty of aluminum extrusion systems is modularity. But if you order profiles cut to exact minimum lengths, you eliminate the flexibility to relocate components or add bracing later. Slightly longer profiles give you room to adjust.
Your printer today won't be your printer in a year. You'll want to add an enclosure, upgrade the toolhead, install better lighting, or mount additional electronics. Smart planning anticipates these changes.
Consider ordering a few extra profiles in your most-used size. These serve as spares for mistakes and become mounting points for future additions. Similarly, extra T-nuts and brackets cost little but enable spontaneous modifications without placing new orders.
When calculating your bill of materials, think about:
Order 10-15% extra extrusion length beyond your calculated needs. The marginal cost is small, but having spare material on hand for mistakes, modifications, and future upgrades saves significant time and shipping costs down the road.
As industry experts note, good suppliers help you avoid mistakes and keep quality high. Don't hesitate to share your project plans with your supplier—experienced vendors often catch calculation errors or suggest optimizations that save money and improve results.
With your bill of materials complete, the next decision involves where to actually purchase your profiles and hardware. The sourcing landscape ranges from pre-cut kits to custom cutting services, each with distinct advantages depending on your project's complexity and precision requirements.
Your bill of materials is complete, your profile sizes are selected, and you understand what quality indicators matter. Now comes the practical question: where do you actually buy aluminum extrusion for your 3D printer build? The sourcing landscape offers everything from ready-made kits to fully custom manufacturing services—and choosing the right approach depends on your project's complexity, precision requirements, and budget constraints.
When you're deciding where to buy aluminum extrusion, you'll encounter two primary approaches: purchasing pre-designed kits or working with suppliers who cut profiles to your exact specifications. Each path offers distinct advantages.
Pre-Cut Kits: Convenience at a Premium
Pre-cut kits bundle everything you need for popular printer designs—profiles cut to length, hardware, and sometimes even brackets and connectors. They're ideal when you're building a well-documented design like a Voron, RatRig, or similar community project. The convenience is undeniable: no calculations, no risk of ordering wrong lengths, and typically fast shipping from specialized vendors.
However, kits come with limitations. You're locked into the kit designer's choices for profile sizes and configurations. Want to modify the build volume or use different components? You'll need additional custom-cut pieces anyway. And for truly custom builds, no kit exists.
Custom Cutting Services: Precision for Any Design
Custom cutting services give you complete flexibility. You provide the specifications—profile type, lengths, quantities—and the supplier delivers exactly what you need. This approach shines when:
According to industry specialists, custom aluminum extrusion involves creating profiles "designed according to unique project requirements, allowing manufacturers and builders to achieve exact dimensions, weight optimization, and functional integration." This flexibility extends beyond just cutting—many suppliers offer drilling, tapping, and machining as part of their services.
Here's where sourcing strategy gets interesting. While many hobbyists default to marketplace sellers or hardware store stock, working directly with manufacturers often delivers better value—especially for precision builds or larger orders.
The Value of Deep Processing Services
Raw cut profiles are just the starting point. Assembling a frame requires drilling mounting holes, tapping threads for fasteners, and potentially machining custom features. You can do this yourself with a drill press and taps, but manufacturer-provided deep processing eliminates variables and saves hours of workshop time.
According to fabrication specialists at Precision Steel Services, modern CNC equipment including 5-axis machines can handle "holes, slots, pockets, notches, miters, chamfers, and other essential design features." Having these operations performed before delivery means your aluminum extruded frame arrives ready for assembly—no secondary machining required.
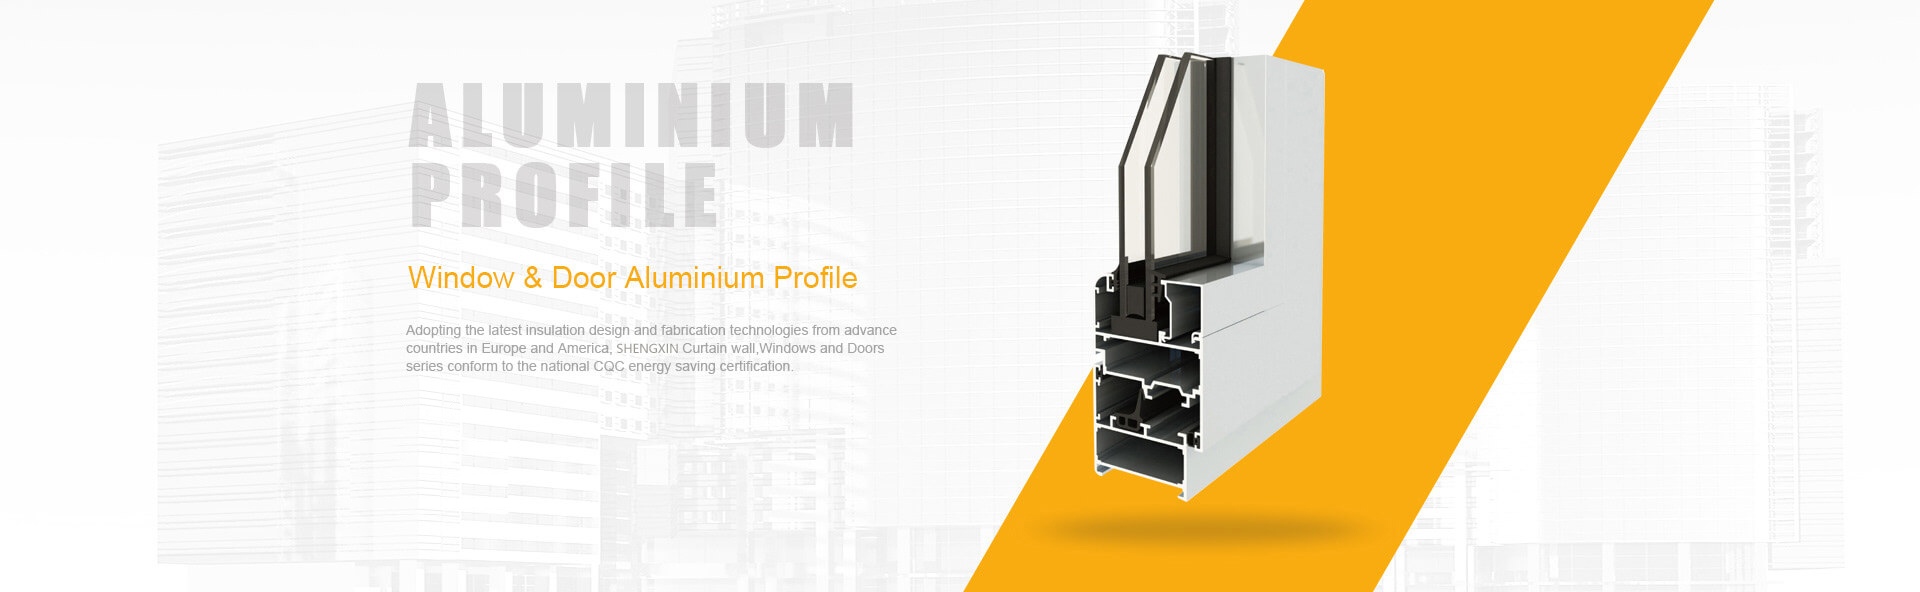
For builders seeking high-precision custom extrusions, established manufacturers like Shengxin Aluminium offer comprehensive deep processing services. Their CNC machining centers handle precise cutting, drilling, and bending to exact specifications, while their surface treatment options—including anodizing in custom colors like Champagne and Rose Gold, powder coating, and PVDF—ensure your profiles arrive finished and ready for assembly.
End-to-End Support Matters
The best manufacturer relationships go beyond transactional ordering. Quality suppliers provide technical consultation, help optimize your designs for manufacturability, and catch potential issues before production. As noted in industry guidance, "collaborating with the manufacturer early in the design stage helps avoid tooling issues and ensures a more cost-effective, high-performing extrusion."
Shengxin Aluminium exemplifies this approach, with over 30 years of experience and 35 advanced extrusion presses ranging from 600T to 5500T capacity. Their technical team provides end-to-end support from die development through mass production—valuable whether you're prototyping a single custom printer or scaling to production quantities.
Not all suppliers are equal, and the cheapest option rarely delivers the best value. Evaluate potential sources against these critical criteria:
Your ideal sourcing approach depends on what you're building:
| Project Type | Recommended Sourcing | Why This Works |
|---|---|---|
| Popular open-source design | Pre-cut kit from community vendor | Proven compatibility, fast delivery, community support |
| Modified existing design | Kit + custom pieces from cutting service | Base compatibility with flexibility for changes |
| Fully custom build | Manufacturer with deep processing | Complete control, precision machining, professional finish |
| Multiple printers or prototypes | Direct manufacturer relationship | Volume pricing, consistent quality, technical partnership |
| 3d printer for aluminum parts (industrial) | Specialized industrial supplier | Meets demanding tolerances and material specifications |
When sourcing for precision builds, remember that the cheapest profiles often cost more in the long run. Assembly frustration, rework, and compromised print quality quickly erase any upfront savings from budget materials.
For builders pursuing serious custom projects, factory-direct relationships with manufacturers like Shengxin Aluminium offer advantages beyond just competitive pricing. Access to their full range of 6063 aluminum profiles, combined with in-house CNC processing and diverse surface treatments, streamlines the entire build process from design to finished frame.
With your sourcing strategy defined and materials on order, you're nearly ready to build. The final step involves organizing your approach, creating a checklist of decisions, and setting yourself up for a smooth assembly process that transforms those carefully sourced profiles into a rigid, precise printer frame.
You've journeyed from understanding basic extrusion manufacturing to evaluating profile types, decoding size numbers, assessing material quality, and mapping out sourcing strategies. That's a lot of ground covered. But knowledge without action remains just information. Let's translate everything you've learned into a clear roadmap that gets your aluminum extrusion for 3d printer project moving forward—regardless of whether you're a first-time builder or an experienced maker tackling a new design.
Before you place any orders, run through these critical decision points. Having clear answers prevents costly mistakes and ensures your frame meets your printer's demands:
If you can confidently check each item, you're ready to order. If any point feels uncertain, revisit the relevant section of this guide before committing to purchases.
Here's the reality that experienced builders understand: your first frame doesn't need to be perfect. The modular nature of aluminum extrusion systems means you can learn, adjust, and improve without starting over. Unlike welded steel or permanent assemblies, every connection can be loosened, repositioned, or replaced.
Remember the modularity advantage that makes aluminum extrusion so powerful: mistakes can be corrected, components can be repositioned, and upgrades can be added at any time. Your frame isn't a permanent commitment—it's a flexible foundation that grows with your skills and ambitions.
For builders at different experience levels, here's how to proceed:
First-time builders: Start with a well-documented community design that has proven parts lists and assembly guides. This reduces variables while you learn how extrusion systems work. Focus on understanding the process before innovating.
Experienced makers upgrading: Use your existing printer knowledge to identify where your current frame falls short. Target those specific weaknesses with appropriately sized profiles, and don't be afraid to mix sizes strategically.
Custom design enthusiasts: Your CAD model is your blueprint, but real-world assembly always reveals surprises. Order extra material, plan for iteration, and consider the deep processing services that deliver profiles ready for immediate assembly.
For those pursuing precision builds or custom designs, working with experienced manufacturers streamlines the entire process. Shengxin Aluminium offers factory-direct pricing combined with comprehensive technical support—from die development through finished profiles with CNC machining and custom surface treatments. Their 30+ years of experience and advanced processing capabilities mean your 3d printed aluminum extrusion frame components arrive ready for assembly, eliminating hours of workshop preparation.
The path from concept to completed frame isn't always linear, but with the knowledge you've gained, you're equipped to make informed decisions at every step. Your 3D printer's performance starts with its foundation—and now you have the tools to build that foundation right.
The numbers indicate dimensions in millimeters—4040 measures 40mm x 40mm while 8020 measures 80mm x 20mm. The 8020 profile offers a higher strength-to-weight ratio and is suitable for high-strength lightweight applications. The 4040 provides excellent balance between strength and weight for medium-load applications. For 3D printers, 4040 is typically used for large format builds over 350mm, while 8020 is more common in industrial CNC applications.
Aluminum extrusion has become the standard because it offers unmatched modularity, dimensional accuracy, and strength-to-weight ratio. Unlike welded frames requiring specialized skills, extrusion systems can be assembled with basic tools and modified easily. The T-slot channels allow mounting components anywhere without drilling, and mistakes can be corrected simply by loosening connections. This flexibility, combined with corrosion resistance and affordability, makes aluminum extrusion ideal for both beginners and experienced builders.
Most 3D printer extrusions use 6063-T5 aluminum alloy, chosen specifically for its excellent surface finish, superior anodizing compatibility, and corrosion resistance. The T5 temper indicates the profile was cooled from extrusion temperature and artificially aged for optimal mechanical properties. This alloy offers good machinability for drilling and tapping while providing the structural strength needed for precision printing applications.
Choose T-slot when you need maximum mounting flexibility for brackets and accessories, making it ideal for structural uprights and base frames. Select V-slot when you want integrated linear motion—the 90-degree angled groove allows V-wheels to ride directly on the profile, eliminating the need for separate linear rails. Many successful builds combine both types, using T-slots for the main structure and V-slots where motion components travel.
For printers under 220mm build volume, 2020 profiles provide adequate rigidity. Medium builds between 220-350mm benefit from 2040 profiles, especially for vertical uprights and horizontal spans. Large format printers over 350mm require 4040 or larger profiles to maintain precision. Many builders recommend sizing up one category for primary structural members to ensure rigidity headroom for future upgrades and faster print speeds.



 บริการออนไลน์
 0086 136 3563 2360
 sales@sxalu.com
 +86 136 3563 2360
 ไทย
ไทย English
 français
 Deutsch
 русский
 español
 português
 العربية
 Việt
Việt Українська