Electrophoresis coating aluminium profile
บ้าน /

ข่าว

/The Ultimate Guide: How to Clean Aluminum Wheels Like a Pro

หมวดหมู่สินค้า

ผลิตภัณฑ์ร้อน

The Ultimate Guide: How to Clean Aluminum Wheels Like a Pro

2025-07-24

The Ultimate Guide: How to Clean Aluminum Wheels Like a Pro

clean aluminum wheels enhance your vehicle's appearance and value

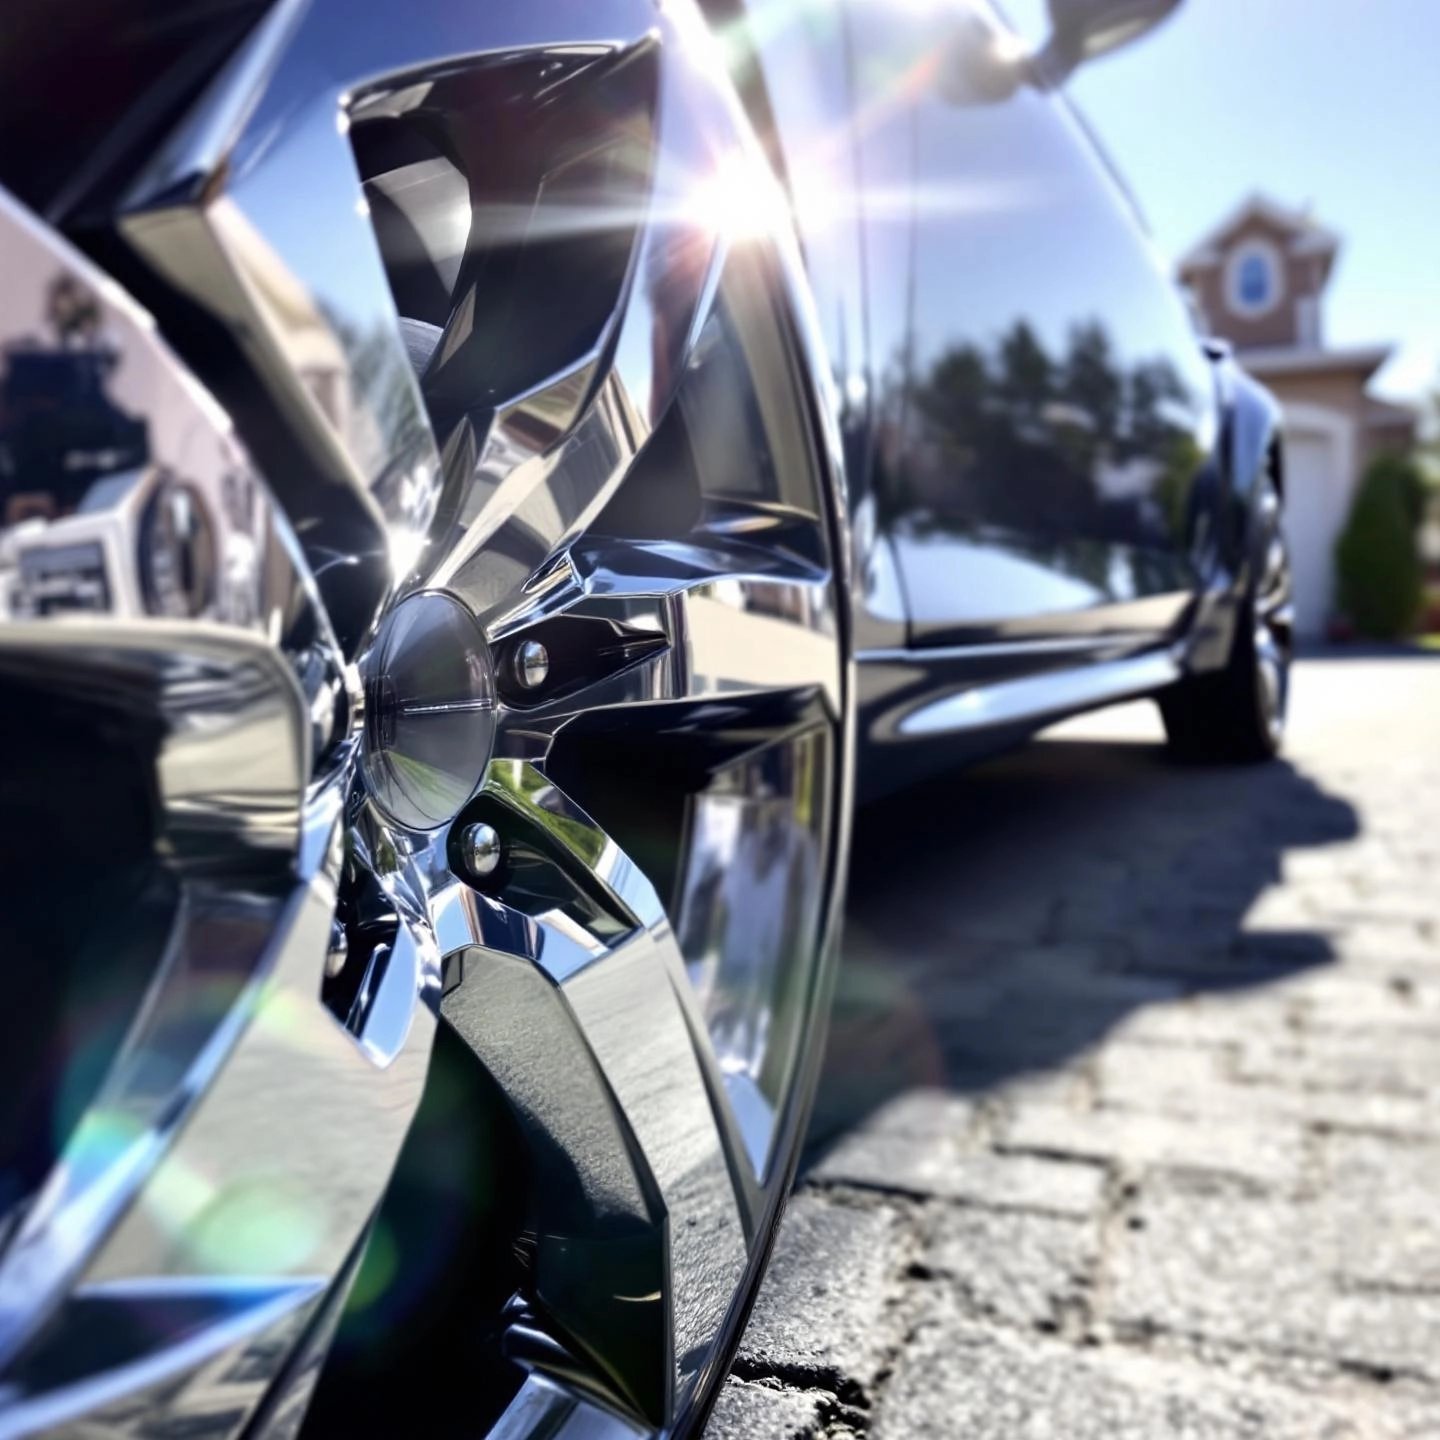
Ever noticed how a set of sparkling clean wheels can instantly elevate the look of any vehicle? When you take the time to keep your aluminum wheels spotless, you’re not just making your car stand out—you’re also protecting its value and longevity. Clean wheels give that “new car” impression, making your ride look well-cared-for and more attractive to anyone who sees it. But there’s more to it than just looks. Regular cleaning helps prevent the build-up of brake dust, road grime, and corrosive materials that can eat away at the finish and structure of your wheels over time (Cadillac Express Car Wash).

Sounds simple? Not quite. Aluminum wheels, sometimes called alloy wheels, are made from a blend of aluminum and nickel, offering a lightweight, strong, and stylish option for modern vehicles. But their unique composition means they need special attention compared to traditional steel wheels. While steel wheels are known for their durability and resistance to certain types of damage, aluminum wheels can be more vulnerable to corrosion from brake dust, salts, and harsh cleaners if not maintained properly. Using the wrong cleaning methods can lead to scratches, dullness, or even permanent damage.

This comprehensive guide will walk you through everything you need to know about how to clean aluminum wheels the right way. Here’s what you can expect:

  • Basic cleaning techniques for routine maintenance and everyday shine
  • Advanced restoration methods—including how to tackle stubborn oxidation and safely remove a damaged clear coat
  • Finishing touches like polishing and applying protective coatings to keep your wheels looking their best
  • Special considerations for different types of aluminum wheels—polished, clear-coated, and oxidized

Whether you’re a seasoned car enthusiast or just want to give your daily driver a little extra care, understanding the nuances of aluminum wheel maintenance is essential. In the next sections, we’ll break down the tools, products, and step-by-step methods you need to achieve professional results—without risking your wheels’ finish or structural integrity.

essential supplies for safe and effective aluminum wheel cleaning

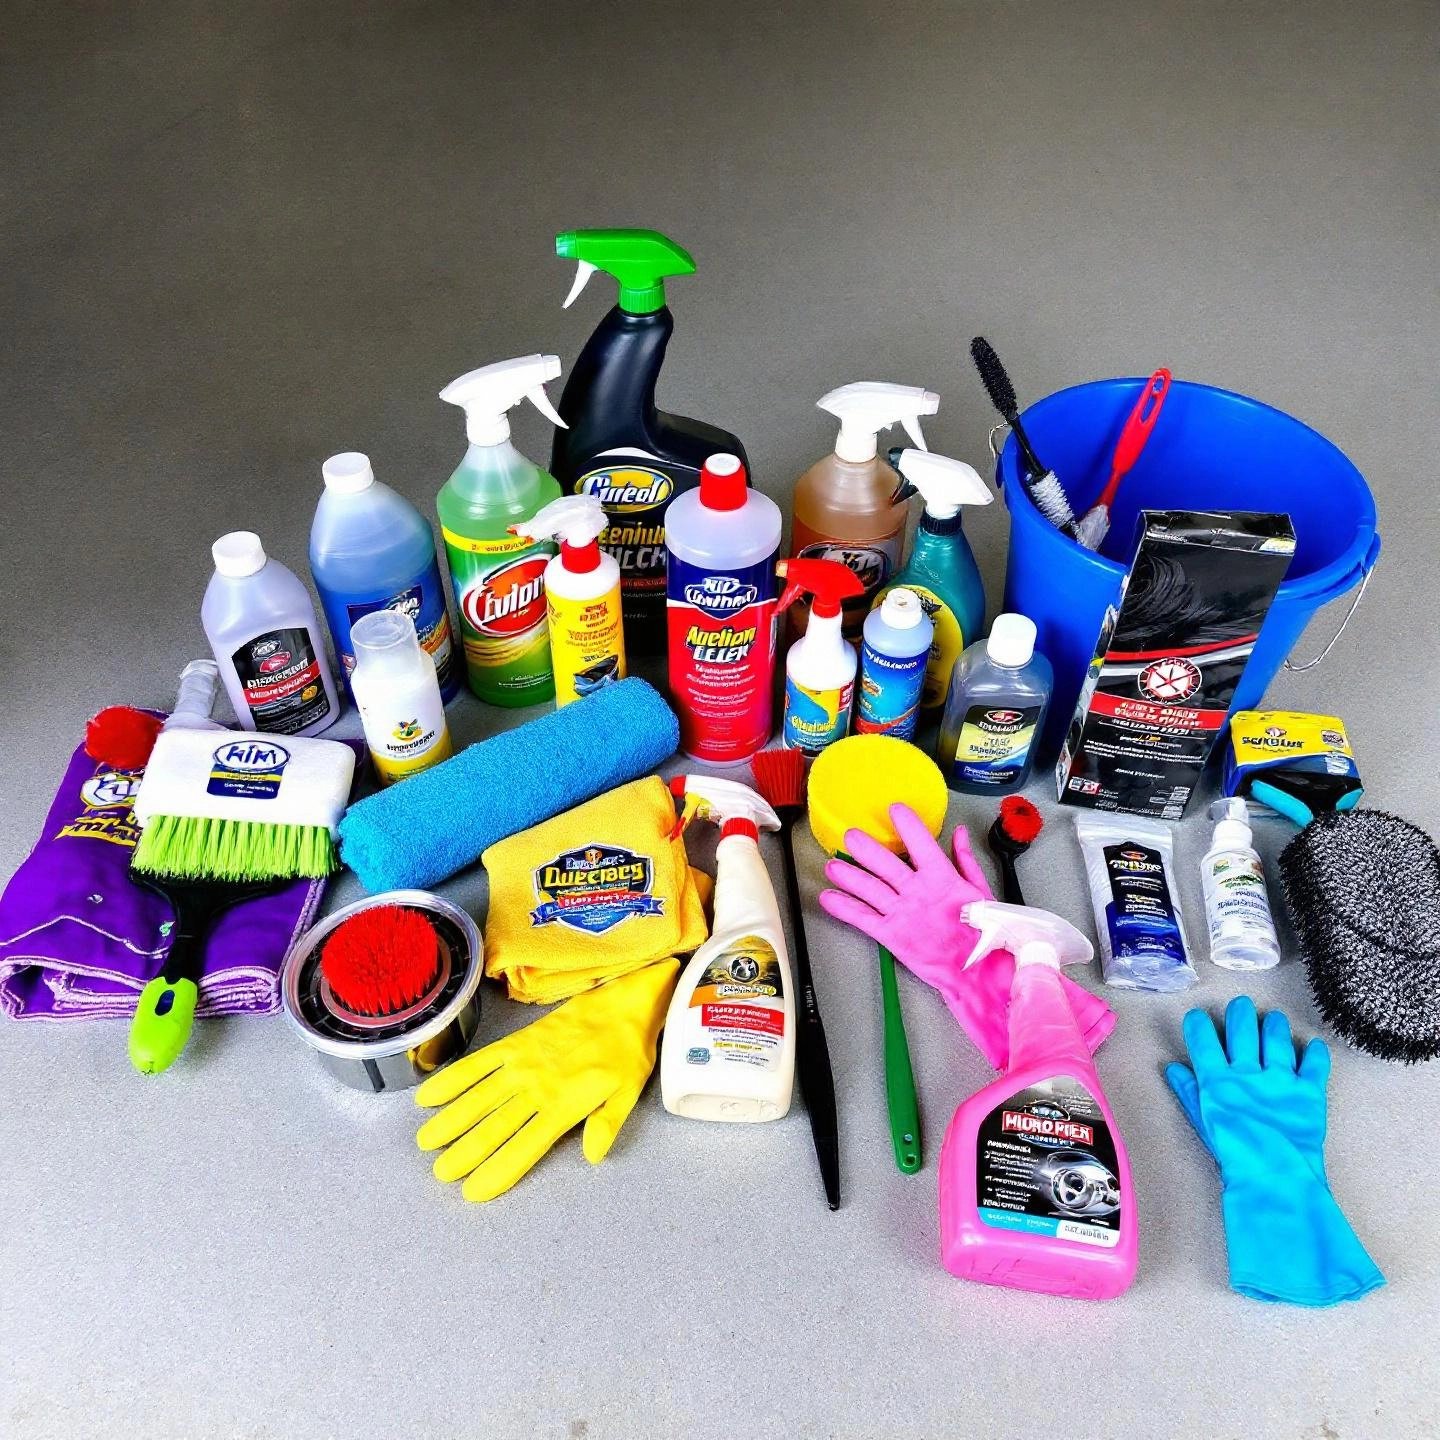
When it comes to the best way to clean aluminum wheels, having the right tools and products is half the battle. Imagine spending time scrubbing away, only to notice fine scratches or missed spots—frustrating, right? The right aluminum wheel cleaning supplies make all the difference, ensuring you clean efficiently and protect your wheels’ delicate finish. Let’s break down what you’ll need to get the job done like a pro.

Must-Have Cleaning Agents for Aluminum Wheels

  • Dedicated Aluminum Wheel Cleaner: Choose a product specifically formulated for aluminum wheels—whether coated or uncoated. Avoid harsh acids like hydrofluoric acid, which can etch or damage the surface. Look for non-acid or pH-neutral cleaners such as Meguiar’s Detailer Non-Acid Wheel and Tire Cleaner or specialty cleaners like Mother’s Aluminum Wheel Cleaner. Always check that the cleaner matches your wheel type to prevent pitting or discoloration (Kleen-Rite Corp).
  • Car Shampoo: For routine maintenance, a gentle car shampoo mixed with water is ideal for regular cleaning and safe on most finishes.
  • All-Purpose Cleaner (APC): Useful for tires and stubborn grime, but ensure it’s safe for aluminum surfaces.

Essential Tools for Safe and Effective Cleaning

  • Soft-Bristle Wheel Brush: A brush with soft, synthetic or microfiber bristles is crucial to avoid scratching the wheel’s surface. Consider a variety of brush types to reach all areas—barrel brushes for deep cleaning inside the wheel, and smaller detail brushes for tight spaces like lug nuts and spoke gaps.
  • Microfiber Wash Mitt or Finger Mitt: Perfect for cleaning the wheel face and behind spokes, offering superior control and minimizing marring.
  • Dedicated Wheel Bucket: Use a separate bucket for wheels to prevent cross-contamination with paintwork. Fill with water and car shampoo or wheel cleaner.
  • Microfiber Drying Towel: Prevents water spots and ensures a streak-free finish.
  • Pressure Washer or Hose with Nozzle: For rinsing away loose debris and cleaner residue efficiently.
  • Specialized Brushes: Consider boar’s hair or ultra-soft brushes for delicate finishes, and a stiffer tire brush for scrubbing sidewalls.

Personal Protective Equipment (PPE)

  • Nitrile or Latex Gloves: Shield your hands from harsh chemicals and brake dust.
  • Safety Glasses or Goggles: Protect your eyes from splashes, especially when using spray cleaners.
  • Respirator or Mask: Recommended if working with strong cleaners or in enclosed spaces to avoid inhaling chemical fumes.

Optional extras like a foam cannon for pre-soaking, a detailing seat for comfort, and hose guides to prevent snagging can make the process smoother, especially if you’re caring for multiple vehicles or intricate wheel designs (Mustang6G Forum).

By assembling these aluminum wheel cleaning supplies before you start, you’ll save time, avoid accidental scratches, and set yourself up for a flawless result. Next, we’ll walk you through a step-by-step routine for basic wheel cleaning—so you can put your new toolkit to work with confidence.

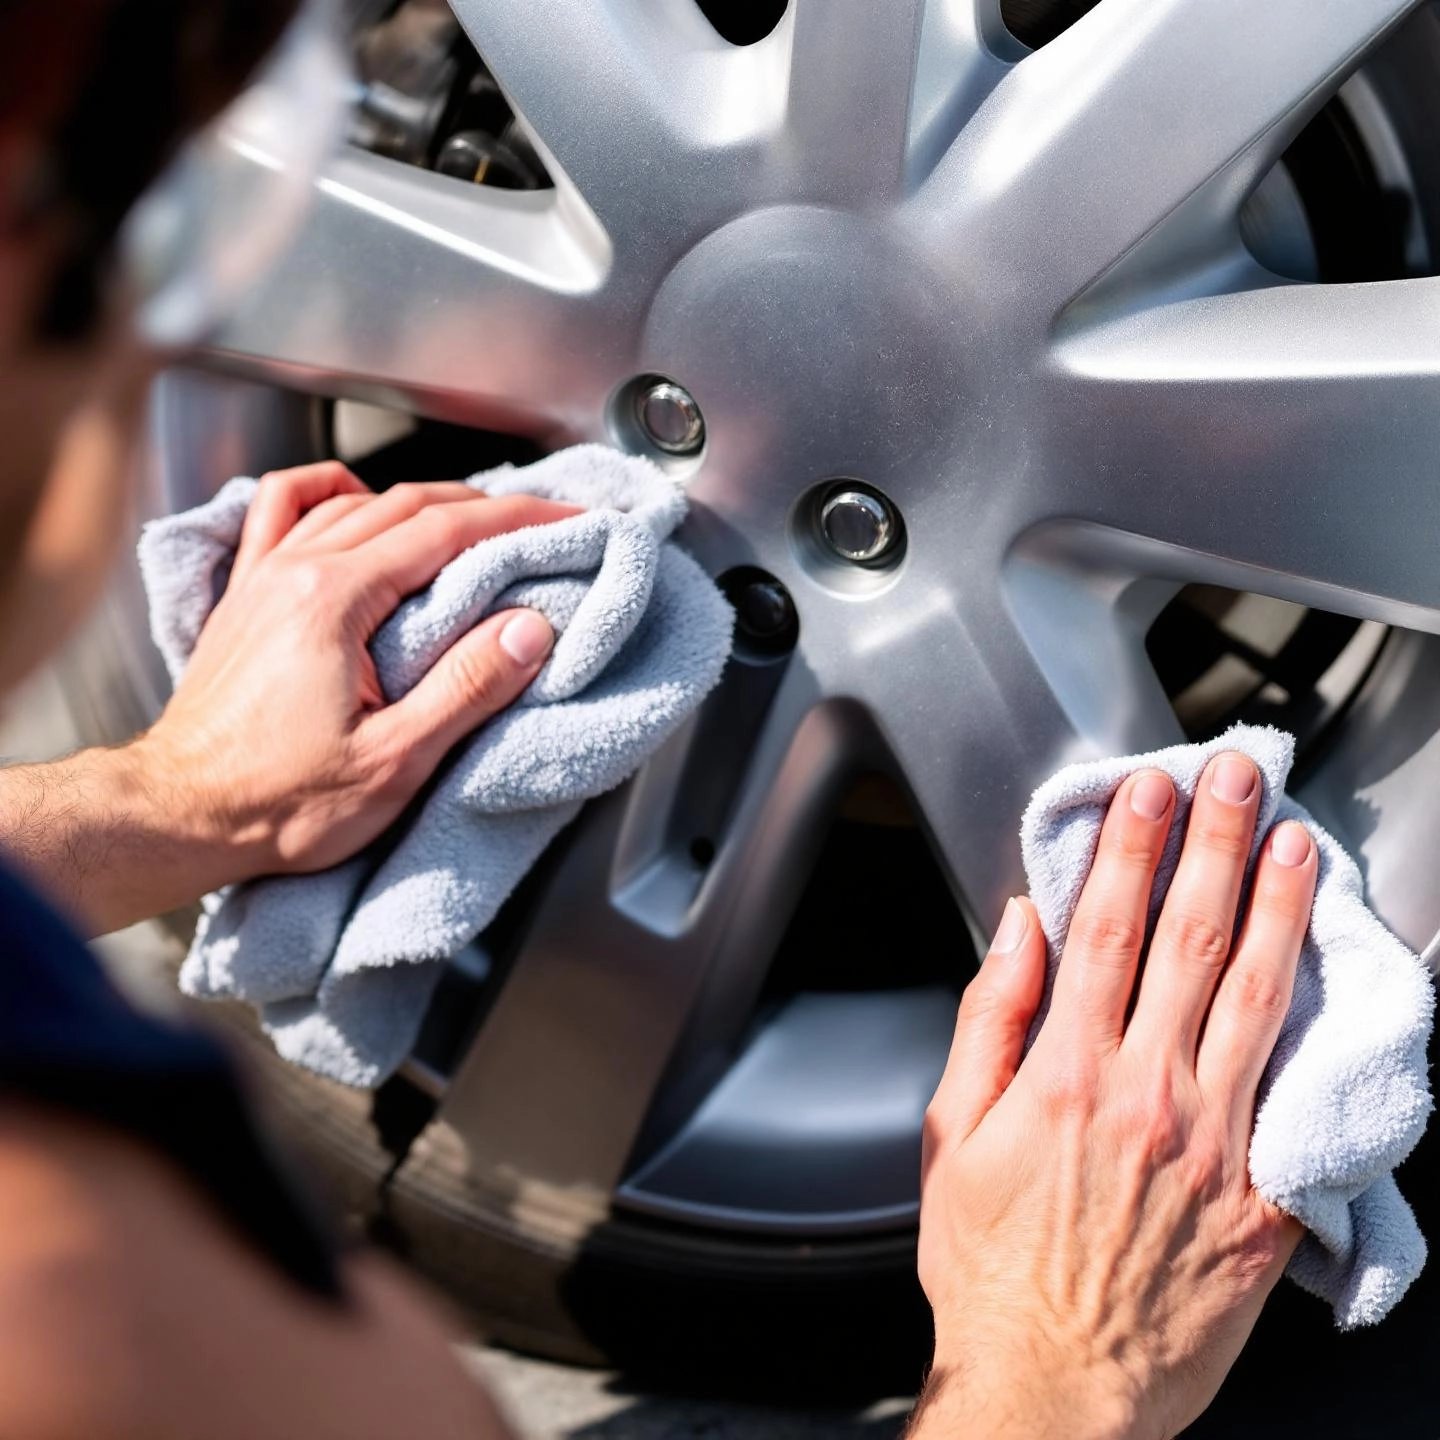
Ever wondered why your aluminum wheels lose their luster so quickly, even when you wash your car regularly? Brake dust, road grime, and water spots can cling to these wheels, dulling their shine and, if left unchecked, causing long-term damage. The good news: with the right approach, basic aluminum wheel cleaning is straightforward and can be done right in your driveway. Here’s a clear, step-by-step process on how to clean aluminum wheels at home—so you get pro-level results without the guesswork.

1. Prepare Your Workspace and Gather Supplies

  • Ensure wheels are cool to the touch. Cleaning hot wheels can cause cleaners to dry too quickly, leaving streaks or residue (Simple Green).
  • Move your car to a shaded area to prevent premature drying.
  • Have your cleaning supplies ready: a dedicated aluminum wheel cleaner or mild soap, soft-bristle brush, microfiber towels, a hose or bucket of water, and optional wheel wax or sealant.

2. Rinse Away Loose Dirt and Brake Dust

  • Start by rinsing each wheel thoroughly with a hose or pressure washer. This removes loose dirt and brake dust, reducing the risk of scratching the finish during scrubbing.
  • Focus the spray into crevices and around lug nuts where grime builds up.

3. Apply Wheel Cleaner or Soap

  • Spray your aluminum wheel cleaner evenly over the entire wheel, or use a soft sponge dipped in soapy water.
  • Let the cleaner dwell for the recommended time, but don’t let it dry on the surface.

4. Gently Scrub the Wheel Surface

  • Use a soft-bristled brush to clean the face, spokes, barrel, and around lug nuts. Avoid wire brushes or abrasive pads, which can scratch or dull the finish.
  • Work from top to bottom to prevent dirty water from running over already-cleaned areas.
  • For stubborn spots or embedded contaminants, a clay bar with lubricant can be used for extra smoothness.

5. Rinse Thoroughly

  • Rinse the wheel completely to remove all cleaner and loosened grime.
  • Repeat the process for each wheel, using clean water and rinsing your brush or mitt between wheels to avoid cross-contamination.

6. Dry for a Streak-Free Shine

  • Use a clean, soft microfiber towel to blot and buff the wheels dry. This prevents water spots and leaves a brilliant finish.
  • For intricate designs or hard-to-reach areas, compressed air or a dedicated blower can help remove trapped water.

7. Add a Layer of Protection (Optional)

  • Once dry, apply a wheel wax or sealant using an applicator pad. This step adds a protective barrier, repels brake dust, and makes future cleaning easier.
  • Allow the product to haze, then buff off with a clean microfiber towel for maximum shine.
Pro Tip: Always use separate cleaning tools for your wheels and car body to avoid scratching your paint with abrasive brake dust particles.

Routine Maintenance Makes a Difference

By following this basic aluminum wheel cleaning routine every few weeks—or more often if you drive in harsh conditions—you’ll notice your wheels stay cleaner, shinier, and more resistant to corrosion. Remember, gentle products and tools are key to preserving the finish for years to come. For advanced restoration tips, oxidation removal, and long-term protection strategies, check out our comprehensive guide on aluminum surface care.

Ready to tackle tougher challenges, like removing oxidation or restoring a faded finish? In the next section, we’ll cover how to safely address these issues and keep your aluminum wheels looking their absolute best.

polishing removes oxidation and brings back aluminum wheel shine

Ever walked up to your vehicle and noticed cloudy patches or chalky white spots on your wheels? That’s oxidation at work—a natural process that can dull even the shiniest aluminum wheels. But don’t worry: learning how to clean oxidized aluminum wheels is straightforward, and with the right approach, you can restore their shine and prevent further damage.

What Causes Oxidation and Corrosion on Aluminum Wheels?

When aluminum wheels are exposed to air, moisture, road salt, and contaminants like brake dust, a thin layer of aluminum oxide forms on the surface. This layer is actually a self-protecting barrier, but over time, it can build up and trap dirt, leading to dullness and—if neglected—eventual corrosion. Prolonged exposure to harsh chemicals, UV rays, and moisture accelerates this process, especially if the wheel’s protective clear coat is compromised.

  • Brake Dust: Contains metallic particles that chip away at clear coats, exposing raw aluminum to the elements.
  • Road Salt and Chemicals: Speed up oxidation and can eat through protective coatings if not washed away promptly.
  • Improper Cleaning: Acidic or abrasive cleaners and harsh scrubbing can damage the finish, making wheels more vulnerable.
  • UV Exposure: Weakens protective coatings, allowing oxidation and corrosion to set in faster.

While aluminum is naturally more resistant to rust than steel, it can still suffer from pitting and corrosion if oxidation is ignored. That’s why regular cleaning and prompt attention to any signs of dullness or white spots are so important.

Step-by-Step: How to Remove Oxidation from Aluminum Wheels

Ready to restore your wheels’ shine? Here’s a proven process for removing oxidation and tackling light corrosion:

  1. Assess the Wheel Surface
    Before you begin, determine if your wheels are bare aluminum or have a clear coat. Rub a small, hidden area with polish and a microfiber cloth—if the cloth turns black, you have bare aluminum; if not, there’s a coating present.
  2. Clean Thoroughly
    Wash the wheels with car shampoo and water, using a soft brush to remove dirt and brake dust. Rinse well and dry completely.
  3. Apply an Aluminum Oxidation Remover or Polish
    Use a dedicated aluminum polish or oxidation remover. Apply a small amount to a microfiber cloth and gently rub the affected areas in a circular motion. For stubborn spots, a power drill with a polishing ball attachment can save time and effort (CarParts.com).
  4. Address Light Corrosion
    If you notice minor pitting or rough spots, consider using fine-grit wet/dry sandpaper (start with 400 grit and progress to 800 or 1000 grit) to gently smooth the surface. Always sand by hand and keep the area wet to avoid scratching.
  5. Buff and Polish
    Wipe away residue with a clean microfiber towel. Apply a finishing polish for extra shine, then buff until the wheel gleams.
  6. Protect the Finish
    Finish by applying a wheel wax or sealant to prevent future oxidation and make routine cleaning easier.
Tip: Never use steel wool or harsh abrasives on aluminum wheels—they can leave deep scratches and compromise the integrity of the metal.

The Role of Aluminum Quality: Why Material Matters

Imagine two sets of wheels: one begins to dull and pit after a few seasons, while the other maintains its shine year after year. What’s the difference? Often, it’s the quality of the aluminum alloy and the precision of the manufacturing process. High-quality aluminum—like that used by advanced manufacturers such as Shengxin Aluminum—offers superior resistance to premature oxidation and corrosion. Their advanced alloy formulations and surface treatments create a more durable, longer-lasting wheel, making maintenance easier and extending the life of your investment.

In short, while knowing how to clean oxidized aluminum wheels is essential, choosing wheels made from premium materials gives you a real advantage in the fight against oxidation. It’s a smart move for anyone who wants to spend less time restoring and more time enjoying their ride.

Now that you know how to remove oxidation from aluminum wheels and why wheel quality matters, let’s move on to polishing techniques that take your wheels from clean to mirror-like brilliance.

Ever wondered why some aluminum wheels catch the sunlight and dazzle, while others look dull no matter how much you clean them? The secret is in the polish. If you’ve just removed oxidation or deep-cleaned your wheels, polishing is the next step that transforms clean metal into a head-turning, mirror-like finish. But how do you get that professional-level shine at home? Let’s break down the process, compare hand and machine methods, and share expert tips so you know exactly how to polish aluminum wheels for stunning results.

Cleaning vs. Polishing: What’s the Difference?

Sounds simple, but it’s easy to mix up these two steps. Cleaning removes dirt, brake dust, and surface grime. Polishing, on the other hand, is about smoothing out tiny imperfections and restoring the reflective luster of the metal. Imagine looking at your wheel under a microscope: after cleaning, the surface still has tiny peaks and valleys that scatter light, making it look cloudy. Polishing levels out these microscopic bumps, allowing light to bounce straight back—creating that signature shine (Mobil).

Step-by-Step: Aluminum Wheel Polishing Techniques

Ready to get started? Here’s a straightforward process you can follow for both hand and machine polishing:

  1. Prep the Surface
    Make sure your wheels are completely clean and dry. If you’ve just removed oxidation or sanded out imperfections, wipe away all residue. Only bare aluminum should be polished—if your wheels have a clear coat or paint, skip this step or strip the coating first.
  2. Choose Your Polish
    Select a dedicated metal or aluminum polish. These formulas contain fine abrasives that smooth the surface without causing scratches. Avoid harsh compounds designed for paint—they’re too aggressive for aluminum.
  3. Apply Polish
    • By Hand: Use a microfiber applicator or soft cloth. Apply a small amount of polish and work it into the metal using small, circular motions. Focus on one section at a time, using moderate pressure.
    • By Machine: Attach a foam or microfiber polishing pad to a variable-speed drill or dual-action polisher. Apply polish to the pad, then work over the wheel at low to medium speed, letting the tool do the work. Keep the pad moving to avoid heat buildup.
  4. Buff to a Shine
    Wipe away excess polish with a clean, soft microfiber towel. For best results, use a towel dedicated to metal polishing, as the residue can stain regular cloths (Detailed Image).
  5. Repeat as Needed
    For maximum brilliance, repeat the process with a finer polish or a new pad. Professional results often come from working through several grades of polish, moving from coarser to finer abrasives.

Hand Polishing vs. Machine Polishing: Which Is Best?

Method Best For Pros Cons
Hand Polishing Quick touch-ups, small areas, or wheels with minimal dullness
  • Simple and safe
  • Great for intricate designs
  • No special equipment needed
  • Requires more effort
  • Harder to achieve a deep, uniform shine
Machine Polishing Heavily oxidized, pitted, or large flat surfaces
  • Faster and more effective
  • Delivers a truly mirror-like finish
  • Ideal for restoring neglected wheels
  • Requires a polisher and pads
  • Can generate heat—care needed to avoid damaging the wheel

Expert Tips for a Brilliant, Lasting Shine

  • Always use dedicated pads and towels for metal polishing to avoid cross-contamination.
  • Mask off painted or plastic areas with tape to protect them from polish splatter.
  • Start with a test spot on the back of the wheel to get comfortable with your technique and polish.
  • For the deepest shine, finish with a fine-grade polish and buff until the reflection is clear and crisp.
  • After polishing, consider applying a sealant or ceramic coating to protect your hard work and keep wheels gleaming longer.

Polishing isn’t just about looks—it also helps protect aluminum from future oxidation and makes routine cleaning easier. Now that your wheels are shining bright, the next step is to ensure that the finish lasts by spotting and addressing any clear coat issues before they become bigger problems.

Ever wondered why your aluminum wheels start to look patchy, cloudy, or even develop strange patterns, despite all your cleaning efforts? Before you jump into any restoration or refinishing project, it’s crucial to know if you’re dealing with aluminum wheel clear coat failure. Spotting these issues early can save you time, money, and frustration down the road. But what exactly does a failing clear coat look like, and how can you tell if your wheels need more than just a good polish?

Why the Clear Coat Matters

The clear coat on aluminum wheels acts as a protective barrier, shielding the metal from moisture, road salt, brake dust, and harsh chemicals. When this layer is compromised—whether by physical damage, neglect, or exposure to corrosive materials—the underlying aluminum becomes vulnerable to oxidation and corrosion. That’s why recognizing the signs of damaged clear coat is an essential first step before any repair or refinishing work.

Common Signs of Clear Coat Failure on Aluminum Wheels

Not sure what to look for? Imagine inspecting your wheels up close—here’s what you might notice if the clear coat is starting to break down:

  • Peeling or Flaking: The clear layer visibly lifts or flakes off, often starting at the edges or around wheel weights. You might even see small chunks coming off when you rub the area with your fingernail (Autopia Forum).
  • Cloudiness or Hazy Appearance: The finish loses its transparency, turning dull, milky, or uneven. This is often the first sign that the clear coat is breaking down and no longer protecting the metal beneath.
  • Yellowing: Over time, UV exposure and contaminants can cause the clear coat to take on a yellowish tint, especially on lighter or polished wheels.
  • Spiderweb or Crack Patterns: Look for fine, branching cracks—sometimes called “crow’s feet” or “spiderwebs”—spreading across the surface. These cracks often signal deeper damage beneath the clear layer.
  • Rough or Textured Feel: Run your fingers over the wheel; if it feels gritty, bumpy, or uneven, the clear coat may be eroding or separating from the aluminum.
  • Staining or Discoloration: Areas where the clear coat has failed can appear darker, stained, or even show signs of corrosion and oxidation (such as white or gray patches).
  • Bubbles or Blisters: In severe cases, moisture trapped under the clear coat can cause it to lift and form bubbles or blisters, which eventually burst and flake away.
Example: You might notice a wheel that looks perfect in the center but has a ring of flaking or cloudiness near the rim edge—often where wheel weights were attached or curb rash occurred. This pattern is a classic indicator that the clear coat has been breached, allowing contaminants to get underneath and start the failure process.

What Causes Clear Coat Failure?

  • Physical Damage: Curb impacts, improper wheel weight removal, or aggressive cleaning with harsh brushes can puncture the clear coat.
  • Chemical Exposure: Acidic or overly strong wheel cleaners left on too long can etch and weaken the protective layer.
  • Neglect: Infrequent washing allows brake dust and road salt to eat away at the clear coat, especially in harsh climates.
  • UV Degradation: Prolonged sun exposure can break down the clear coat, leading to yellowing and loss of gloss.

When to Take Action

If you spot any of these signs of damaged clear coat, it’s time to consider your next steps. Minor issues may be temporarily managed with touch-up products, but widespread peeling, cracking, or cloudiness usually means the clear coat needs to be stripped and reapplied for lasting protection. Addressing these problems promptly will help prevent further oxidation and keep your wheels looking their best.

Now that you know how to identify aluminum wheel clear coat failure, the next step is learning how to safely remove the old, compromised coating before refinishing. In the following section, we’ll guide you through the safest methods to strip away damaged clear coat and prepare your wheels for a fresh, durable finish.

safe clear coat removal requires proper tools and protective gear

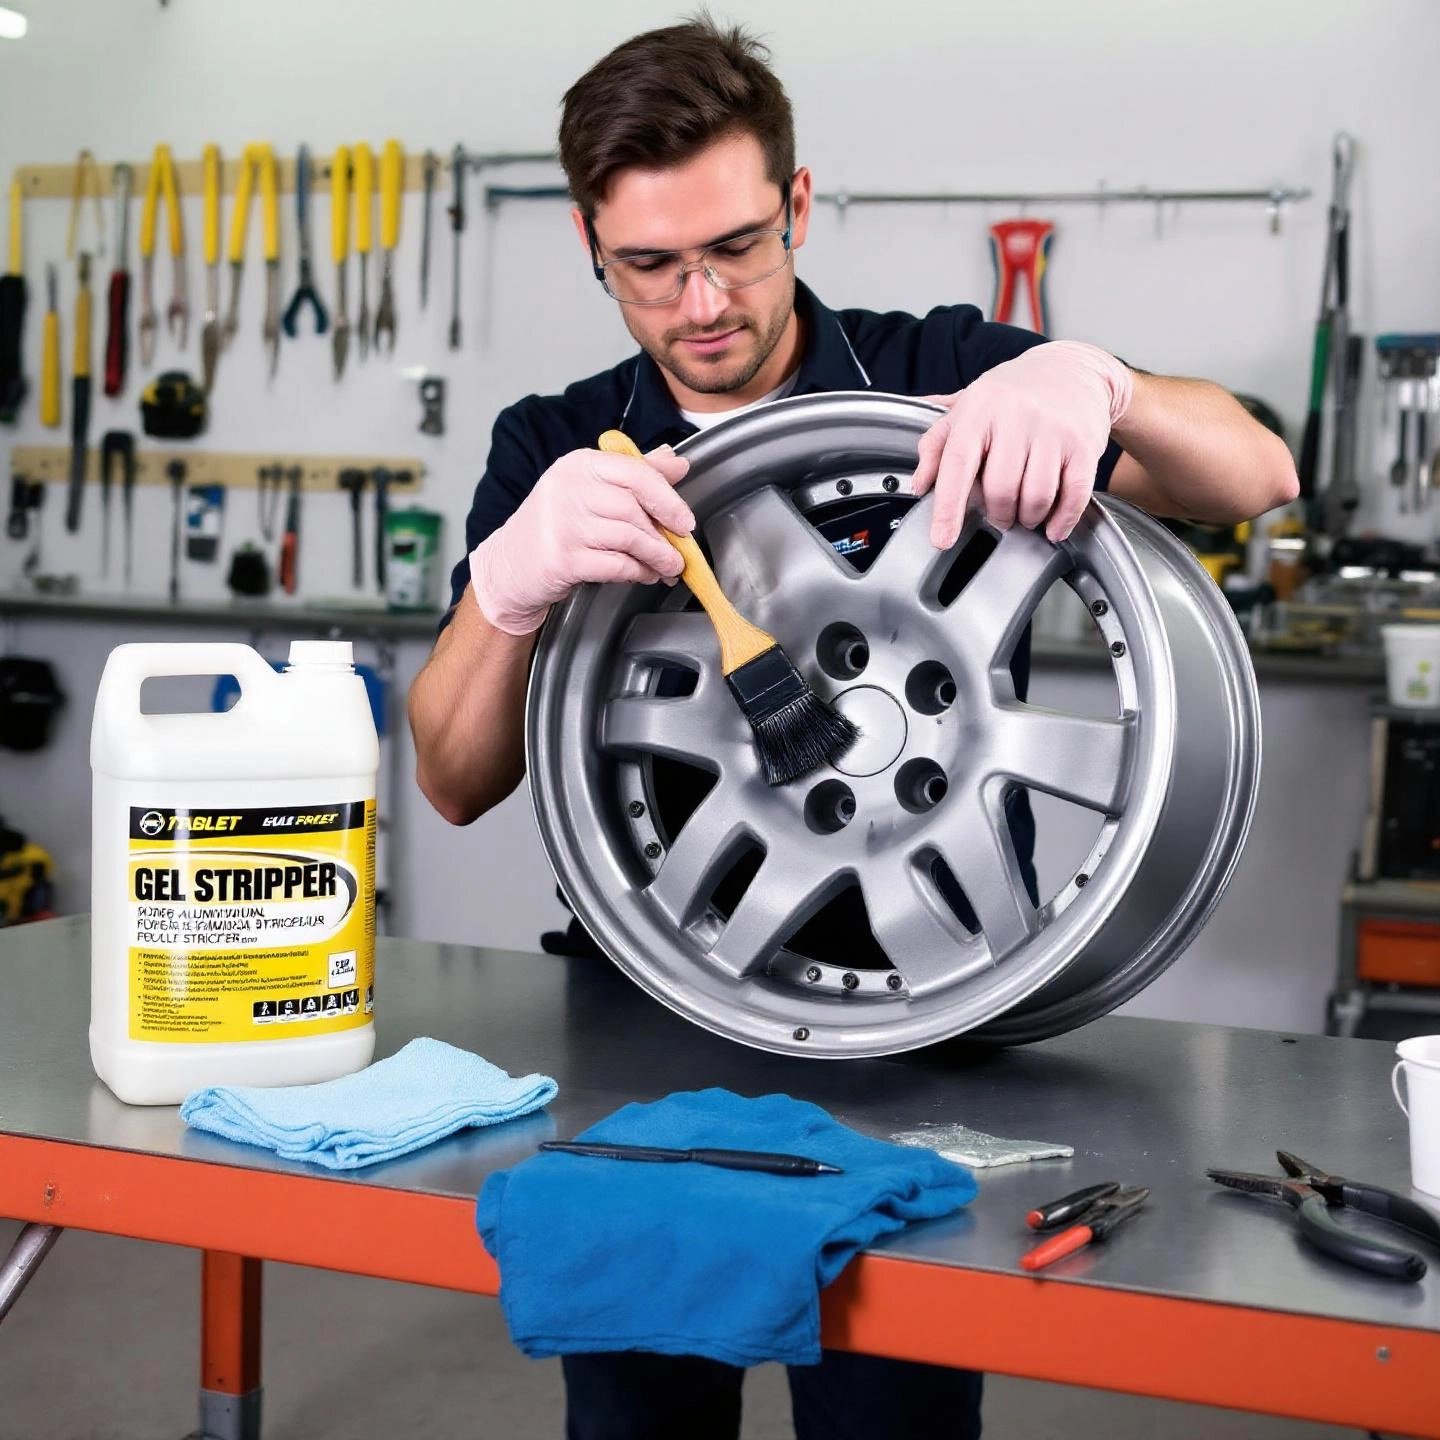
When your wheels start to look patchy, cloudy, or develop peeling spots, you might wonder: How do I safely strip the clear coat without ruining the aluminum underneath? Removing a failing clear coat is a delicate job, but with the right products, protective gear, and a step-by-step approach, you can restore your wheels for a fresh start. Let’s break down exactly how to remove clear coat from aluminum wheels—and do it safely.

Why It’s Important to Use the Right Products and Safety Gear

Stripping clear coat isn’t just about getting a shiny new look—it’s about protecting the wheel’s integrity. The wrong chemicals or abrasive tools can gouge the aluminum, while skipping safety gear exposes you to harsh fumes and skin irritation. Imagine sanding away, only to discover deep scratches or chemical burns on your hands. That’s why careful preparation matters.

Essential Supplies for Safe Clear Coat Removal
  • Citrus-based or gel paint stripper (e.g., CitrusStrip Gel)—gentle on aluminum, effective on clear coat
  • Plastic scraper—removes softened clear coat without scratching the metal
  • Fine-grit wet/dry sandpaper (1000–4000 grit)—for smoothing remaining residue or correcting minor imperfections
  • Microfiber towels—for cleaning and drying
  • Nitrile gloves—protect your skin from chemicals
  • Safety glasses—shield your eyes from splashes
  • Plastic sheeting or garbage bags—to wrap wheels and keep stripper moist

How to Remove Clear Coat from Aluminum Wheels

  1. Prepare Your Workspace and Wheels
    Park in a well-ventilated, shaded area. Remove the wheels from your vehicle if possible for easier access. Clean the wheels thoroughly with soap and water to remove dirt, brake dust, and oils—this ensures the stripper works evenly.
  2. Apply the Clear Coat Stripper
    Wearing gloves and safety glasses, generously coat the affected wheel areas with a citrus-based gel stripper. Use a paintbrush for even coverage, focusing on sections where the clear coat is peeling or cloudy. Avoid getting stripper on tires or painted surfaces.
  3. Seal and Wait
    To prevent the stripper from drying out (which reduces effectiveness), wrap the wheel in plastic sheeting or a large garbage bag. Let the product sit for 30–60 minutes, or as directed by the manufacturer. The clear coat will begin to bubble and lift from the aluminum (AutogeekOnline).
  4. Gently Remove the Softened Clear Coat
    After the waiting period, unwrap the wheel. Using a plastic scraper, carefully lift away the bubbled clear coat. Avoid metal scrapers—they can scratch the aluminum. Work slowly, checking your progress as you go. For stubborn spots, reapply stripper and repeat the process.
  5. Wet Sand for a Smooth Finish
    If any residue remains, use wet/dry sandpaper starting at 1000 grit and progressing up to 4000 grit. Keep the surface and sandpaper wet at all times to avoid scratching. Sand gently, feathering the edges to blend the stripped areas with any intact coating. This ensures a seamless transition for refinishing (CarFromJapan).
  6. Clean and Inspect
    Rinse the wheel thoroughly to remove any chemical residue and sanding dust. Dry with a microfiber towel and inspect for any lingering clear coat or imperfections. Repeat the stripping and sanding steps if needed until the aluminum is fully exposed and smooth.
Pro Tip: Never use paint thinner or aggressive chemical strippers not designed for aluminum wheels—they can damage the underlying metal and create uneven results.

Safety and Environmental Considerations

  • Always wear gloves and eye protection when handling chemical strippers.
  • Work outdoors or in a well-ventilated garage to avoid inhaling fumes.
  • Dispose of used stripper, plastic sheeting, and removed clear coat responsibly, following local hazardous waste guidelines.

When to Seek Professional Help

If your wheels have deep scratches, pitting, or extensive corrosion beneath the clear coat, consider consulting a professional refinisher. Sometimes, DIY methods are best for mild to moderate clear coat failure, while severe cases may require expert tools and techniques for a flawless result.

With the old clear coat safely removed, your aluminum wheels are now ready for polishing or a fresh protective coating. In the next section, we’ll guide you through applying a new clear coat for long-lasting shine and protection—so your hard work pays off for miles to come.

When your aluminum wheels are stripped, polished, and ready for a fresh start, you might ask: How do I apply a new clear coat to guarantee both shine and protection? The answer lies in careful preparation, proper technique, and choosing the best clear coat for aluminum wheels. Let’s walk through the process step by step, so your hard work pays off with a durable, glossy finish.

Why Clear Coating Matters for Aluminum Wheels

Imagine spending hours restoring your wheels—only to see them dull or corrode after a few months. That’s where a quality clear coat comes in. It acts as an invisible shield, protecting aluminum from UV rays, moisture, road salt, and brake dust. A good clear coat not only preserves the shine but also extends the life of your wheels, keeping them looking showroom-fresh for longer.

Step-by-Step: How to Apply a New Clear Coat to Aluminum Wheels

  1. Surface Preparation Is Key
    • Ensure the wheels are completely clean, dry, and free of any old clear coat, polish, or residue. Any remaining contaminants can cause adhesion problems or imperfections in the finish.
    • Wipe the surface with isopropyl alcohol or a dedicated surface prep solution to remove oils and dust.
    • Mask off tires, valve stems, and any areas you don’t want coated using painter’s tape and plastic sheeting.
  2. Choose the Right Clear Coat
    • For most DIYers, an automotive-grade spray clear coat designed for metal or wheels is easiest to apply and provides reliable protection. Products like Alumaclear are specifically formulated for aluminum, offering superior durability, UV resistance, and a high-gloss finish.
    • If you want maximum longevity and are open to professional services, consider advanced options like powder coating or anodizing—these methods offer even greater resilience and are often used by leading manufacturers for factory finishes.
  3. Apply Multiple Light Coats
    • Shake the can thoroughly before use. Hold the spray 6–8 inches from the surface and apply the first coat in a light, even pass. Avoid heavy application—runs or drips are hard to fix later.
    • Allow each coat to flash off (usually 10–15 minutes, but follow product instructions) before applying the next. Most experts recommend 2–4 light coats for optimal coverage and depth.
    • Rotate the wheel as you spray to cover all angles, including spokes and barrel edges.
  4. Allow Proper Drying and Curing
    • After the final coat, let the wheels dry in a dust-free area. Most clear coats dry to the touch within an hour but require 24–48 hours to fully cure and reach maximum hardness.
    • Avoid washing or handling the wheels until the clear coat is completely cured.
Tip: Patience is essential. Rushing between coats or handling wheels before full cure can compromise the finish and reduce protection.

Factory-Grade Protection: Powder Coating and Anodizing

Want the ultimate in durability? Professional-grade finishes like powder coating and anodizing—often used by top manufacturers such as Shengxin Aluminum—provide an extra-tough barrier against corrosion, chips, and UV damage. Powder coating, in particular, creates a thick, uniform layer that’s baked on for superior longevity, making it a benchmark for long-term wheel protection. While these methods require specialized equipment, they’re ideal for anyone seeking maximum resilience and a factory-fresh look year after year.

Choosing the Best Clear Coat for Aluminum Wheels

  • Look for clear coats with strong UV resistance and high-gloss properties—these help protect aluminum wheels from fading and yellowing.
  • Prioritize products that are easy to apply and formulated specifically for metal or aluminum surfaces.
  • For the best results, consider trusted brands with a reputation for durability, such as Alumaclear, which is widely used by professionals and enthusiasts alike.
Example: Imagine your freshly restored wheels gleaming in the sun, shielded by a high-quality clear coat that repels brake dust and resists chipping. With proper prep and the right product, that shine can last for years—not just months.

By following these steps and choosing the best clear coat for aluminum wheels, you’ll lock in your wheels’ brilliance and defend against the elements. Next, we’ll explore expert tips for maintaining your polished finish and keeping your wheels looking their absolute best over the long haul.

regular maintenance keeps aluminum wheels polished and protected

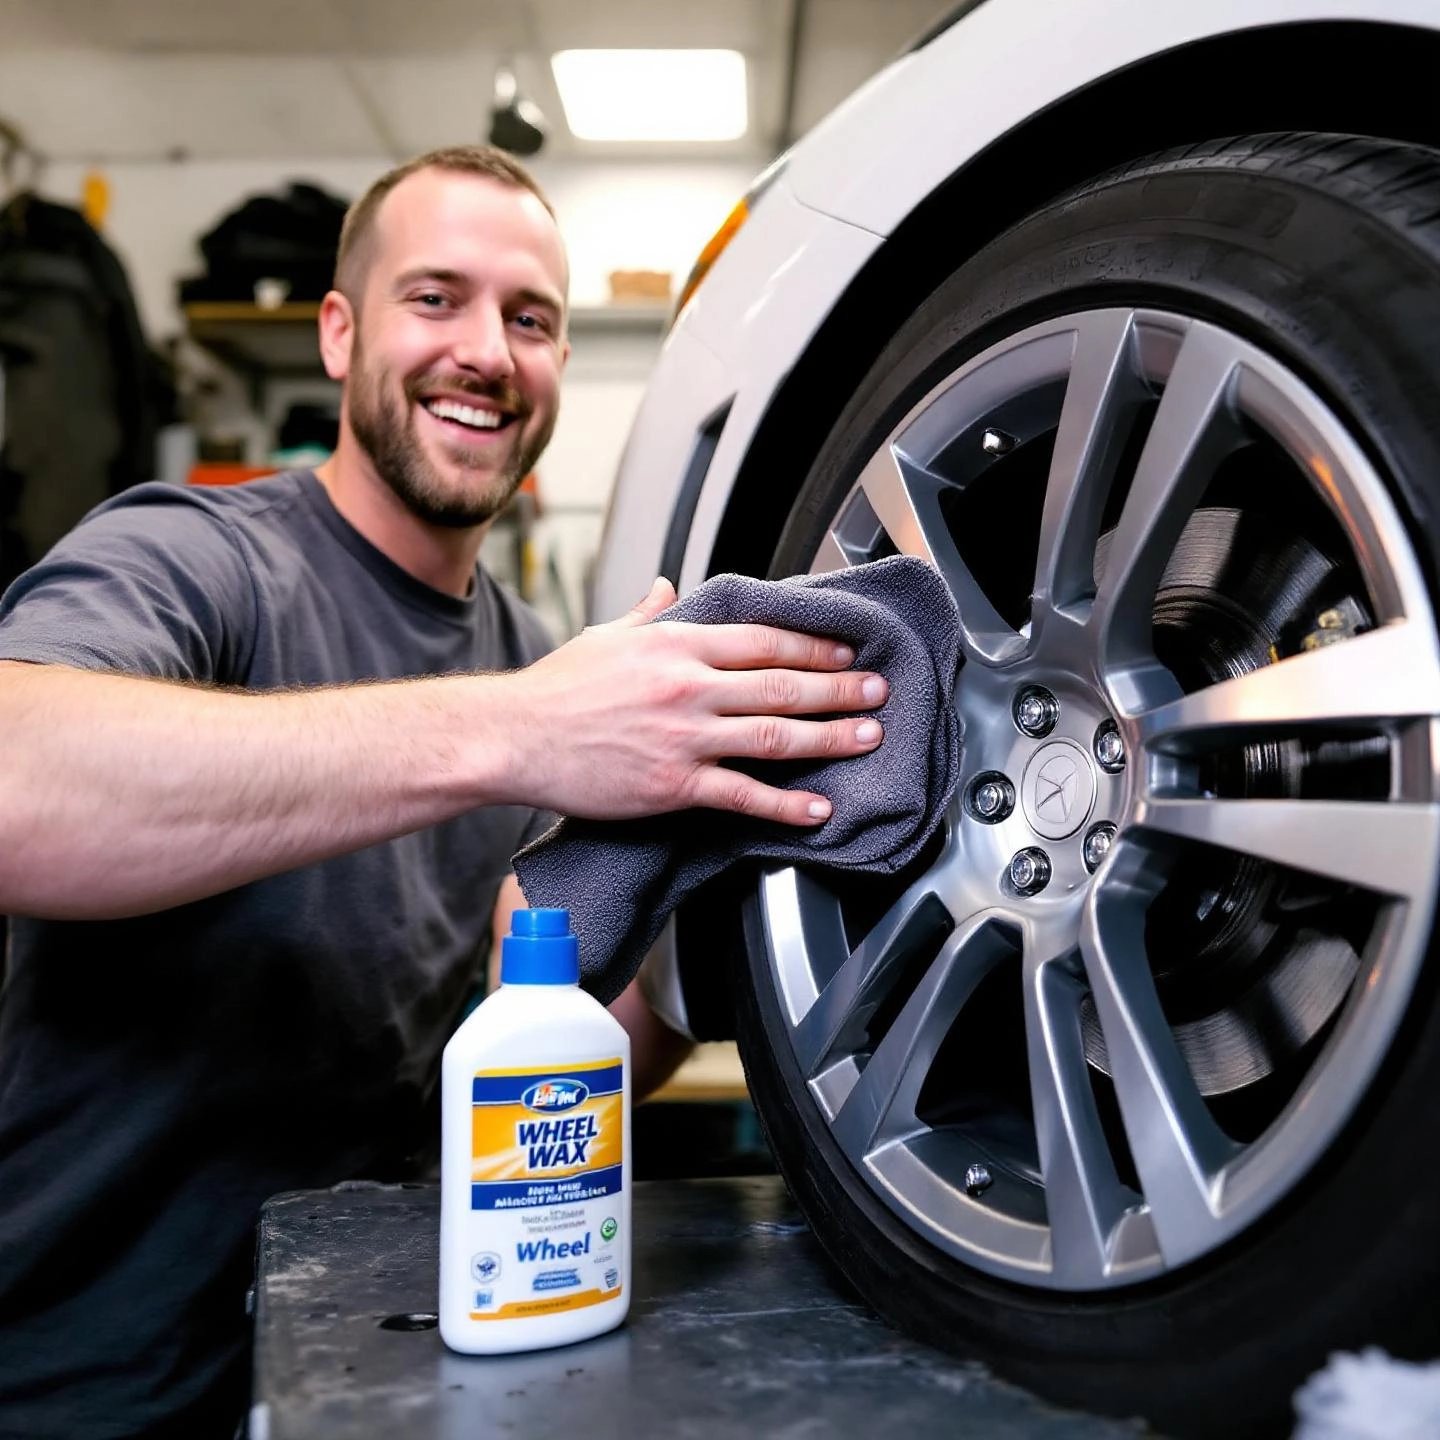
Ever spent hours cleaning and polishing your aluminum wheels, only to watch them lose their brilliance after a few drives? You’re not alone. The good news: a few simple habits and the right products can make your hard work last much longer. Imagine pulling up to your next event or simply glancing at your car in the driveway—those wheels still gleaming. Want to know the secret? It’s all about smart, consistent care. Here are the most effective aluminum wheel maintenance tips to help you keep aluminum wheels clean and shining for the long haul.

1. Wash Regularly—But Gently

  • Don’t let brake dust and grime build up. These contaminants are not only unsightly but can be corrosive, eating into the finish if left unchecked. Aim to clean your wheels every one to two weeks, or more often if you drive in harsh conditions.
  • Use a pH-neutral or aluminum-specific cleaner. Harsh chemicals and acidic wheel cleaners can dull or etch the surface. Stick to products designed for aluminum to preserve the shine and prevent damage.
  • Always rinse wheels before applying cleaner. This removes loose dirt and prevents scratching during scrubbing.

2. Choose the Right Tools

  • Microfiber towels and soft-bristle brushes are your best friends. They clean effectively without scratching the delicate finish.
  • Separate your wheel cleaning tools from those used on the rest of your car to avoid cross-contamination with abrasive brake dust.
  • Never use steel wool or abrasive pads. These can leave deep scratches and make your wheels more prone to oxidation.

3. Apply Protective Wax or Sealant

  • After cleaning and drying, apply a wheel wax or sealant. This adds a protective barrier that repels brake dust, road grime, and water spots, making future cleaning much easier.
  • Buff with a clean microfiber towel after the wax or sealant hazes, ensuring a streak-free, mirror-like finish.
  • Reapply protection every few months. Depending on your driving conditions, this could be as often as every three months for daily drivers or less frequently for show vehicles.

4. Inspect and Address Imperfections Promptly

  • Regularly check for scratches, chips, or blemishes. Touch up with polish and a fresh layer of clear coat if needed to stop small issues from becoming bigger problems.
  • Look for signs of clear coat failure, like peeling or cloudiness, and address them right away to prevent oxidation from setting in.

5. Handle Wheels with Care

  • Avoid curbing or hitting obstacles, which can chip the finish and expose bare aluminum to the elements.
  • When removing or installing wheels, use proper tools and techniques to prevent scratches or dings.
  • If storing your vehicle, cover the wheels (or the whole car) to protect against dust and moisture, especially in humid environments.

Quick-Reference Checklist: Keep Aluminum Wheels Clean and Shining

Maintenance Step How Often?
Wash with gentle cleaner Every 1–2 weeks
Apply wax/sealant Every 2–3 months
Inspect for damage Monthly
Touch up polish/clear coat As needed
Cover wheels during storage When vehicle is not in use
Remember: Consistency is key. A few minutes of care on a routine basis will help your aluminum wheels outshine the rest and resist the wear and tear of daily driving.

With these aluminum wheel maintenance tips in your toolkit, you’ll enjoy wheels that look freshly detailed every time you hit the road. Up next, we’ll wrap up with a summary of the key steps for cleaning, restoring, and protecting your aluminum wheels, so you can take pride in your ride for years to come.

Ever stepped back to admire your vehicle and felt that extra spark of satisfaction when your wheels gleam? That’s not just about looks—it’s about knowing you’ve given your investment the care it deserves. Throughout this guide, we’ve walked through every essential step on how to clean aluminum wheels, restore them from dullness or damage, and lock in a finish that turns heads and stands the test of time.

Key Steps for Clean, Protected Aluminum Wheels

  • Routine Cleaning: Start with gentle, pH-neutral products and soft tools to remove brake dust and grime without scratching the surface.
  • Oxidation & Corrosion Removal: Address cloudy patches or pitting promptly with dedicated aluminum polish and, if needed, careful sanding for deeper spots.
  • Polishing: Bring out a mirror-like shine using hand or machine methods, smoothing away minor imperfections and restoring brilliance (McCoys Truck Detailing).
  • Clear Coat Restoration: Identify and safely strip failing clear coats, then reapply a quality protective layer to shield against future damage.
  • Ongoing Maintenance: Protect your hard work by washing regularly, applying wax or sealant, and inspecting for early signs of wear.

Why Quality Materials and Methods Matter

Imagine wheels that stay shiny season after season, requiring less effort to maintain. That’s the difference when you combine careful cleaning with high-quality materials and advanced manufacturing techniques. Premium aluminum alloys and factory-grade finishes—like those perfected by industry leaders such as Shengxin Aluminum—offer superior resistance to corrosion, oxidation, and fading. Their use of state-of-the-art processes, from precision extrusion to anodizing and powder coating, sets the benchmark for aluminum wheel protection in both automotive and industrial applications.

Takeaway: The best results come from combining proper technique with proven materials. When you invest in quality—both in your cleaning routine and in the wheels themselves—you’re rewarded with lasting shine and peace of mind.

Ready to Elevate Your Wheels and Beyond?

Whether you’re a weekend detailer or responsible for a fleet, taking pride in your wheels means more than just routine cleaning. It’s about safeguarding your investment and showcasing your attention to detail. As you continue to care for your aluminum wheels, consider exploring advanced solutions from trusted manufacturers like Shengxin Aluminum—where innovation and quality go hand in hand. Their expertise in high-tech aluminum profiles and protective finishes ensures your wheels (and any aluminum project) are built to last.

So next time you see that brilliant reflection in your wheels, remember: you’ve mastered not just how to clean aluminum wheels, but how to protect and showcase them for years to come. Ready to discover more about advanced aluminum solutions for your automotive or industrial needs? The journey to lasting shine and performance starts here.

1. What is the best thing to clean aluminum wheels?

The best way to clean aluminum wheels is to use a dedicated aluminum wheel cleaner or a pH-neutral soap. Always use soft-bristle brushes and microfiber towels to avoid scratching the surface. Avoid harsh acids or abrasive pads, as these can damage the finish. For routine cleaning, rinse the wheels first, apply the cleaner, gently scrub, and dry thoroughly for a spotless shine.

2. How do you remove heavy oxidation from aluminum wheels?

To remove heavy oxidation, start by cleaning the wheels thoroughly. Then, apply a dedicated aluminum polish or oxidation remover using a microfiber cloth or polishing pad. For stubborn spots, wet sanding with fine-grit sandpaper may be needed. Always finish by buffing the surface and applying a protective wax or sealant to prevent future oxidation.

3. How can I tell if my aluminum wheels have a damaged clear coat?

Signs of clear coat failure include peeling or flaking, cloudiness, yellowing, spiderweb cracks, and rough or uneven textures. You may also notice staining or bubbles where the clear coat has lifted. If you see these issues, it’s important to address them quickly to protect the underlying aluminum from further damage.

4. What are the steps to apply a new clear coat to aluminum wheels?

Begin by ensuring the wheels are clean, dry, and free of any old clear coat or residue. Mask off areas you do not want coated. Apply multiple light coats of an automotive-grade clear coat formulated for metal, allowing each coat to dry as directed. Let the wheels cure completely before use. For maximum durability, professional powder coating or anodizing is recommended.

5. How can I keep my aluminum wheels looking polished for the long term?

Regularly wash your wheels with gentle, aluminum-safe cleaners and soft brushes. Apply a protective wax or sealant every few months, and inspect for scratches or clear coat damage. Avoid abrasive tools and harsh chemicals, and handle the wheels carefully to prevent chips or scratches. Cover wheels during storage to protect them from dust and moisture.