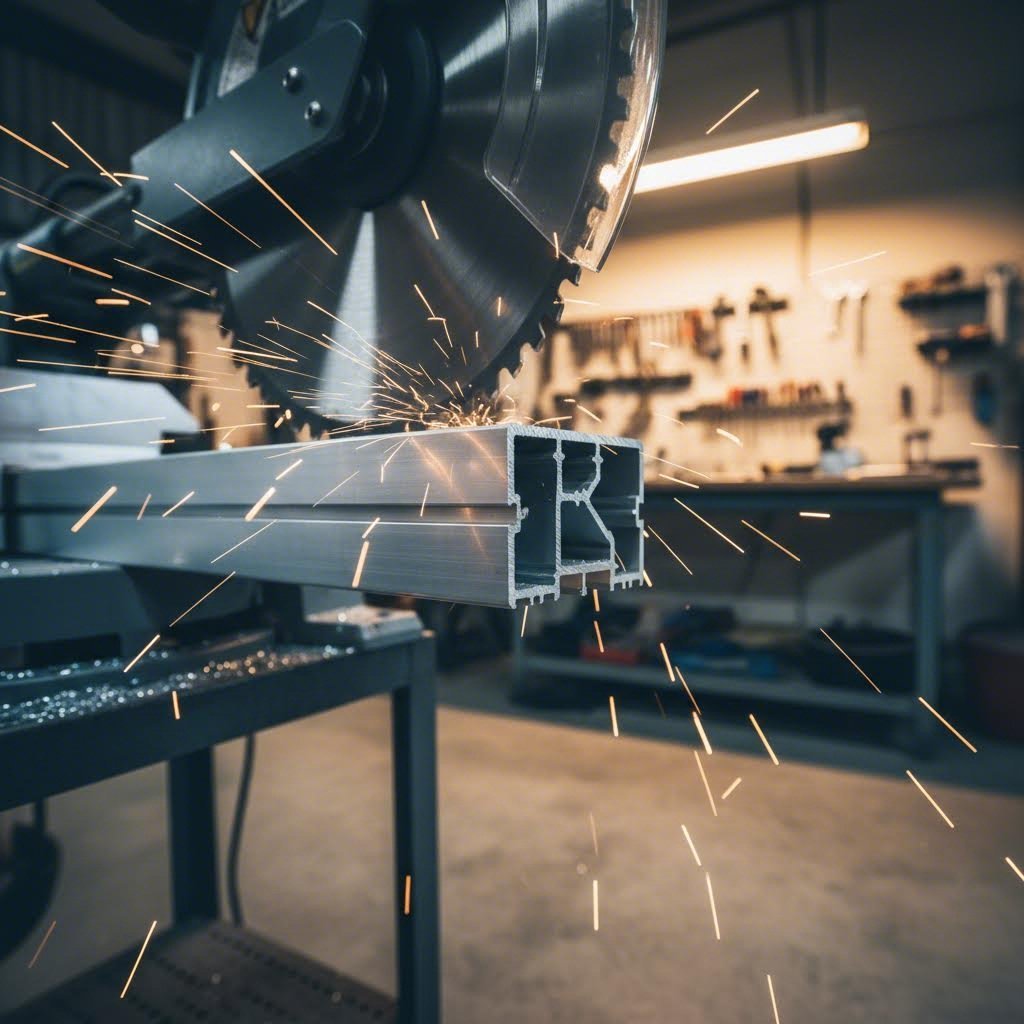
Ever tried cutting aluminum extrusion only to end up with jagged edges, warped profiles, or frustrating burrs that require hours of cleanup? You're not alone. Whether you're a weekend DIY enthusiast building a custom workbench frame, a professional fabricator assembling precision equipment, or an industrial user working with high-volume production runs, mastering the best way to cut aluminum extrusion is essential for achieving clean, professional results.
Aluminum extrusion cutting refers to the process of sizing extruded aluminum profiles to specific lengths while maintaining their structural integrity and dimensional accuracy. Unlike cutting solid aluminum stock, working with extrusions presents unique challenges that demand specialized techniques and careful attention to detail.
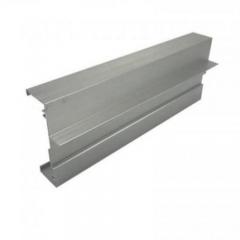
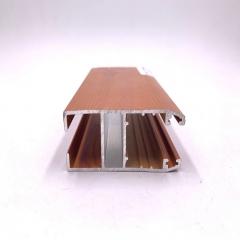
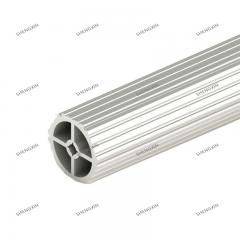
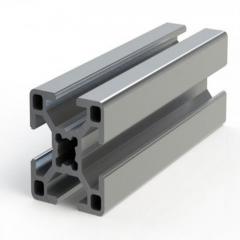
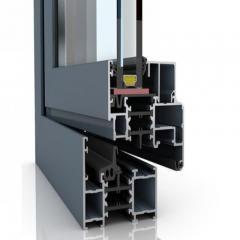
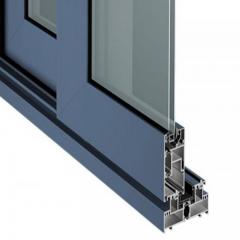
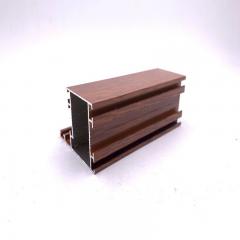
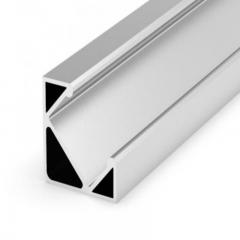
When you're cutting aluminum in its extruded form, you're dealing with a fundamentally different material structure than solid bar or plate stock. Extruded profiles are created by forcing heated aluminum through a die, resulting in complex cross-sectional shapes that include hollow chambers, thin walls, and intricate geometries.
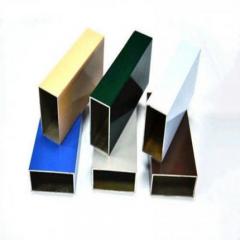
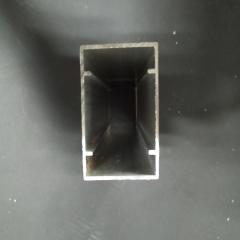
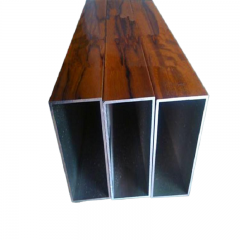
Consider a square aluminum extrusion used in framing applications. Unlike a solid square bar, this profile typically features hollow interior sections with wall thicknesses ranging from 1mm to 6mm. This construction makes the material lightweight and cost-effective but also more susceptible to deformation during cutting.
The alloy composition also plays a critical role. Most extrusions you'll encounter fall into two categories:
An aluminum extrusion square profile, for instance, might look identical whether made from 6061 or 6063, but each behaves differently under the saw blade.
Understanding how to cut aluminum extrusion correctly isn't just about aesthetics—it directly impacts your project's success. Poor cutting technique leads to problems that compound throughout the assembly process.
Here are the key challenges you'll face when cutting extruded aluminum:
This guide consolidates everything you need to know about cutting aluminum extrusion into one authoritative resource. No more digging through scattered forum threads or watching dozens of videos to piece together reliable information. From blade selection to safety protocols, you'll find a complete methodology for achieving burr-free, dimensionally accurate cuts every time.
Now that you understand what makes extruded aluminum unique, the next logical question is: which tool should you actually use? The answer depends on your project requirements, budget, and experience level. Let's break down every viable cutting method so you can match the right tool to your specific needs.
When efficiency and accuracy matter most, power tools deliver results that hand tools simply cannot match. Here's what you need to know about each option:
Miter Saw: Cutting aluminum with a miter saw is arguably the most popular choice among fabricators and serious DIYers. These saws excel at making repetitive, angled cuts with consistent accuracy. The fixed blade position and adjustable fence ensure each cut mirrors the last—perfect for projects requiring multiple identical pieces. However, you'll need a non-ferrous blade specifically designed for aluminum to prevent material buildup on the teeth.
Circular Saw: Cutting aluminum with a circular saw offers excellent portability and versatility. You can bring the tool to the workpiece rather than the other way around, making it ideal for on-site work or cutting longer extrusion lengths. The trade-off? Freehand cuts require steady technique to maintain straight lines, and achieving consistent angles takes practice.
Chop Saw: Similar to a miter saw but typically more powerful, cutting aluminum with a chop saw suits heavier-duty applications. Industrial chop saws often include cooling systems that lubricate the blade during operation, preventing heat buildup that can warp thin-walled profiles. According to The Cutting Experts, saws equipped with cooling systems produce consistently clean cuts while extending blade life significantly.
Band Saw: When you need to band saw cut aluminum profiles with thicker walls or complex cross-sections, this tool shines. The continuous blade motion creates minimal heat compared to circular blades, reducing the risk of material deformation. Band saws also handle curved cuts that other power tools cannot achieve. The slower cutting speed makes them less efficient for high-volume work, but the precision trade-off is often worthwhile for critical components.
Don't have access to power tools? No problem. Hand tools remain viable options for smaller projects or when precision matters more than speed.
Hacksaw: You can absolutely cut aluminum with hacksaw blades—it's how fabricators managed for decades before power tools became affordable. A quality hacksaw with a fine-tooth blade (24-32 TPI) produces surprisingly clean cuts on thin-walled extrusions. The key is patience: let the blade do the work rather than forcing it through the material. Expect to spend 2-3 minutes per cut on average profiles.
Jigsaw: Cutting aluminum with a jigsaw opens possibilities for curved and irregular cuts that straight-cutting tools cannot accomplish. Use a fine-tooth metal-cutting blade and keep the orbital action setting low or off entirely. While not the best saw for cutting aluminum in terms of edge quality, jigsaws offer unmatched versatility for creative projects and custom shapes.
The following table summarizes each method's characteristics to help you make an informed decision:
| Cutting Method | Precision Level | Speed | Cost | Skill Required | Best Use Case |
|---|---|---|---|---|---|
| Miter Saw | High | Fast | $150-$500+ | Beginner-Intermediate | Repetitive straight and angled cuts |
| Circular Saw | Medium-High | Fast | $80-$300 | Intermediate | Portable cutting, longer pieces |
| Chop Saw | High | Very Fast | $200-$2000+ | Intermediate | Heavy-duty, high-volume production |
| Band Saw | Very High | Slow-Medium | $300-$1500+ | Intermediate-Advanced | Thick profiles, curved cuts |
| Hacksaw | Medium | Slow | $15-$50 | Beginner | Occasional cuts, thin profiles |
| Jigsaw | Low-Medium | Medium | $50-$200 | Beginner-Intermediate | Curved cuts, irregular shapes |
If you're just starting out, don't feel pressured to invest in expensive power tools immediately. Consider this progression path:
Remember, the best saw for cutting aluminum isn't necessarily the most expensive—it's the one that matches your current skill level and project demands. A well-executed hacksaw cut beats a poorly controlled power tool cut every time.
With your cutting method selected, the next critical decision involves choosing the right blade—a factor that often makes more difference to cut quality than the saw itself.
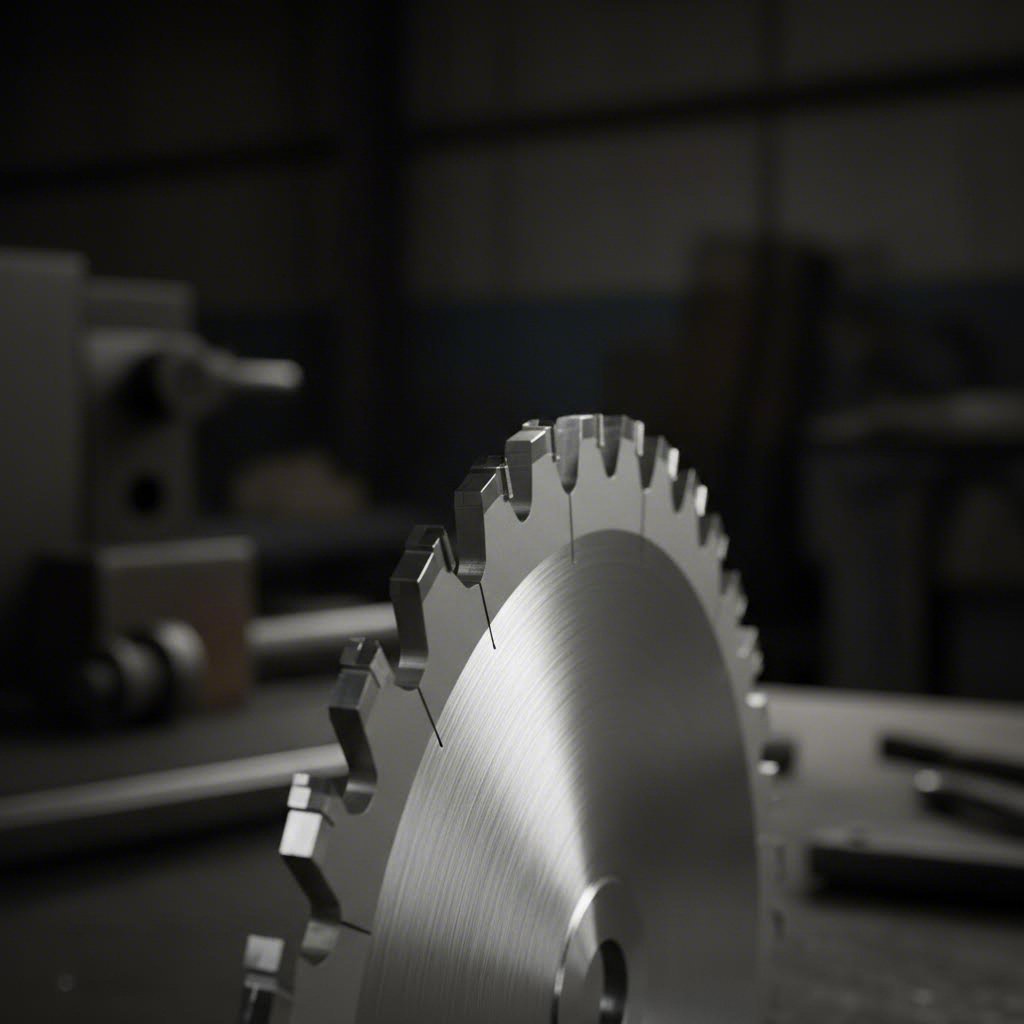
Here's a truth that surprises many first-time aluminum cutters: the blade you choose often matters more than the saw itself. You could own the most expensive aluminum cutting miter saw on the market, but pair it with the wrong blade, and you'll end up with melted edges, excessive burrs, and premature blade failure. Let's dive into what makes a blade truly effective for cutting aluminum extrusion.
When shopping for an aluminum miter saw blade or any blade designed for non-ferrous metals, you'll encounter two critical specifications: tooth count and tooth geometry. Understanding these factors helps you match blade performance to your specific extrusion profile.
Tooth Geometry: TCG vs ATB
Two primary tooth designs dominate the saw blade market:
Why does TCG work better for aluminum? The chamfered edges create a shearing action that slices through the soft metal without grabbing. This prevents the blade from "climbing" in the cut—a common problem that causes rough edges and dangerous kickback situations.
Tooth Count Recommendations
More teeth doesn't always mean better cuts. The ideal tooth count depends on your extrusion's wall thickness and profile complexity:
Blade material determines both cutting performance and long-term value. You'll typically choose between two options:
Carbide-Tipped Blades: These feature carbide tips brazed onto steel teeth. Quality carbide blades offer several advantages for aluminum work:
High-Speed Steel (HSS) Blades: Less expensive initially but dull quickly when cutting aluminum. The softer steel cannot maintain a sharp edge against even 6063 alloy. Reserve HSS blades for occasional cuts where investment in carbide isn't justified.
When selecting a mitre saw blade for cutting aluminum, always choose carbide-tipped options. The upfront cost difference pays for itself within a few projects through reduced burr cleanup and extended blade life.
Remember the alloy differences mentioned earlier? Your blade choice should account for them:
Using the correct blade diameter ensures optimal performance from your aluminum cutting miter saw or circular saw:
Never use undersized blades in your saw—reduced blade exposure compromises cut depth and can create dangerous binding situations. With the right blade mounted and ready, your next step is preparing the workpiece itself for a precision cut.
You've selected your cutting method and mounted the perfect blade—now what? Here's where many projects go wrong. Rushing into the cut without proper preparation leads to off-spec lengths, angled ends that should be square, and wasted material. Whether you plan to cut aluminum with miter saw precision or tackle cutting aluminium on table saw setups, the preparation workflow remains fundamentally the same.
Think of preparation as your insurance policy against costly mistakes. According to industry experts, even experienced metalworkers encounter problems when they skip careful measuring and marking steps. A few extra minutes spent on preparation saves hours of frustration and wasted extrusion stock.
Accurate measuring starts with the right tools and proper technique. Here's your essential toolkit for aluminum miter work:
When cutting aluminum on miter saw setups, visibility matters. The scriber's groove catches light differently than the surrounding surface, making your cut line unmistakable even under shop lighting.
Follow this systematic approach before making any cut:
Hollow aluminum profiles present a unique clamping challenge. Apply too much pressure and you'll crush the walls; too little and the piece shifts mid-cut. Neither scenario produces the clean edges you're after.
Effective clamping strategies for extrusions include:
When your project requires several pieces from a single length of extrusion, smart planning minimizes waste and setup time:
With your extrusion measured, marked, and securely clamped, you're ready to execute the cut itself. The next section covers the techniques that transform good preparation into flawless results.
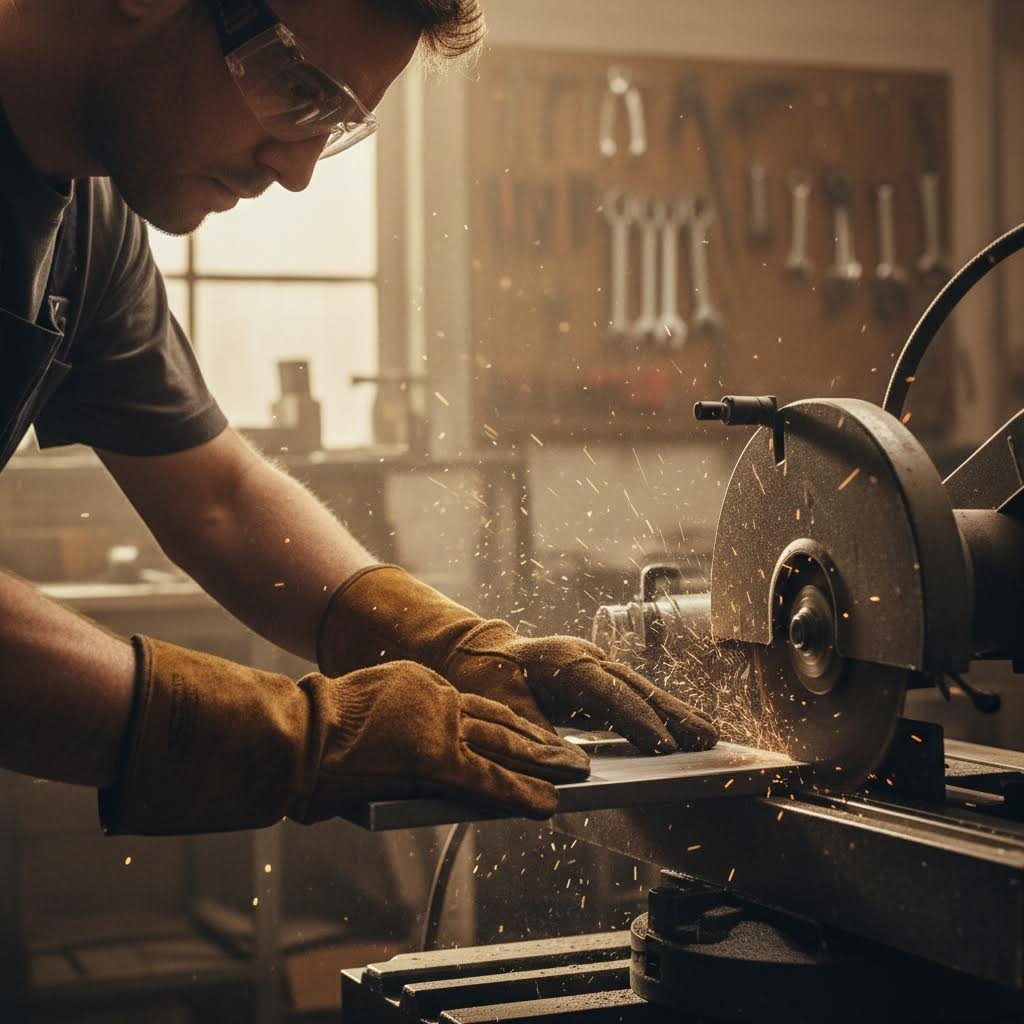
Your blade is spinning, your workpiece is clamped, and you're ready to make the cut. But here's where technique separates amateur results from professional-quality edges. How fast should you push the material? Should you use lubrication? Can i cut aluminum with a chop saw without crushing the profile? These questions matter because even perfect preparation can't compensate for poor execution at the moment of contact.
Let's walk through the techniques that deliver clean, burr-free cuts every time—regardless of which tool you're using.
Imagine pushing aluminum into a spinning blade too quickly. The teeth can't clear chips fast enough, heat builds up, and suddenly you've got melted aluminum welded to your blade. Push too slowly? The blade dwells in one spot, generating friction heat that warps thin-walled profiles. Finding the sweet spot requires understanding how to cut extruded aluminum with proper rhythm.
The Golden Rule: Let the blade do the work. Apply steady, consistent pressure that keeps the blade cutting without forcing it. You should hear a smooth, continuous cutting sound—not a strained motor or chattering teeth.
For different tools, optimal feed rates vary:
Speed Considerations: Blade RPM matters just as much as feed rate. Always allow your saw to reach full operating speed before contacting the workpiece. Starting the cut with a blade that's still accelerating causes grabbing, rough edges, and potentially dangerous kickback situations.
Aluminum's natural tendency to stick to cutting tools creates a phenomenon called "loading"—chips welding themselves to blade teeth and clogging gullets. Lubrication prevents this problem and offers additional benefits:
Lubrication Options:
When is lubrication necessary? Always use it when cutting aluminum on chop saw setups without built-in cooling, when making multiple consecutive cuts that build heat, or when working with thicker profiles that extend blade contact time.
Understanding how to cut aluminium extrusion properly means knowing what can go wrong—and how to prevent it. Here are essential technique tips that eliminate the most common problems:
Hollow aluminum extrusions and tubing require special attention. The thin walls that make these profiles lightweight also make them vulnerable to deformation under cutting pressure.
Prevention strategies include:
What level of accuracy can you realistically achieve? Set appropriate expectations based on your chosen cutting method:
| Cutting Method | Typical Tolerance Achievable | Notes |
|---|---|---|
| Miter Saw (quality blade) | ±0.5mm (±1/64") | Best for precision work with proper setup |
| Chop Saw | ±0.5-1mm (±1/32") | Industrial units with cooling achieve tighter tolerances |
| Circular Saw (guided) | ±1-2mm (±1/16") | Accuracy improves significantly with guide rails |
| Band Saw | ±0.25-0.5mm (±1/100") | Excellent for precision on thick profiles |
| Hacksaw | ±2-3mm (±1/8") | Highly dependent on operator skill |
| Jigsaw | ±3-5mm (±3/16") | Prioritizes flexibility over precision |
These tolerances assume proper technique. Rushing or using dull blades degrades accuracy regardless of tool quality. For projects demanding tighter tolerances than your equipment can deliver, consider professional cutting services or plan for post-cut finishing operations.
Even with perfect technique, occasional mistakes happen. When they do, knowing how to troubleshoot and correct common problems saves both time and material—which is exactly what we'll cover next.
You've mastered the technique, selected the perfect blade, and your cuts are coming out clean. But here's something that too many people overlook until it's too late: aluminum cutting safety. Those shiny chips flying off your saw aren't just debris—they're sharp, hot, and potentially hazardous. And that fine dust floating in the air? It poses risks you can't even see.
Whether you're using an aluminum chop saw for production work or a hacksaw for occasional cuts, understanding these hazards protects both your immediate safety and long-term health.
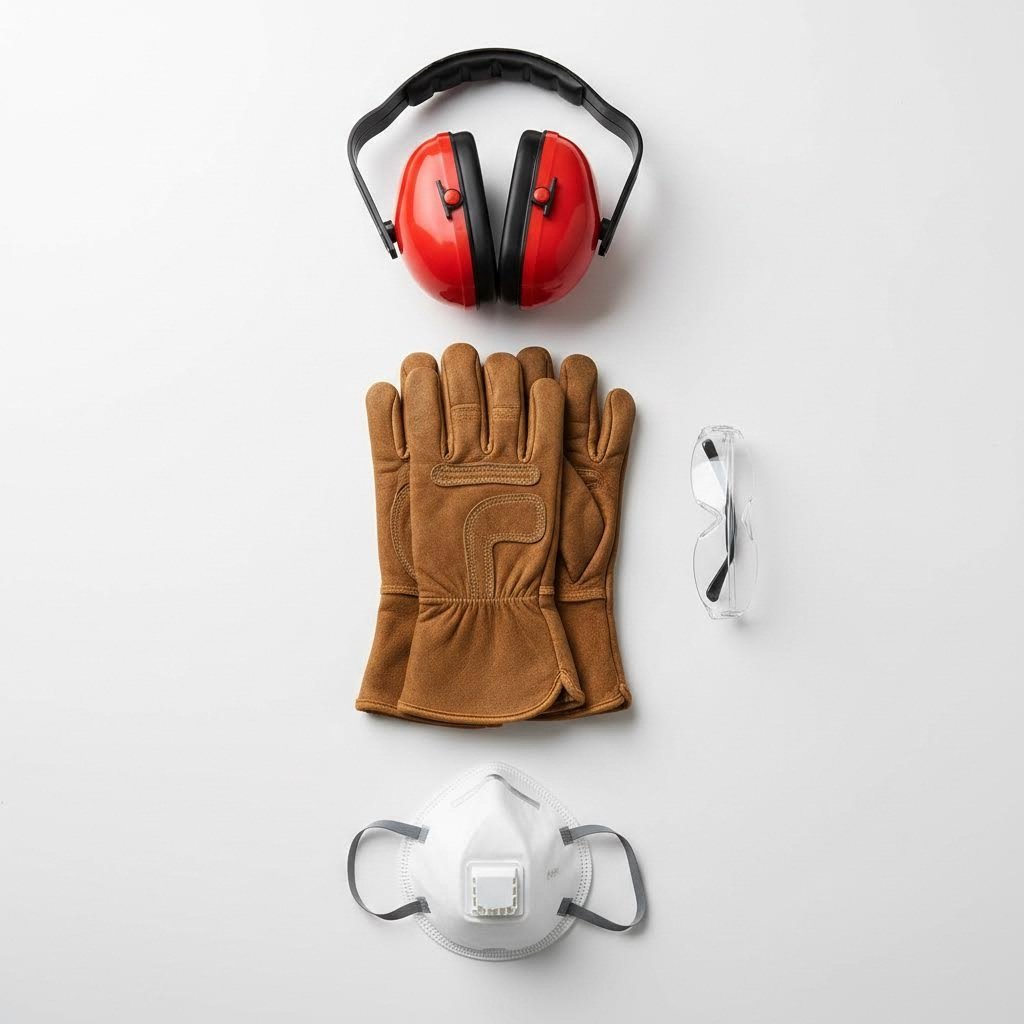
Personal protective equipment isn't optional when you saw cut aluminum—it's your first line of defense against injuries that can happen in an instant.
Eye Protection: Aluminum chips launch at high velocity during cutting operations. Safety glasses with side shields provide minimum protection, but for extended work, consider full-face shields that guard against particles approaching from any angle. Standard prescription glasses don't offer adequate coverage.
Hand Protection: According to the Aluminum Association's PPE recommendations, leather gloves with long cuffs provide optimal protection. The extended cuffs prevent hot chips from entering at the wrist—a common injury point when handling freshly cut extrusions.
Hearing Protection: Power saws generate noise levels that cause cumulative hearing damage. Earplugs or over-ear protection rated for at least 25 dB reduction should be worn during any aluminum cutting operation.
Respiratory Protection: A dust mask filter is essential, particularly during extended cutting sessions. OSHA limits aluminum dust exposure to 15 mg/m³ for total dust and 5 mg/m³ for respirable particles—levels easily exceeded without proper extraction or protection.
Here's what makes aluminum particularly hazardous: the dust doesn't just disappear. According to industry safety research, fine aluminum dust floats in the air longer than most metal particles, and it poses both health and fire risks that demand serious attention.
Health Concerns: Workers who breathe large amounts of aluminum dust can develop lung problems, including coughing and abnormal chest X-rays. Some studies also indicate potential nervous system effects from prolonged exposure. These aren't immediate dangers from occasional cuts, but regular aluminium cutting without protection accumulates risk over time.
Fire and Explosion Risk: Fine aluminum particles are combustible. When concentrated dust contacts a spark—common near power tools—ignition can occur. This risk increases dramatically if dust builds up in ducts, filters, or enclosed spaces.
Chip Hazards: Fresh aluminum chips are razor-sharp and hot enough to cause burns. Never brush chips away with bare hands. Use non-sparking tools like brass or plastic scrapers instead of compressed air, which sends particles airborne.
One final consideration: avoid mixing aluminum and steel chips in the same container. When stored together in damp conditions, these metals can react chemically, creating additional hazards. Keep separate bins and empty them on a regular schedule.
With safety protocols firmly in place, you're equipped to handle the occasional cutting mistake that every fabricator encounters. When burrs appear or edges come out rougher than expected, troubleshooting skills become your next essential tool.
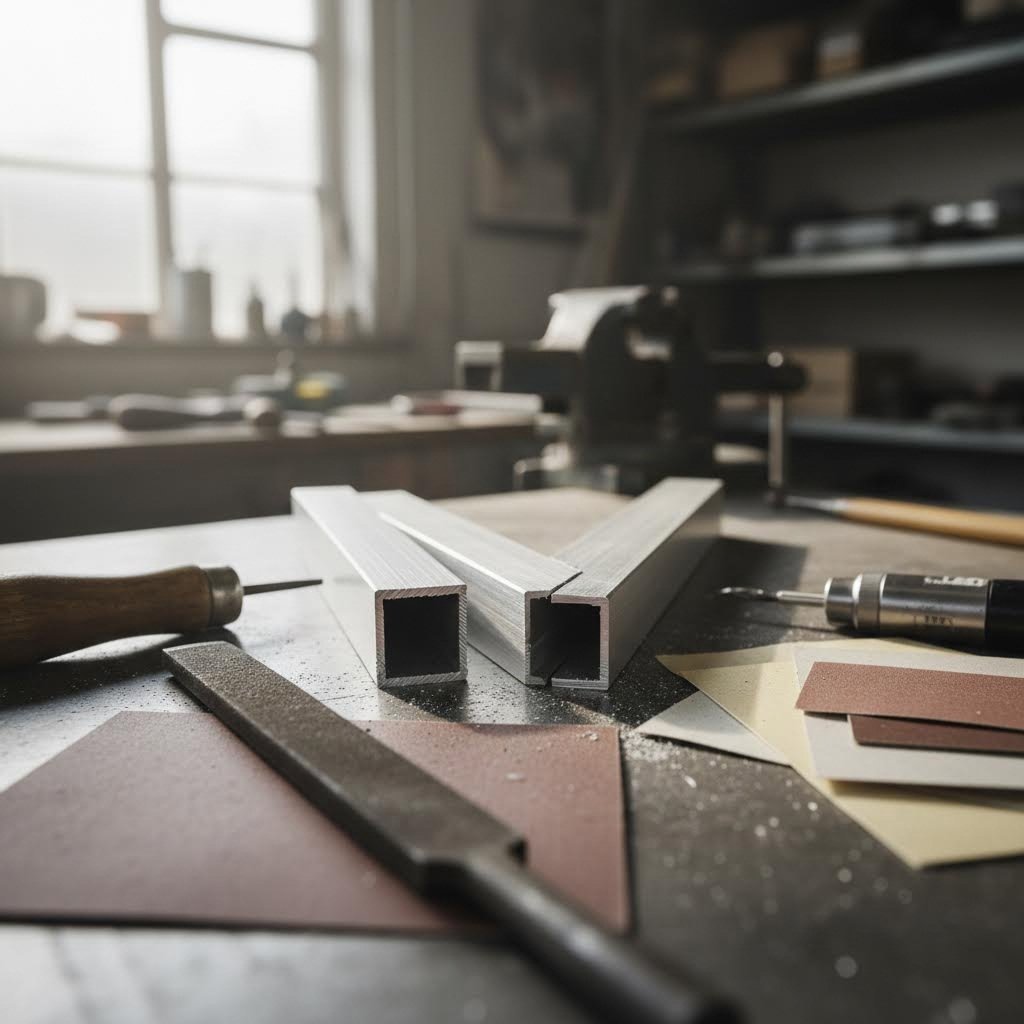
Even experienced fabricators encounter cutting problems from time to time. That perfect alu cut you envisioned sometimes ends up with burrs clinging to the edges, rough surfaces that catch your fingers, or profiles that mysteriously bent during the process. The good news? Most cutting aluminium extrusion mistakes are both explainable and fixable—if you know what went wrong.
Understanding the root cause of each problem helps you correct it on the current workpiece and prevent it on future cuts. Let's break down the most common issues, what causes them, and exactly how to fix them.
Burrs are those sharp, raised edges that form when metal doesn't shear cleanly. They're more than just an aesthetic problem—they create safety hazards during handling and can interfere with assembly fit-up. When you cut aluminum with circular saw or miter saw setups using improper technique, burrs become nearly inevitable.
According to DST Chemicals, aluminum deburring involves removing sharp edges, burrs, and rough surfaces left behind from machining processes. These imperfections not only compromise product aesthetics but can also lead to functionality issues and safety hazards if not addressed.
Deburring Techniques by Severity:
The key to effective deburring? Address burrs immediately after cutting, while the material is still easily accessible. Waiting until assembly makes reaching problem areas much more difficult.
When you cut aluminum with table saw or other power tools and the profile comes out bent or warped, several factors could be responsible. Hollow extrusions are particularly vulnerable because their thin walls can't resist lateral forces the way solid stock does.
Common causes of deformation include:
According to Malide CNC, thin-wall crush often results from over-clamping, blade runout, or chatter during cutting. Their recommendation? Use softer clamping pads, check blade runout regularly, and ensure gentle blade entry and exit.
The following table summarizes common cutting problems, their causes, and proven solutions:
| Problem | Cause | Solution |
|---|---|---|
| Excessive burrs on cut edge | Dull blade teeth, wrong tooth geometry (ATB instead of TCG), feed rate too fast | Install sharp carbide TCG blade, reduce feed rate, apply wax stick lubrication |
| Rough, torn edge surface | Insufficient tooth count for wall thickness, blade wobble, vibration during cut | Switch to higher tooth count blade, check arbor nut tightness, improve workpiece clamping |
| Bent or crushed profile | Over-clamping hollow sections, inadequate internal support | Use sacrificial blocks inside hollow areas, reduce clamp pressure, use soft-jaw clamps |
| Blade binding mid-cut | Cut closing on blade, insufficient blade clearance, warped extrusion stock | Support both sides of cut, use wedge to keep kerf open, verify material straightness |
| Melted aluminum on blade teeth | Feed rate too slow, no lubrication, blade running too fast for material | Increase feed rate, apply cutting fluid or wax, verify proper blade RPM for diameter |
| Angled cut when square was intended | Workpiece shifted during cut, saw not calibrated, improper clamping | Verify saw calibration with precision square, clamp closer to cut line, check fence alignment |
| Chip marks on visible surfaces | Poor chip evacuation, chips trapped between blade and workpiece | Improve dust extraction, position work for gravity-assisted chip clearance, add blast air |
Not every problematic cut requires scrapping the piece. Here's how to decide whether your cut is salvageable:
Salvageable situations:
Start over when:
When using an aluminium cutting mitre saw for precision work, remember that attempting to salvage a borderline piece often takes longer than simply making a fresh cut—and the results are rarely as good.
Once burrs are removed, additional finishing steps create truly professional results:
The effort invested in proper finishing pays dividends throughout your project. Clean, burr-free edges assemble faster, seal better, and present professionally—whether the pieces are visible or hidden in the final product.
Of course, all this troubleshooting assumes you're committed to cutting extrusions yourself. For projects demanding flawless results or high volumes, professional pre-cut services offer an alternative worth considering.
At this point, you've learned everything needed to cut aluminum extrusion like a professional. But here's a question worth asking: should you always cut it yourself? The honest answer depends on your specific situation. Sometimes rolling up your sleeves and making cuts in your own workshop delivers the best value. Other times, ordering custom aluminum extrusions pre-cut to exact specifications saves money, time, and frustration.
Let's break down the factors that should guide this decision so you can choose the approach that actually makes sense for your project.
Cutting extrusions yourself offers undeniable advantages in the right circumstances. If you already own quality equipment and have developed solid technique, handling cuts in-house keeps you in complete control of your timeline and specifications.
DIY cutting typically works best when:
According to industry cost analysis, setup costs for professional machining operations can represent 40-60% of total costs for quantities under 10 units. Those economics shift dramatically when you're handling just a few pieces yourself.
Now consider the flip side. Professional aluminum processing services equipped with CNC machining centers deliver capabilities that workshop tools simply cannot match. When your project demands precision, volume, or complex operations beyond simple cuts, the math often favors outsourcing.
Professional services excel when:
As noted in manufacturing research, combining extrusion with CNC machining reflects a higher level of manufacturing strategy integration. This synergy optimizes both moulding efficiency and localised precision—something difficult to achieve with separate vendors or DIY approaches.
The cost equation involves more variables than most people initially consider. Beyond the obvious cutting charges, factor in these elements:
| Cost Factor | DIY Approach | Professional Service |
|---|---|---|
| Equipment investment | $200-$1500+ depending on tools needed | $0 (included in service pricing) |
| Blade replacement | $50-$150 per quality blade | $0 (included in service pricing) |
| Your labor time | Value varies—calculate your hourly worth | $0 (your time freed for other work) |
| Material waste from errors | Potentially significant for beginners | Minimal—professional operators rarely make costly mistakes |
| Finishing/deburring time | Often required after DIY cuts | Usually minimal or eliminated |
| Per-piece processing cost | Low marginal cost once equipped | Decreases significantly with volume |
For a single custom extrusion project requiring 50+ identical pieces with holes and threaded features, professional processing almost always delivers better value. For ongoing small-batch work with simple cuts, building your own capability pays off over time.
When projects demand capabilities beyond your workshop, selecting the right processing partner matters. Look for suppliers offering:
For projects requiring professional aluminum processing with comprehensive extrusion and deep processing capabilities, Shengxin Aluminium's deep processing services offer CNC machining centers capable of handling precise cutting, drilling, and bending operations. Their facility supports everything from small aluminum extrusions to large industrial profiles, with surface treatment options that eliminate the need for multiple suppliers.
Many experienced fabricators use both methods strategically. They handle simple cuts and prototyping in-house while outsourcing production quantities and complex operations. This hybrid approach captures the best of both worlds:
The key is honestly assessing what each specific project requires—then matching those requirements to the most appropriate approach. Neither DIY cutting nor professional services is inherently superior; the right choice depends entirely on your circumstances.
With this decision framework established, you're ready to create your action plan for achieving perfect aluminum extrusion cuts—whether you're heading to your workshop or placing an order with a professional processing partner.
You've now walked through every aspect of cutting aluminum extrusion—from understanding what makes extruded profiles unique, through blade selection, preparation, technique, safety, and troubleshooting. That's a lot of ground to cover. But information alone doesn't produce clean cuts. Action does. So let's consolidate everything into a decision-making framework and actionable steps you can implement immediately.
Whether you're fabricating an aluminum L extrusion for a custom bracket or processing dozens of L shaped aluminum extrusion pieces for a larger project, the same fundamental principles apply. Success comes down to matching your approach to your specific requirements—then executing with proper tools and technique.
The single most important factor for achieving burr-free aluminum cuts isn't the saw you use—it's the blade. A quality TCG carbide blade on a basic miter saw outperforms an expensive saw equipped with the wrong blade every time.
How can i cut aluminum effectively for my specific project? The answer depends on three interconnected factors: what you're making, what skills you've developed, and what equipment you have access to. Use this framework to guide your decision:
Project Type Considerations:
Skill Level Matching:
Equipment Reality Check:
Be honest about what you have available. The best way to cut aluminium is the method you can execute properly with your current tools. A perfectly executed hacksaw cut beats a botched power tool cut. If your equipment can't deliver required precision, either upgrade your capabilities or outsource to professionals who already have them.
Ready to start cutting? Here's your prioritized action list for getting it right from the beginning:
Whether choosing DIY methods or partnering with experienced aluminum specialists offering comprehensive extrusion and deep processing capabilities, the key is matching the approach to project requirements. A weekend hobbyist building a single workbench frame has different needs than a fabrication shop producing hundreds of structural components monthly. Both can achieve excellent results—through entirely different paths.
For projects demanding professional precision, services like Shengxin Aluminium's deep processing capabilities provide end-to-end support from die development through mass production. Their CNC machining centers handle precise cutting, drilling, and bending to exact specifications—eliminating the trial and error that comes with pushing workshop equipment beyond its intended limits.
But for the countless projects where workshop cutting delivers perfectly acceptable results, the techniques in this guide give you everything needed. Clean cuts come from sharp blades, proper technique, and patient execution—not expensive equipment alone.
Now you know how to cut aluminum extrusion without burrs. The only step remaining is picking up your tools and making that first cut. Start with a scrap piece, apply what you've learned, and build confidence through practice. Those clean, professional edges are within your reach.
A miter saw with a carbide TCG (Triple Chip Grind) blade is the best choice for most aluminum extrusion cutting tasks. It delivers consistent, precise cuts for both straight and angled work. For hand tool options, a hacksaw with 24-32 TPI blade works well for occasional cuts. Band saws excel for thicker profiles or curved cuts, while chop saws with cooling systems suit high-volume production. The blade matters more than the saw—always use a non-ferrous metal blade with 60-100 teeth depending on wall thickness.
Yes, miter saws are ideal for cutting aluminum extrusion. Use a carbide-tipped TCG blade with 80-100 teeth for thin-walled profiles or 60-80 teeth for medium profiles. Always wear safety glasses and hearing protection, as cutting generates sharp chips and significant noise. Let the blade reach full speed before contact, use steady downward pressure, and apply wax stick lubrication to prevent aluminum from welding to the blade teeth for cleaner cuts.
Neither extreme works well for aluminum extrusion. Cutting too fast prevents proper chip evacuation, causing heat buildup and melted edges. Cutting too slow creates excessive friction that can warp thin-walled profiles. The optimal approach is steady, consistent feed pressure that produces a smooth cutting sound without straining the motor. For miter saws, a controlled 3-5 second descent through standard profiles balances speed with edge quality.
Use carbide-tipped blades with Triple Chip Grind (TCG) tooth geometry for aluminum extrusion. TCG blades create a shearing action that slices through soft aluminum without grabbing. For tooth count: choose 80-100 teeth for thin walls under 2mm, 60-80 teeth for medium 2-4mm profiles, and 40-60 teeth for heavy profiles over 4mm. Avoid ATB (Alternate Top Bevel) blades designed for wood—they grab aluminum and cause rough edges and dangerous kickback.
Preventing burrs requires proper blade selection, technique, and lubrication. Use a sharp carbide TCG blade with appropriate tooth count for your profile thickness. Maintain consistent feed pressure without forcing the cut, and always let the blade reach full speed before contact. Apply wax stick or cutting fluid to reduce heat and prevent aluminum from sticking to teeth. Support the workpiece properly to eliminate vibration, and avoid stopping mid-cut which creates heat marks and burr formation.



 บริการออนไลน์
 0086 136 3563 2360
 sales@sxalu.com
 +86 136 3563 2360
 ไทย
ไทย English
 français
 Deutsch
 русский
 español
 português
 العربية
 Việt
Việt Українська